
If there is an appreciation day that parents get behind, it’s Teacher Appreciation, and this set of adorable cookies gets the point across while giving them a delicious treat to enjoy during recess and lunch!
Teachers go above and beyond to make sure our kids are safe, learning academics and social skills, and becoming great citizens of the world; they deserve all the thanks we can give them! (I think we all found an even greater appreciation for the teachers in our lives after we became the teachers for a while!)
Any level of cookie decorator can tackle this Teacher Appreciation Cookie set; even if you don’t have an airbrush you can do the basic designs and wrap them up to deliver as a gift. I usually attach a Target or Amazon gift card with the cookies so they can get a little something for themselves to enjoy.

Check out the step-by-step video tutorial.
I will show you how to decorate these fun Teacher Appreciation cookies! Check out the video tutorial for tips on making these fun cookies!
For these cookies, I used my exclusive sugar cookie recipe and royal icing recipe. The cookie recipe yielded about 18 regular size cookies. I like thicker cookies so I roll out my cookies to 3/8″ using my Cookie Countess Precision Rolling Pin. The thickness of your cookie will change the cookie yield.
Prepping Royal Icing
This cookie set includes 6 icing colors using pink, sky blue, green, lemon yellow, vivid violet, and white. I made all the colors with Americolor food gels except the purple is violet-purple from the Cookie Countess.
Helpful Decorating Tips and Tricks
Cookie Timeline
I like to break up the decorating process over a few days. It works better for my stage of life to do a little each day. Here is a sample timeline to show how long each step takes.
DAY 1
Make and bake my cookies. I do not chill my dough so usually, this takes about 1 hour from start to finish. Mix royal icing, color, and prep all the icing bags. I like to color the day before because the colors will deepen over time.
DAY 2
Outline and Flood Cookies. Make sure to allow them to dry in front of a fan for 1-2 hours before adding details. Add final details like airbrushing, piping and stenciling.
Day 3
Always take pictures of your beautiful cookies. Make sure to allow 10-14 hours of drying time before packaging your cookies. I like to store mine on a baking pan with a lid overnight.

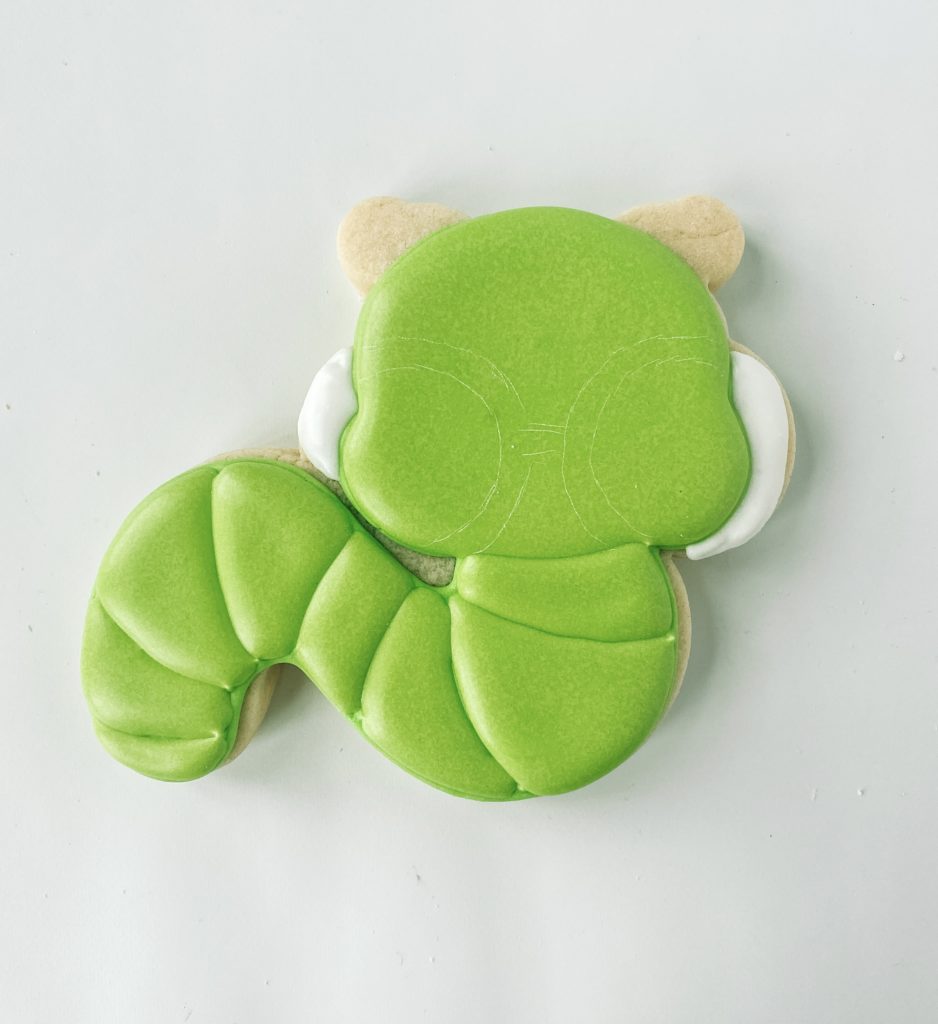
INCHWORM COOKIE
- OUTLINE AND FLOODING
- Step 1: Outline the entire worm, including each section of the body.
- Step 2: Fill the outlined face and every other section of the body with green flood icing.
- Stop and allow your cookie to dry in front of a fan for 1-2 hours before moving to the next section.

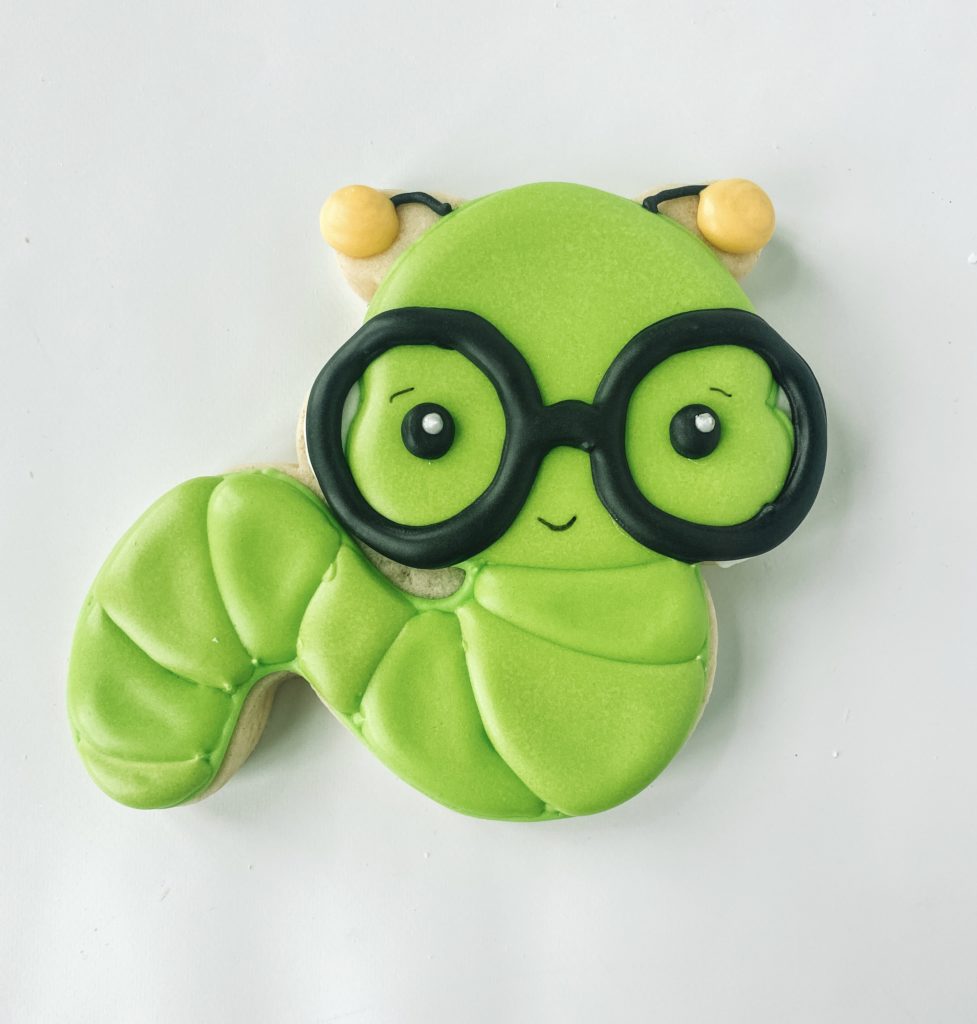
DETAILS
- Step 3: Outline the round glasses in black piping icing and fill in with black flood icing. Using black piping icing, make eyes inside the glasses. Use white piping icing to add a small dot on the eyes.
- Step 4: Using an edible marker make a smile and add eyebrows just above the eyes.
- Step 5: For the antlers use black piping icing to make part of the antler, then finish it up with yellow piping icing with a dot.
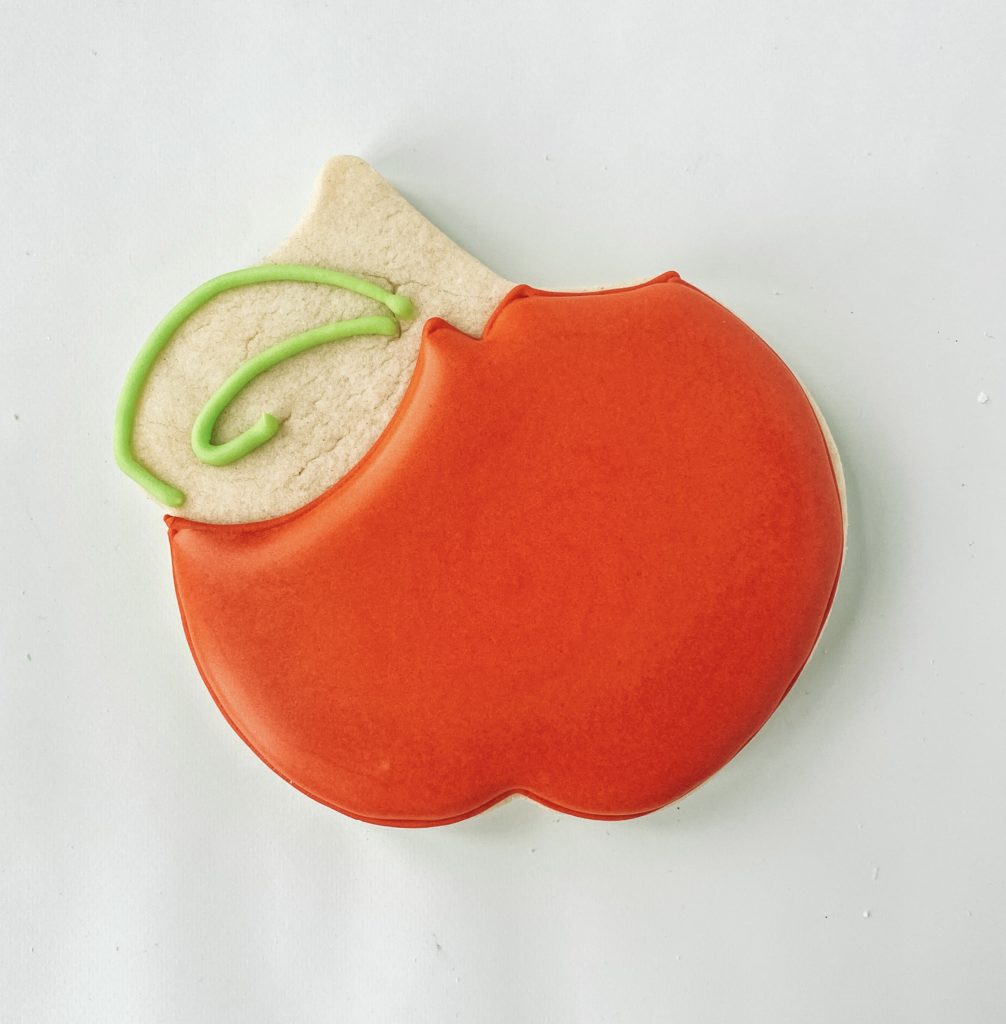
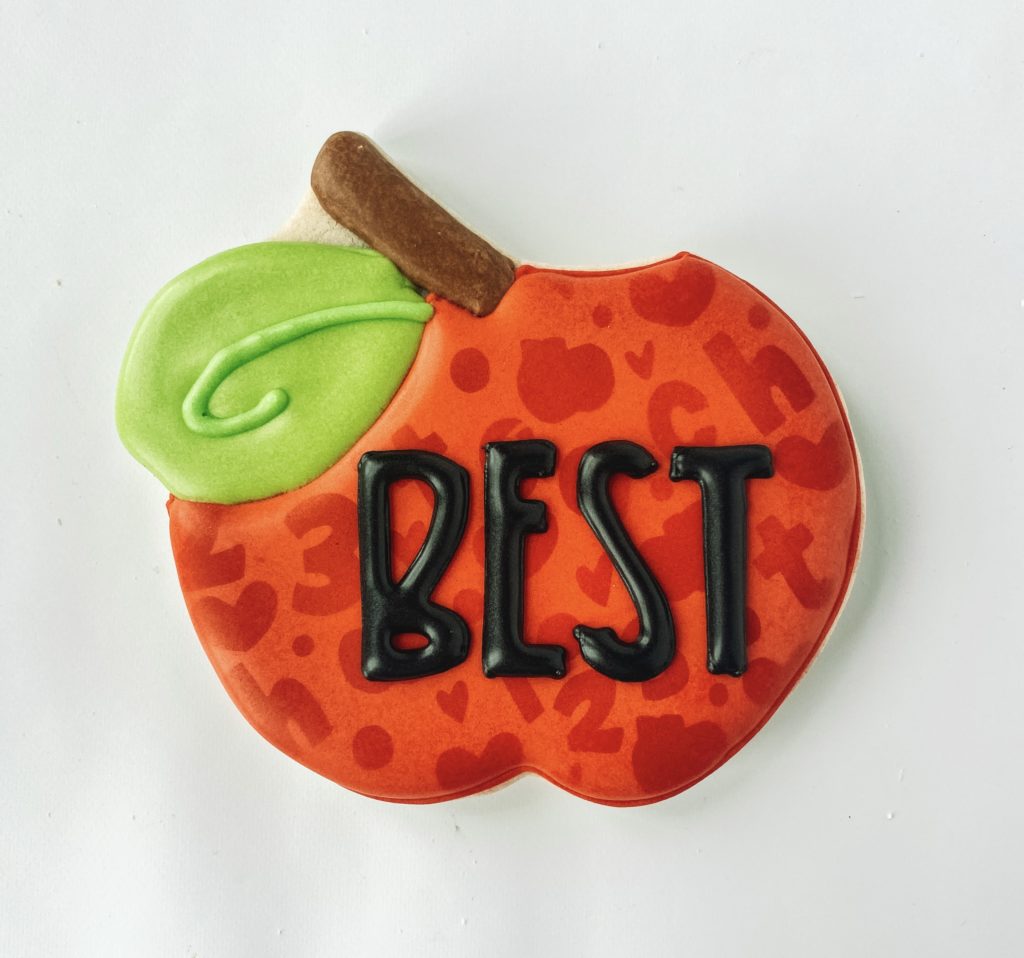
APPLE COOKIE
OUTLINE AND FLOODING
- Step 1: Outline the apple with red piping icing. Outline the leaf in green piping icing.
- Step 2: Fill in the red outline apple with red flood icing.
- Stop and allow your cookie to dry in front of a fan for 30-40 minutes before moving to the next section.
DETAILS
- Step 3: Use the teacher stencil and red airbrush color airbrush design on the cookie.
- Step 4: Fill in the outlined left with green flood icing.
- Stop and allow your cookies to dry in front of a fan for 30-40 minutes before moving to the next section.
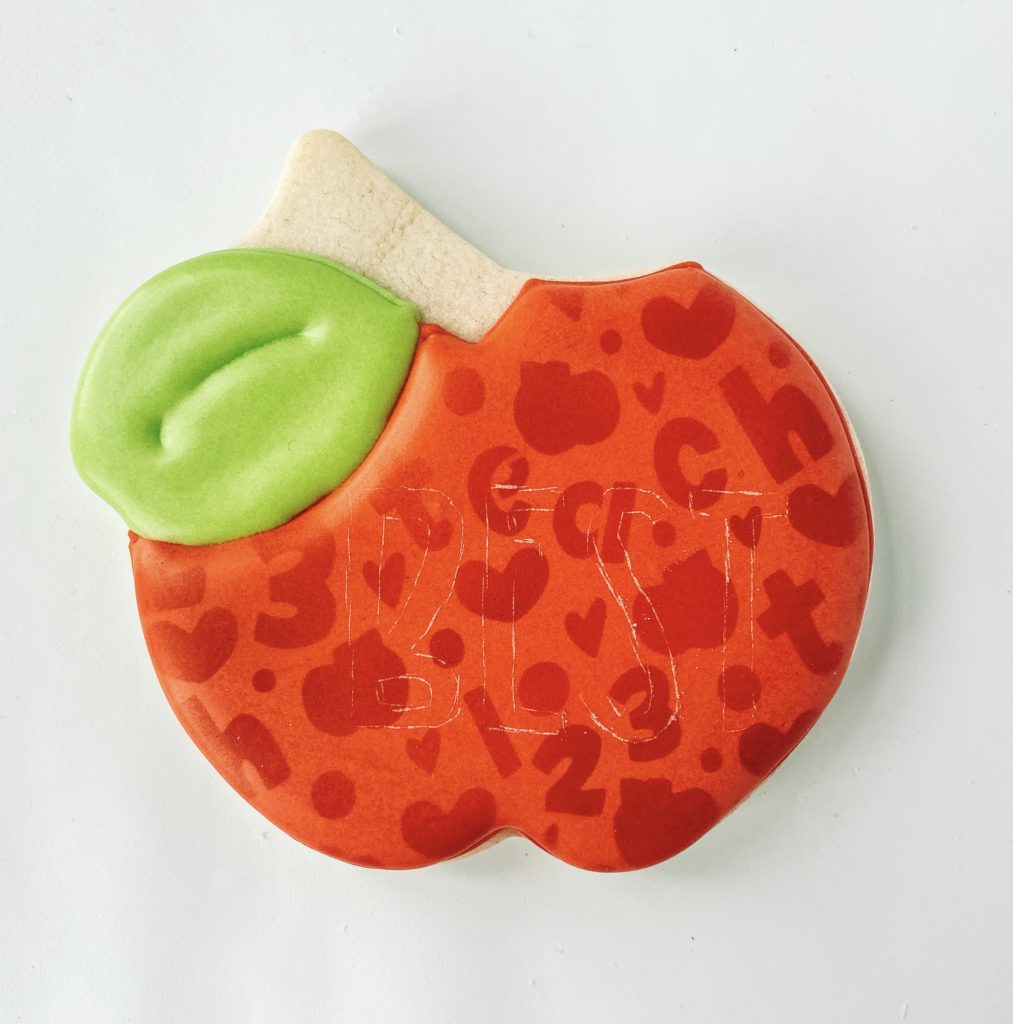
- Step 5: Outline the stem in the brown icing and fill in with brown flood icing.
- Step 6: Outline letters in black outline icing and fill in with black flood icing.
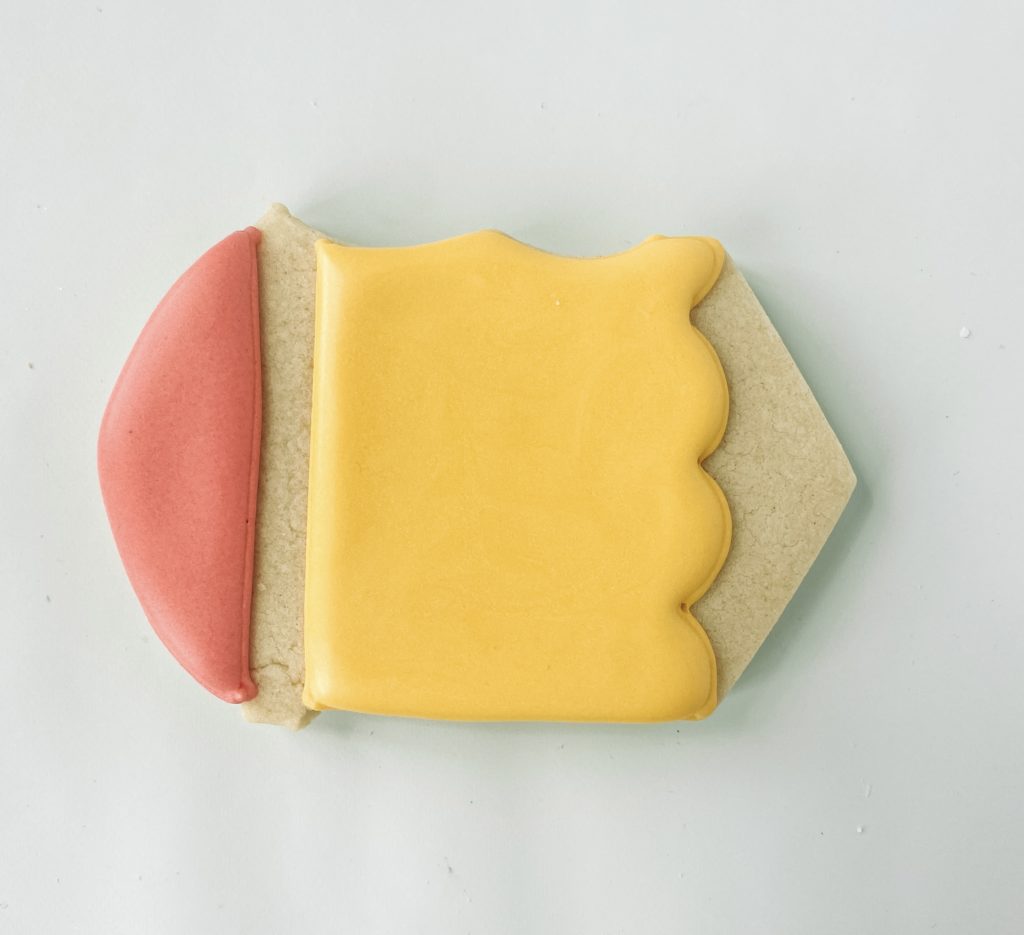
PENCIL COOKIE
OUTLINE and FLOODING
- Step 1: Outline the “eraser” of the cookie in pink piping icing. Outline the middle of the pencil in yellow piping icing.
- Step 2: Fill in the pink outline with pink flood icing. Fill in the middle section of the cookie with yellow flood icing.
- Stop and allow your cookie to dry in front of a fan for 30 minutes before moving to the next section.
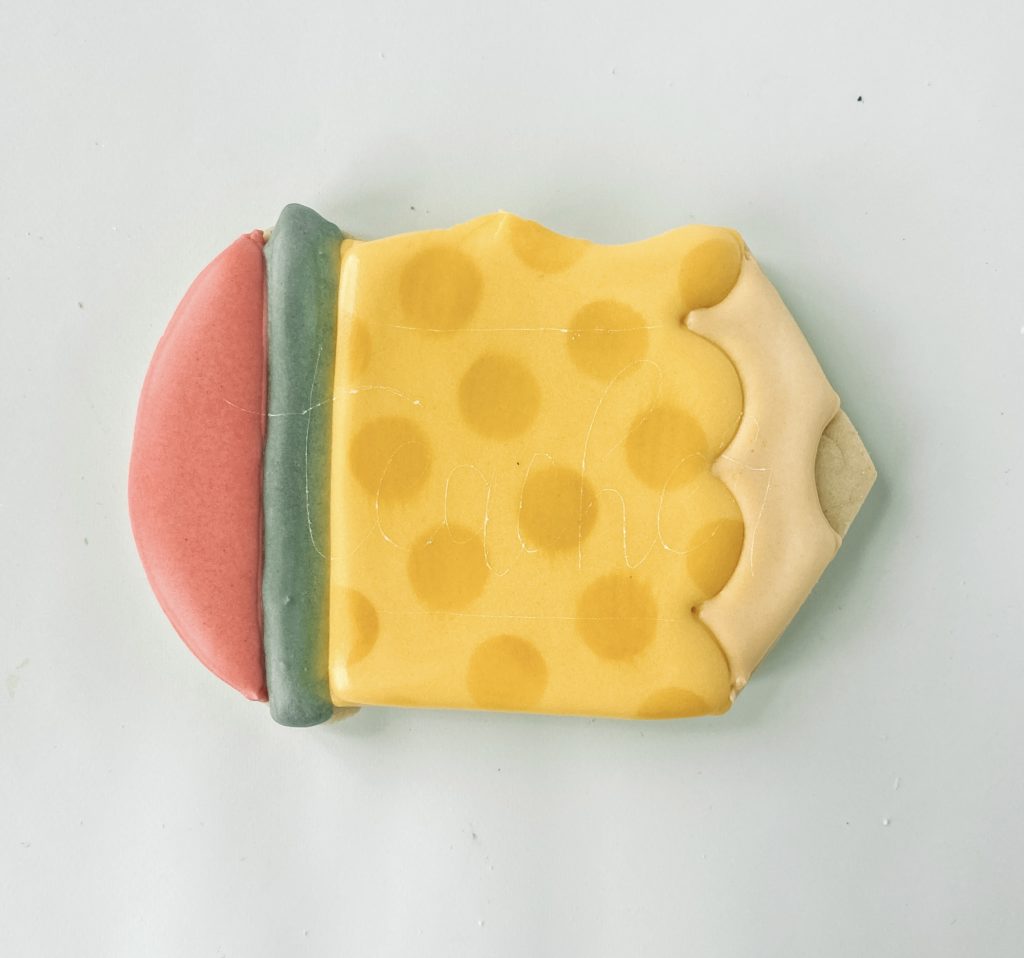
DETAILS
- Section 3: Using the big dot stencil and golden yellow stencil airbrush design on the yellow part of the pencil.
- Section 4: Using gray piping icing, outline the space between yellow and pink sections, then fill in with gray flood icing. Outline the end of the pencil with ivory outline icing and fill in with ivory flood icing.
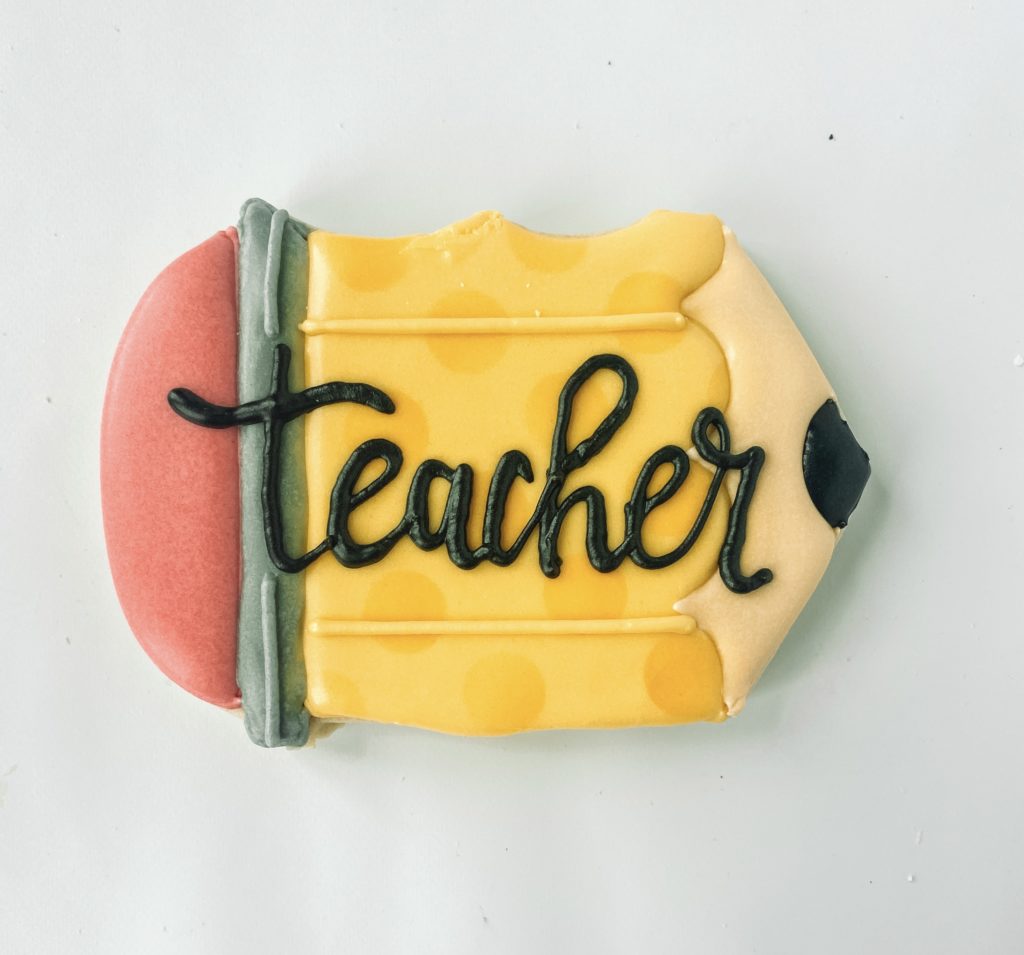
- Section 5: Using black outline icing, add the point of the pencil. Outline the word on the cookie with black piping icing.
- Section 6: Using gray piping icing, add lines in the middle of the gray section. Using the yellow piping icing add 2 lines on either side of the word on the pencil.
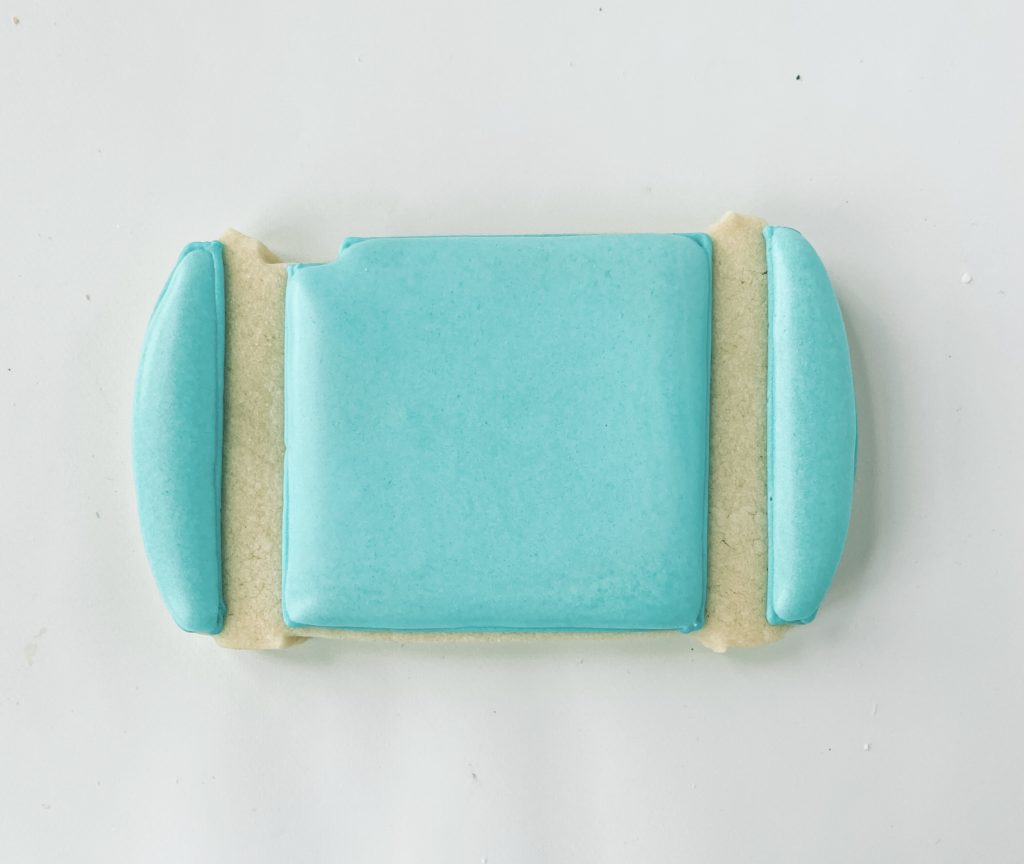
BOOK COOKIE
OUTLINE and FLOODING
- Step 1: Outline the book in blue piping icing except for the two sections in the middle of the book
- Step 2: Fill the outline section in blue flood icing.
- Stop and allow your cookie to dry in front of a fan for 1-2 hours before moving to the next section.
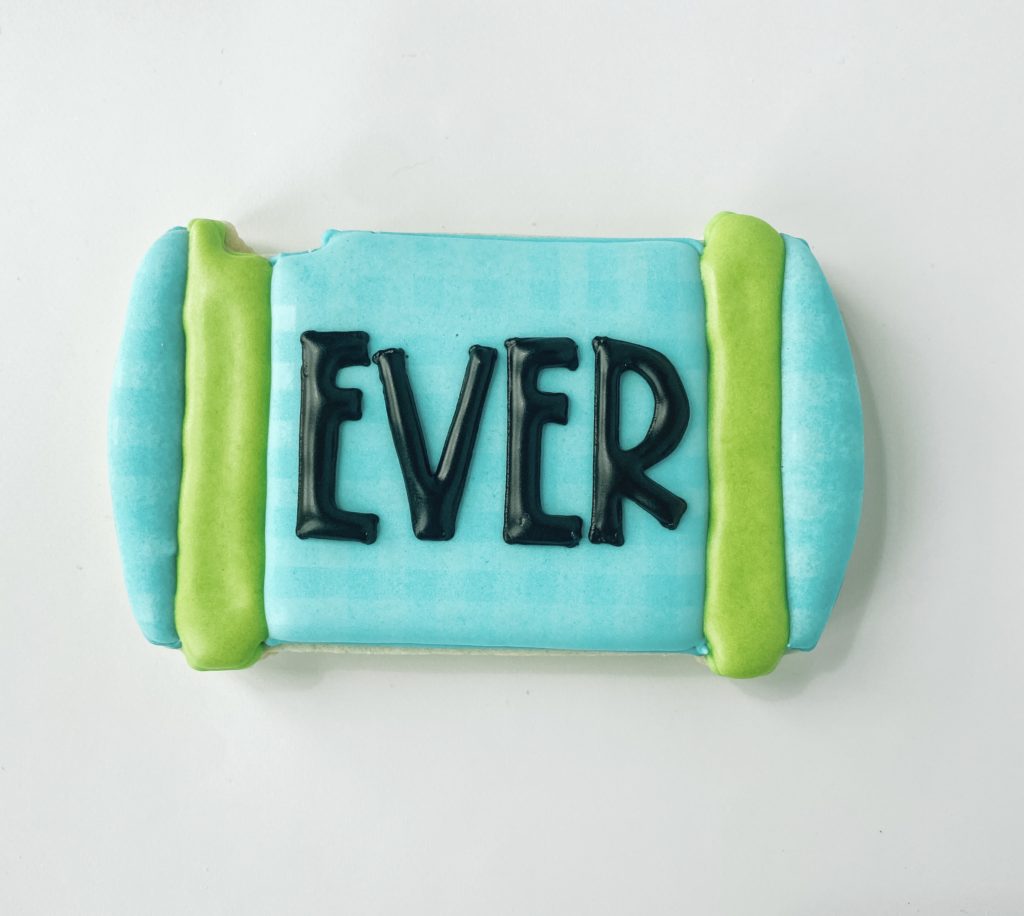
- Section 3: Using the thin lines stencil and beachy blue airbrush color airbrush lines horizontal and then vertical on the cookie.
- Stop and allow your cookie to dry for 15-20 mixtures before moving on to the next section.

- Section 4: Outline the two small sections in green piping icing. Fill in the sections with green flood icing.
- Section 5: Using black piping icing, outline the word in the middle of the cookie, then fill in with black flood icing.

Now you’ve decorated your Teacher Appreciate Cookies and you’ll be the teacher’s pet when you deliver these adorable and delicious cookies to them! Remember, you don’t have to use an airbrush or do anything fancy, if you need to use a projector and etch the writing onto the cookie you can do that to make it a little bit easier on yourself. You can also use a projector to do all of the text piping directly with your outline icing; whatever you choose these cookies will score you an A+!
Can you show how you etch the words on the cookies ? seems much easier than getting out the projector and you etch so perfectly. I would love to see how you do it so well. Thanks!
Yes, that’s a great idea!
Hi Summer,
I love your voice, its so smooth and enjoyable to hear. Your Cookies are the cutest too. Thank you for sharing your videos I’ve learn so much.
Sincerely,
Maria Pignone
Thank you so much Maria! So glad you enjoy the tutorials and cookies!!