YOU WILL NEED:
Cut-out sugar cookie dough
Royal icing
Icing colors – I use Americolor and Cookie Countess brand
TOOLS AND TIPS:
Icing bags – from Summer’s Sweet Shoppe https://summerssweetshoppe.com/product/decorating-bags/
Parchment paper
Cookie sheet
Cookie Scribe – https://summerssweetshoppe.com/product-category/supplies/
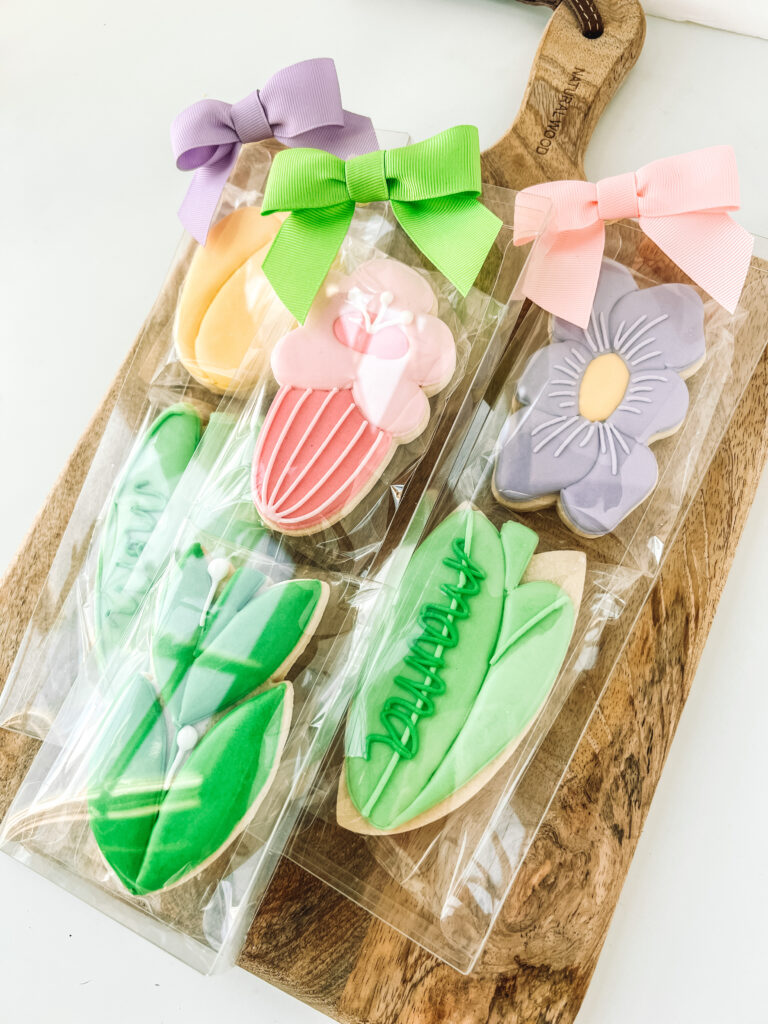
Packaging
Clear Cookie Boxes – from Summer’s Sweet Shoppe – https://summerssweetshoppe.com/product-category/supplies/
Pre-Tied Bows – from Summer’s Sweet Shoppe – https://summerssweetshoppe.com/product-category/supplies/
For these cookies, I used my exclusive sugar cookie recipe and royal icing recipe. The cookie recipe yielded about 12-15 regular size 3 – 3.5 inch cookies. I like thicker cookies so I roll out my cookies to 3/8″ using my Cookie Countess Precision Rolling Pin. The thickness of your cookie will change the cookie yield.
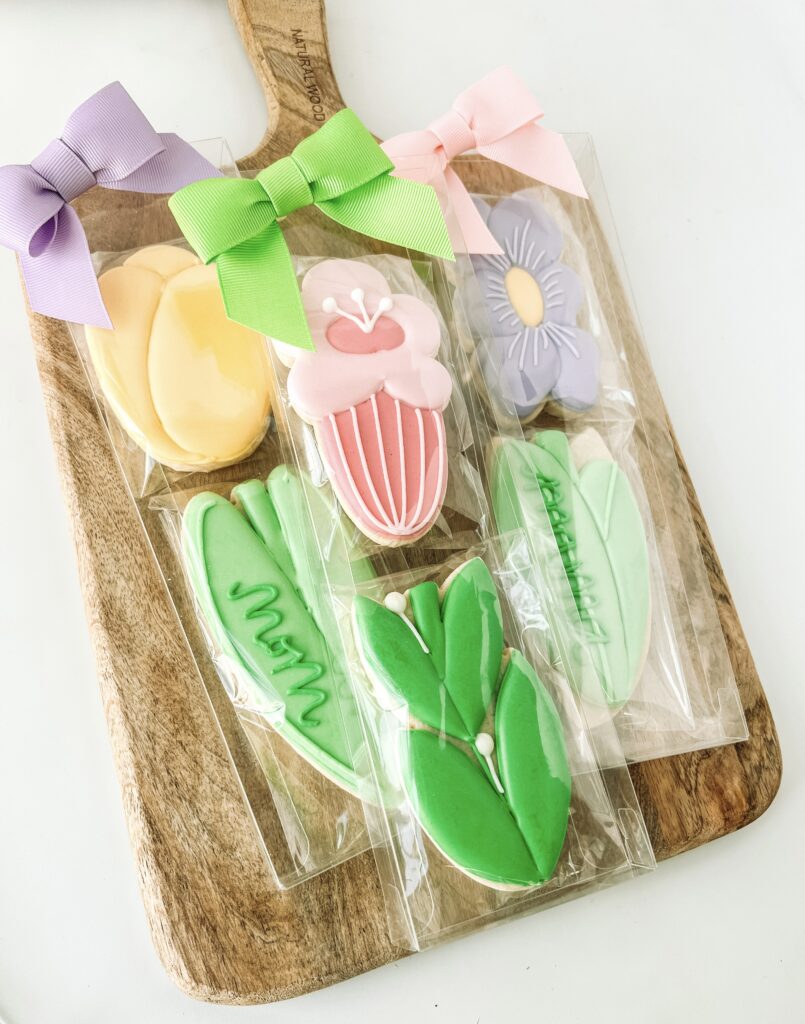
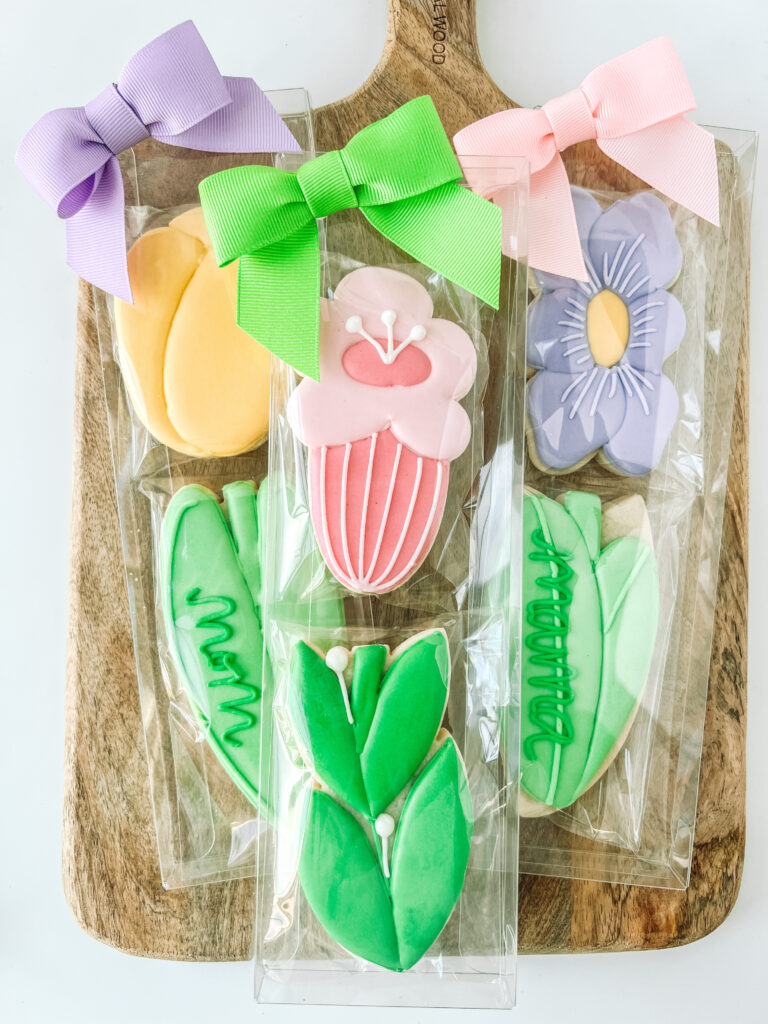
Check out the step-by-step video tutorial
I show you how to decorate these colorful Mother’s Day Tall Flower cookies.
Check out the video tutorial for tips on how to make and package these cookies!
CUTTERS: Bouquet Vase Mother’s Day Set from Kaleidacuts – https://www.kaleidacuts.com/collections/mother-father-39-s-day/products/bouquet-vase-set-of-8-cookie-cutters
COLORS YOU WILL NEED:
White – outline icing
Lt Pink – (deep pink americolor) outline and flood icing
Electric Pink – (Electric pink americolor) outline and flood icing
Purple (vivid violet cookie Countess)- outline and flood icing
Mint Green – Americolor -outline and flood icing
Yellow – (egg yellow americolor) – outline and flood icing
Prepping Royal Icing
This cookie set includes 3 icing colors using white, black, and ivory. I made all the colors with Americolor
Helpful Decorating Tips and Tricks
Cookie Timeline
I like to break up the decorating process over a few days. It works better for my stage of life to do a little each day. Here is a sample timeline to show how long each step takes.
DAY 1
Make and bake my cookies. I do not chill my dough so usually, this takes about 1 hour from start to finish. Mix royal icing, color, and prep all the icing bags. I like to color the day before because the colors will deepen over time.
DAY 2
Outline and Flood Cookies. Make sure to allow them to dry in front of a fan for 1-2 hours before adding details. Add final details like airbrushing, piping and stenciling.
Day 3
Always take pictures of your beautiful cookies. Make sure to allow 10-14 hours of drying time before packaging your cookies. I like to store mine on a baking pan with a lid overnight.
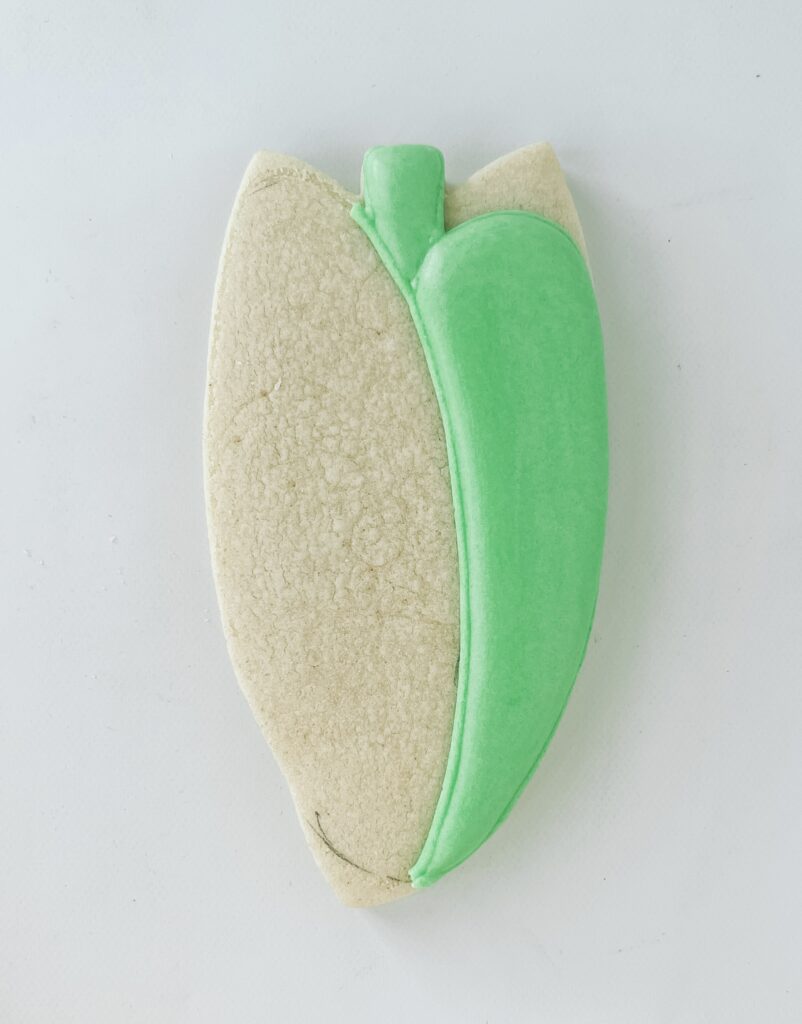
TULIP COOKIE
OUTLINE AND FLOODING
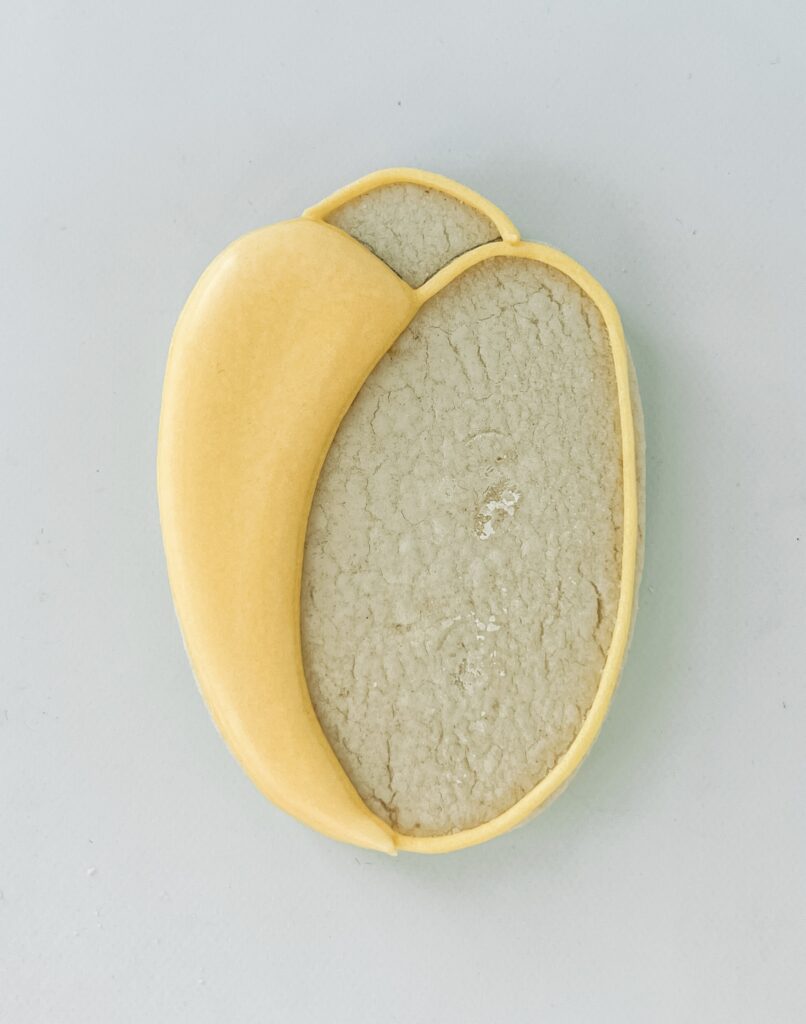
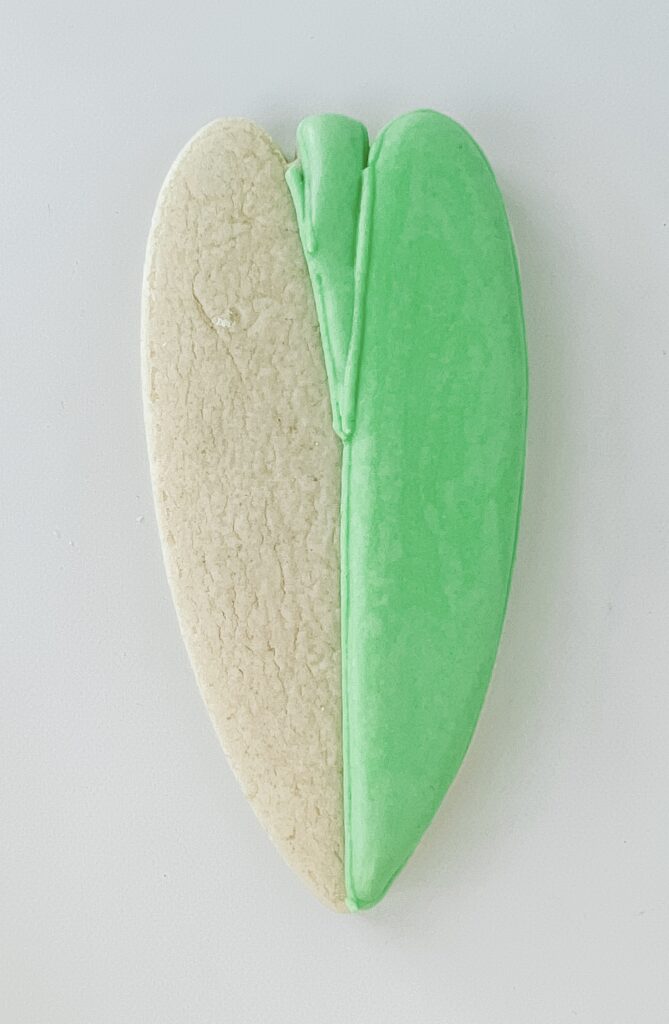
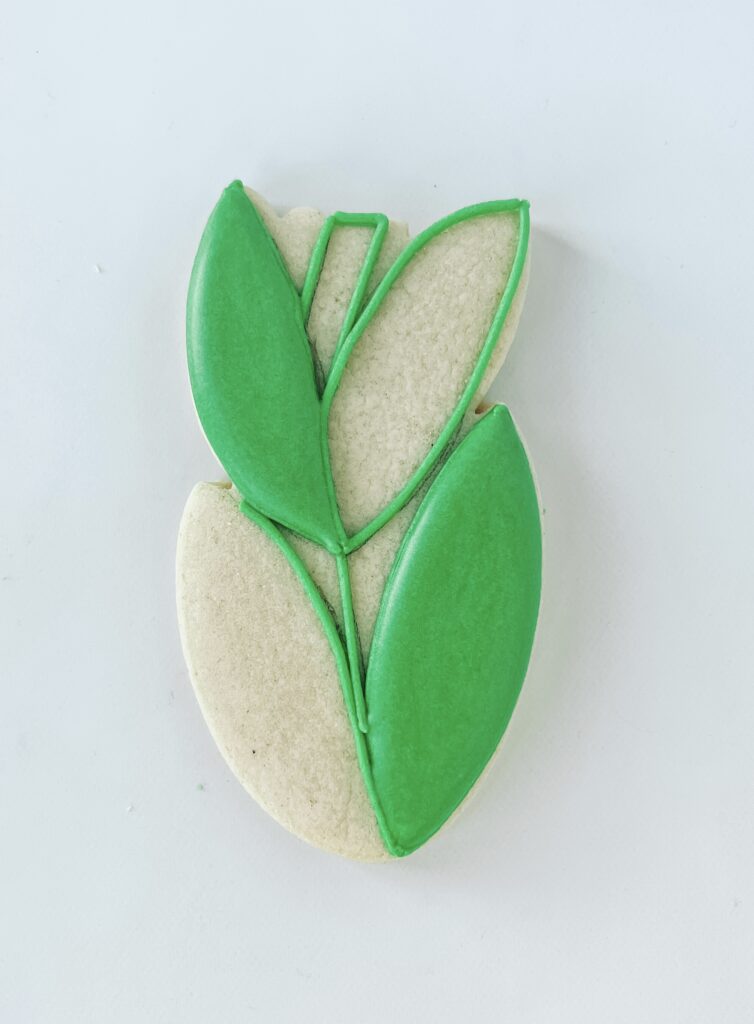
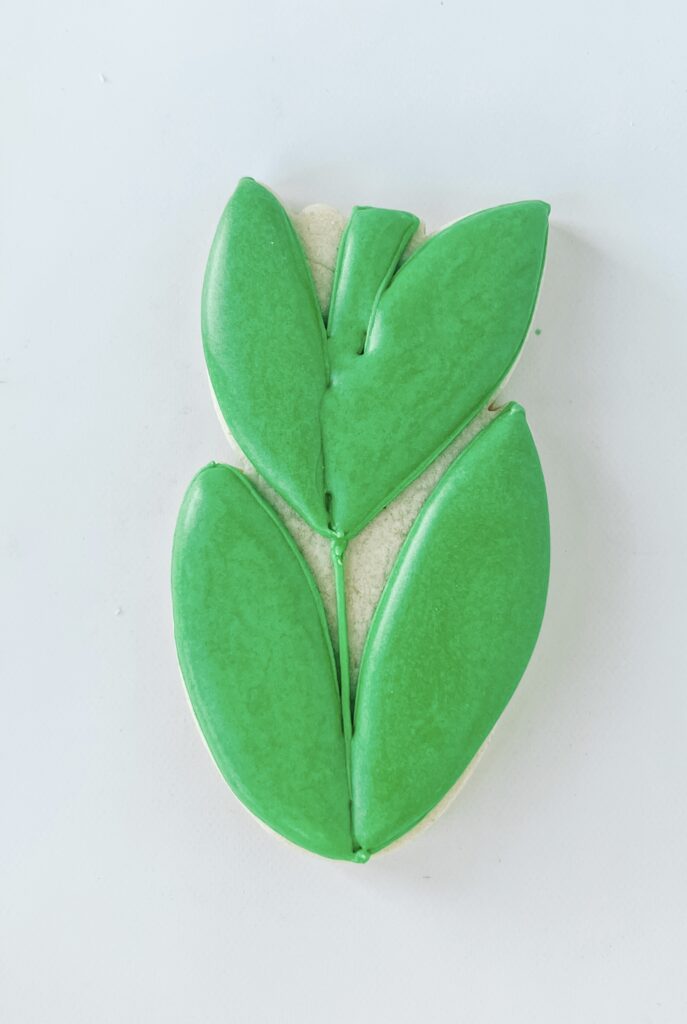
Step 1: Outline the smaller side of the tulip in yellow piping icing. Outline one side of the leaves in green piping icing.
Step 2: Fill in the outlined tulip section with yellow flood icing. Fill in the one side of the leaves in green flood icing.
Stop and allow your cookie to dry in front of a fan for 10-20 minutes before moving to the next section.
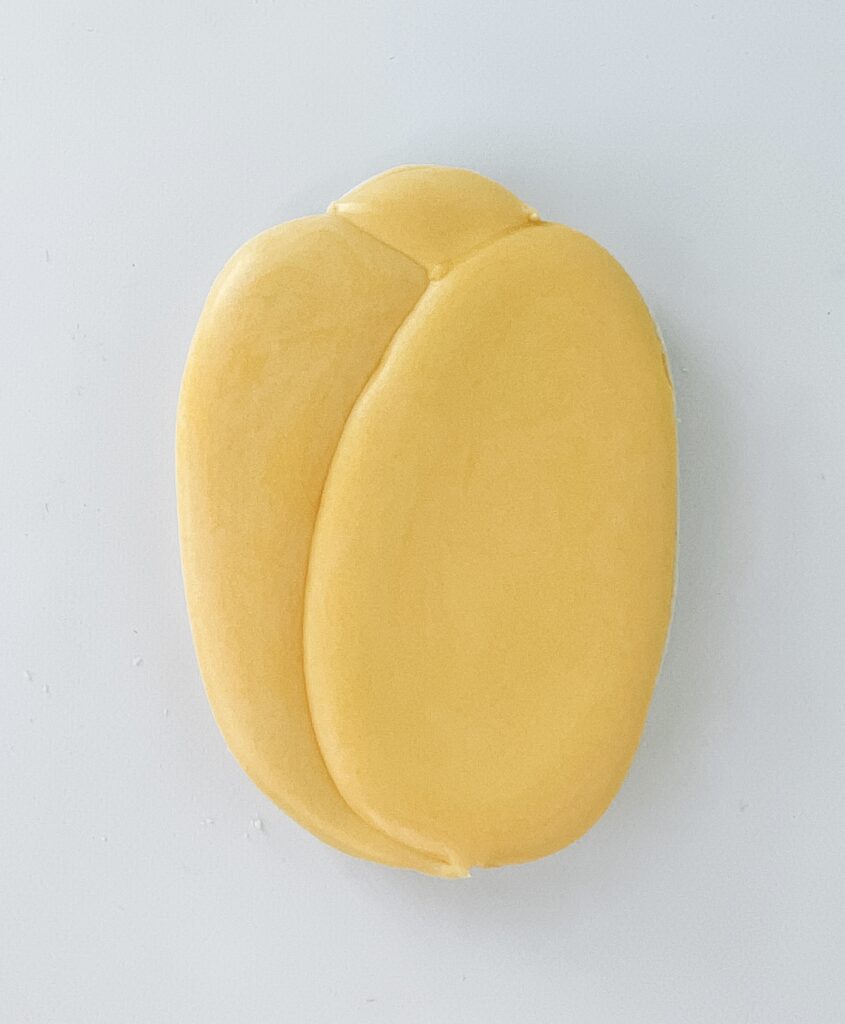
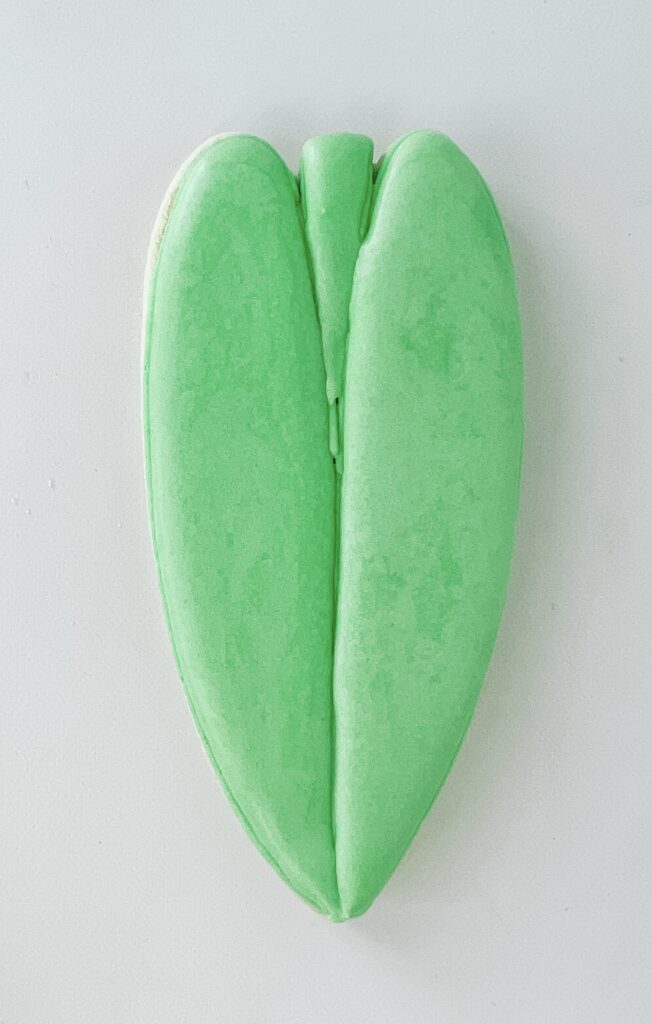
Step 2: Outline the other side (larger side) of the tulip in yellow piping icing. Outline the other leave in green piping icing
Stop and allow your cookie to dry in front of a fan for 1-2 hours before moving to the next section.
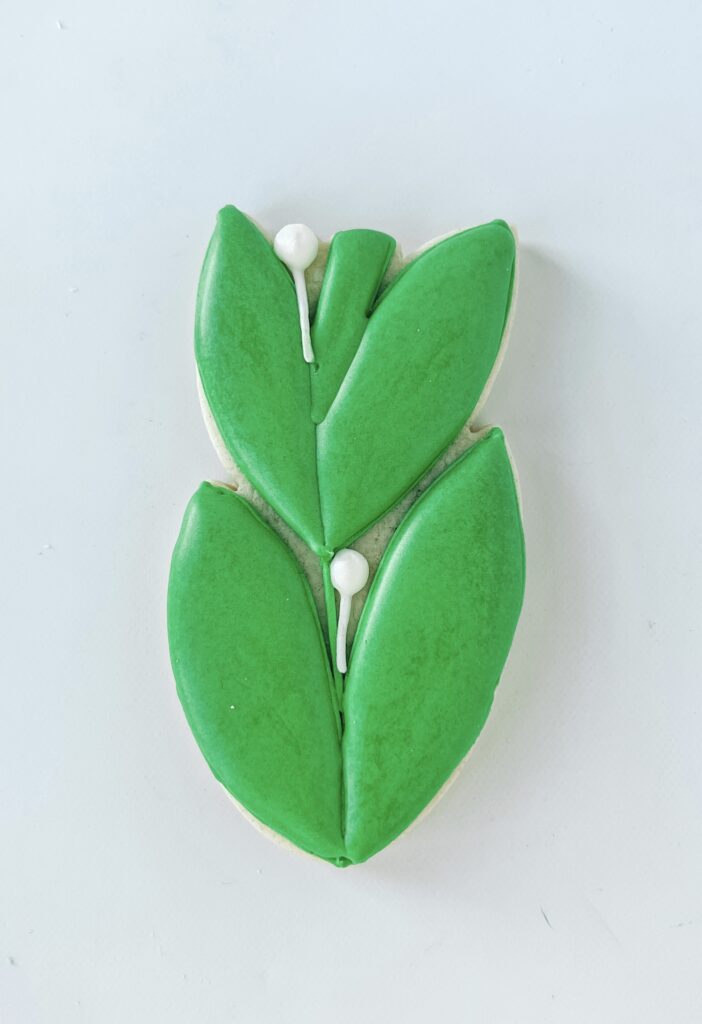
DETAILS!
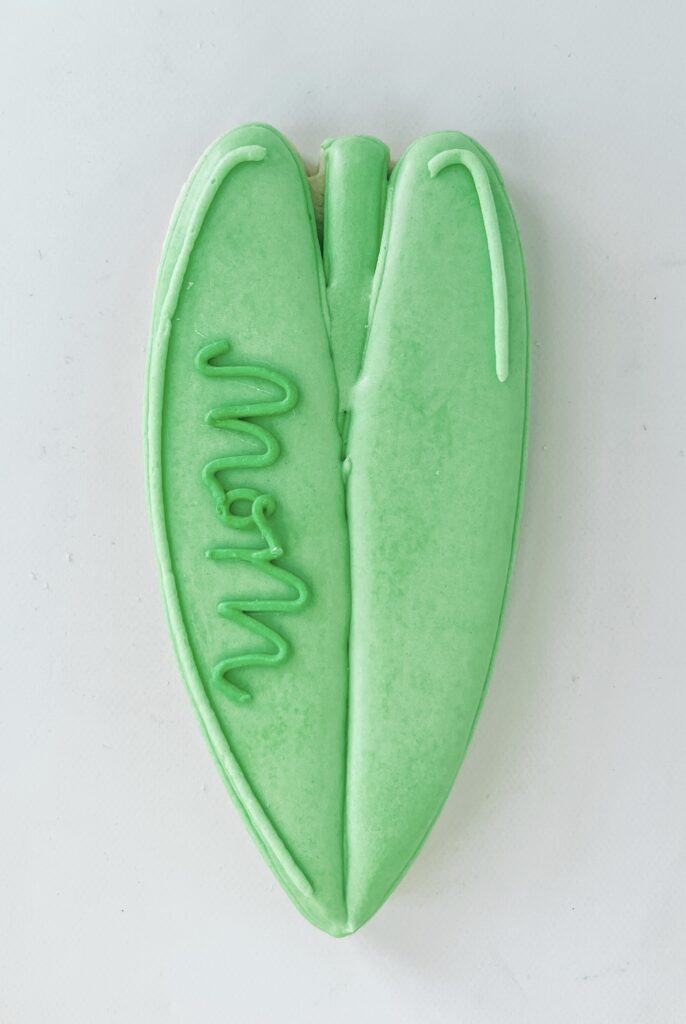
Step 3: Outline the top of the tulip in yellow piping icing. Outline the top of the leaves in green piping icing. Add details for the lead and write mom in piping icing.
Step 4: Fill in the top of the tulip with yellow flood icing. Fill in the top of the leaves with green flood icing.
PINK FLOWER COOKIE
OUTLINE AND FLOODING
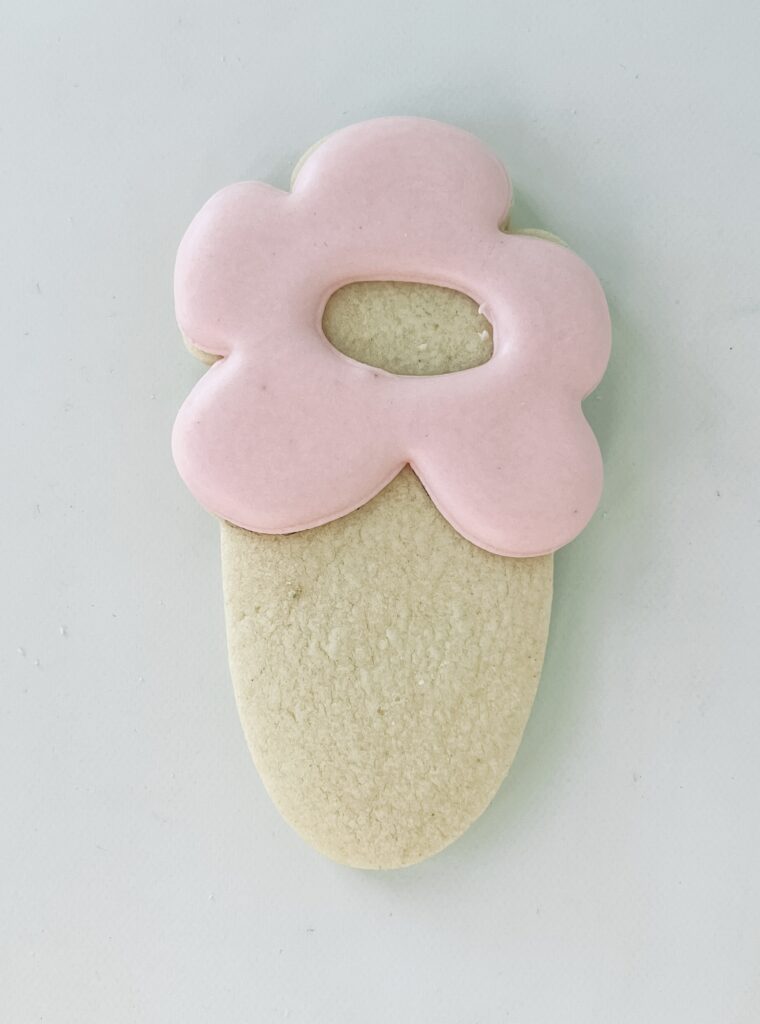
Step 1: Outline the top of the flower in light pink piping icing. Outline the oval in the middle. Outline the leaves in green piping icing
Step 2: Fill in the outlined section on the flower with light pink food icing
Stop and allow your cookie to dry in front of a fan for 15-20 minutes before moving to the next section.

DETAILS
Step 4: Outline the bottom of the flower with electric pink piping icing. Outline the top of the leaves in green piping icing.
Step 5: Fill in the outlined sections with electric pink flood icing. Fill in the oval with electric pink flood icing.
Stop and allow your cookie to dry in front of a fan for 30-45 minutes before moving to the next section.
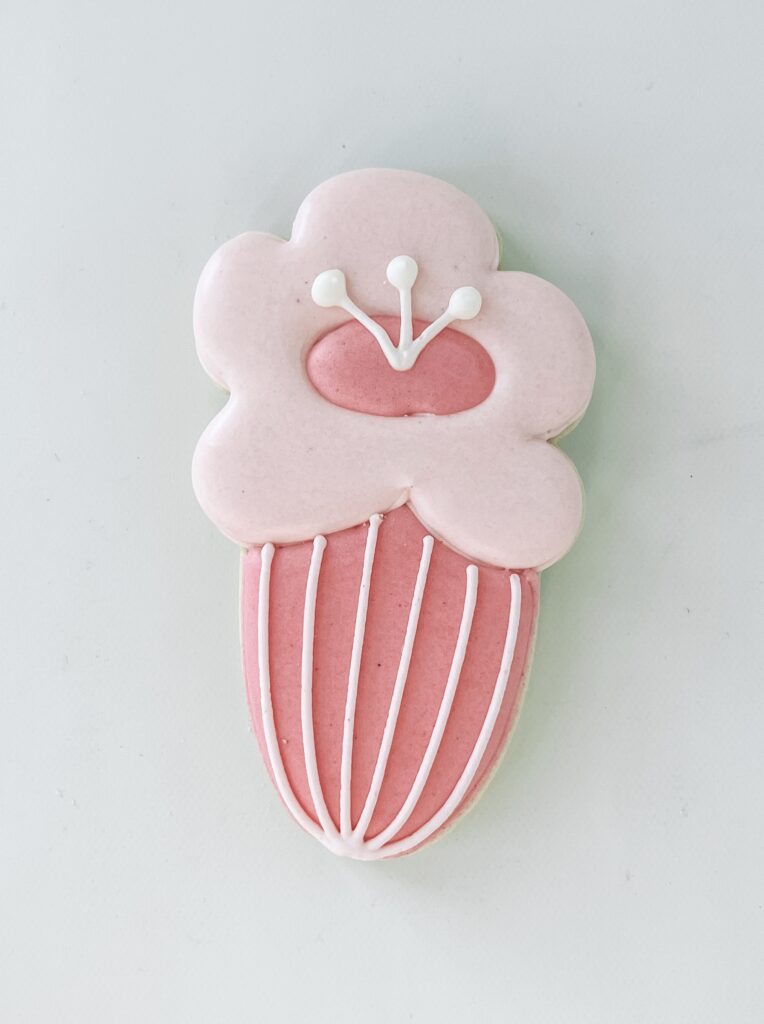
Step 6: Using white piping icing add details for the top of the flower and add details to the leaves. Using light pink piping icing add lines and details for the bottom of the flower.
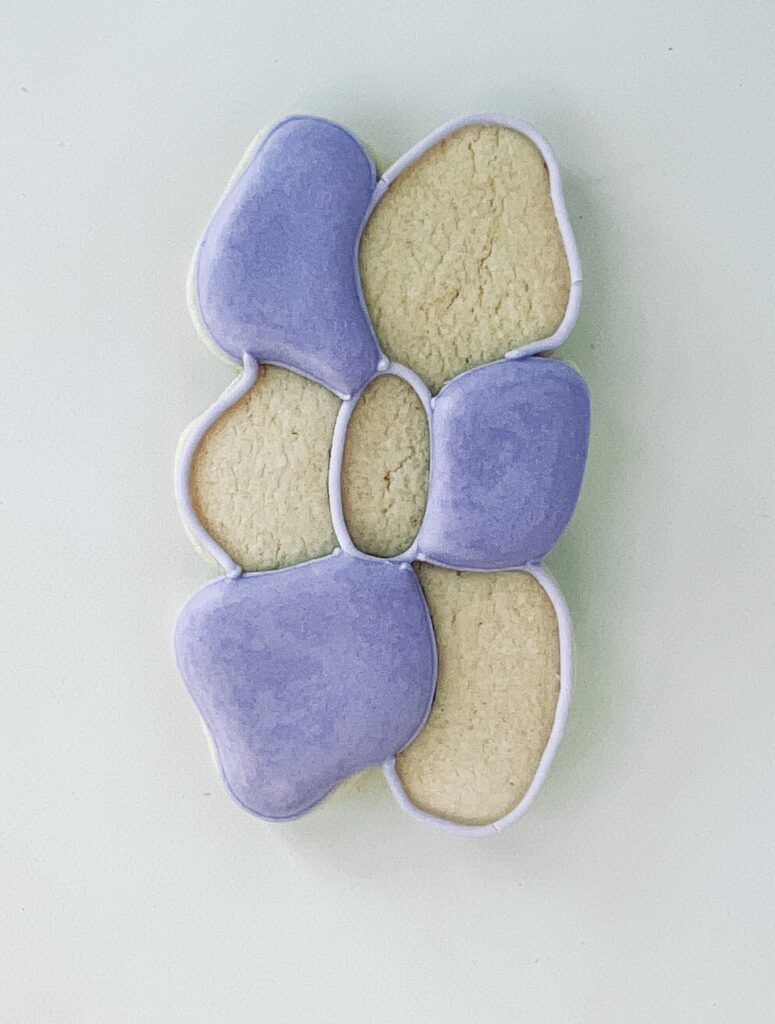
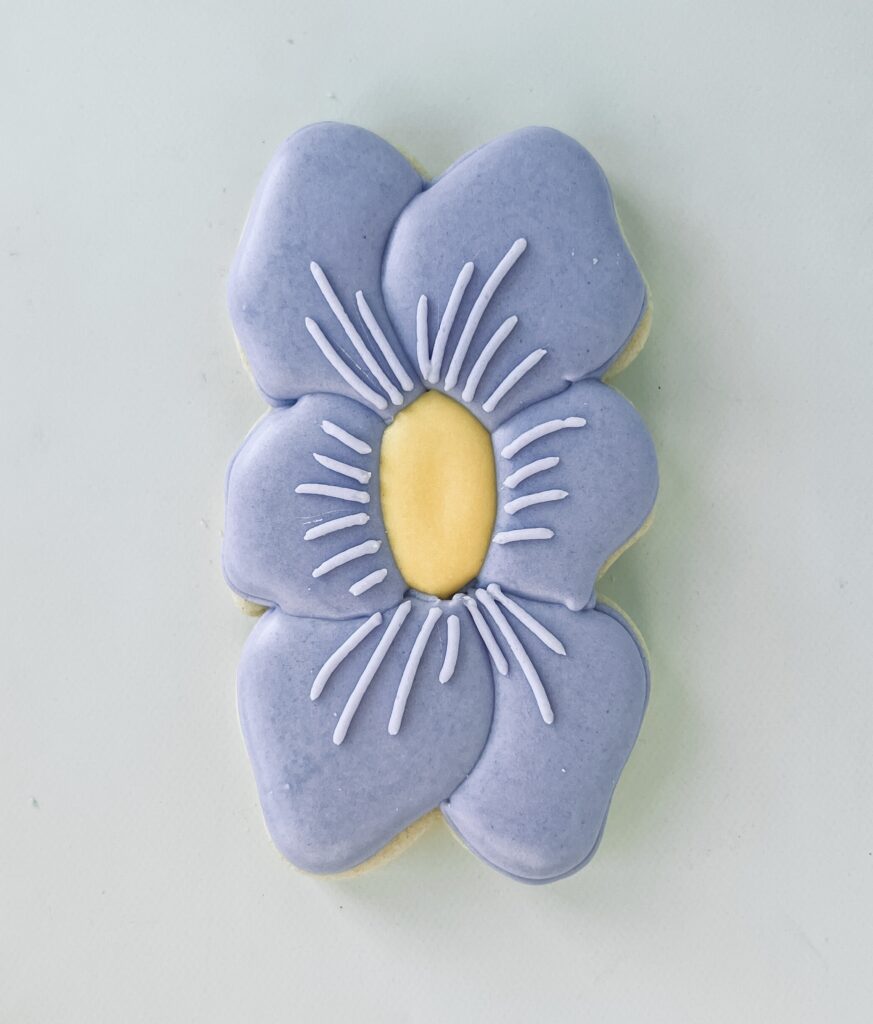
VIOLET FLOWER COOKIE
OUTLINE and FLOODING
Step 1: Outline the six flower petals and the center with purple piping icing. Outline the big leaf with green piping icing.
Step: 2: Fill in the outlined section on the flower with purple flood icing. Fill in the big leaf with green flood icing.
Stop and allow your cookie to dry in front of a fan for 1-2 hours before moving to the next section.
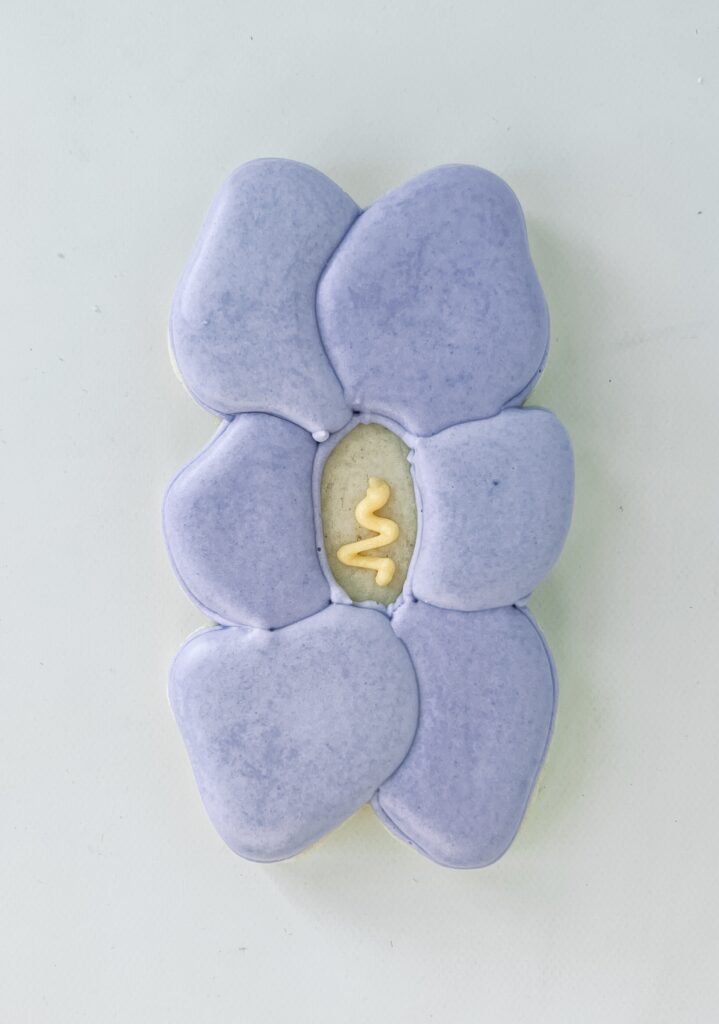
DETAILS
Step 3: Fill in the middle oval with yellow flood icing. Add line details on the petal with purple piping icing.
Step 4: Outline the other leaf and the top with green piping icing.
Step 5: Fill in the leaf and the top stem with green flood icing.
Step 6: Add line details with green piping icing. Letter mama on the big leaf with green piping icing.