
Just because you are celebrating Valentine’s Day doesn’t mean it has to be all about love and hearts, these mini We Go Together cookies are perfect for a less romantic gesture. Perfect for a new relationship, giving to a good friend, maybe your work friends that really make work better, or anyone else that you just really appreciate and connect with.
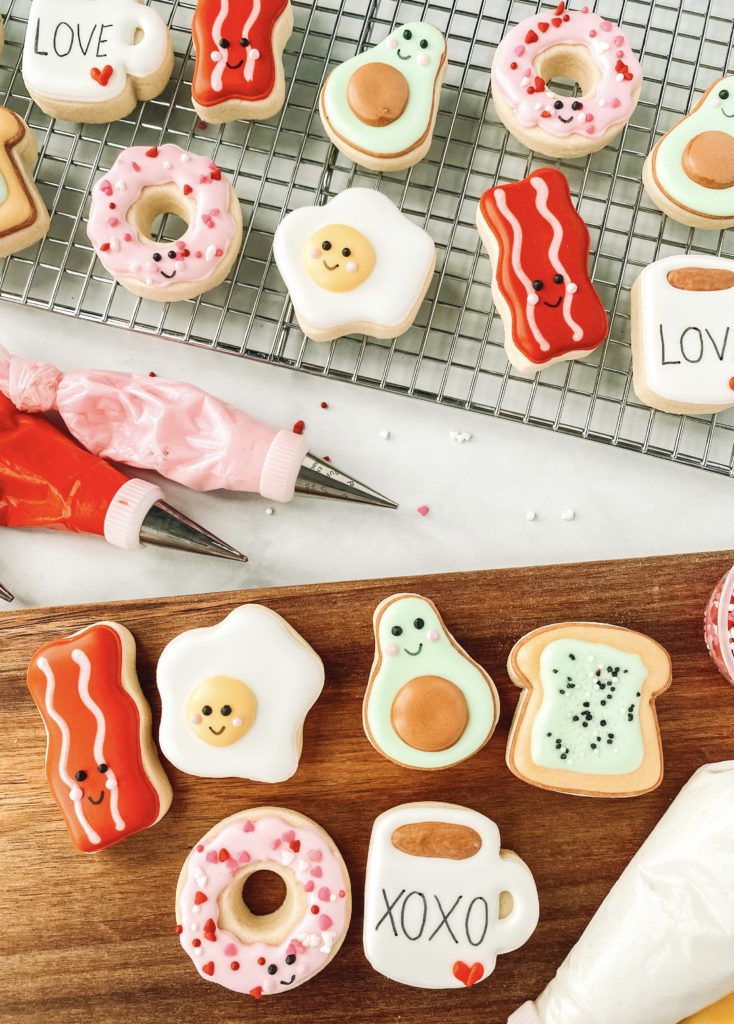
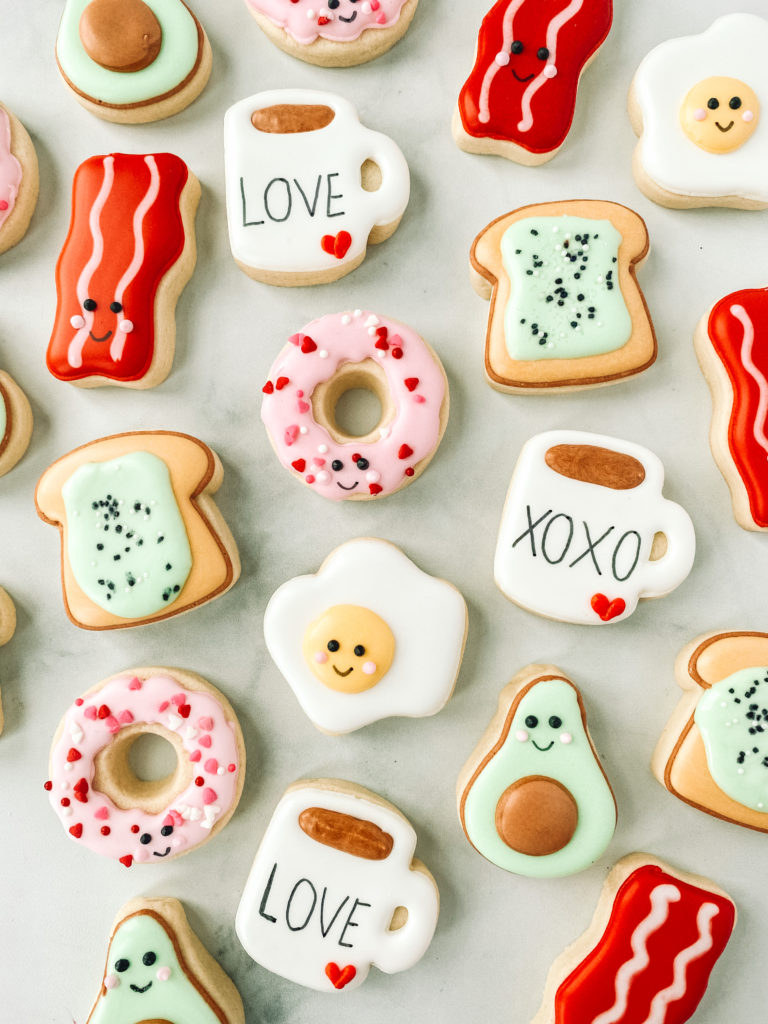
Simple designs with cute faces and classic pairings, these cookies are perfect for any level of cookie decorator. No special tools are needed besides piping bags and tips and an edible marker if you want. So now the only question is do you and your person go together like: Donuts and Coffee, Bacon and Eggs, or Avocados and Toast?
Check out the step-by-step video tutorial
I show you how to decorate these adorable We Go Together mini cookies but also share the best way to package them. Check out the video tutorial for tips on how to make and package these cookies!
For these cookies I used exclusive sugar cookie recipe and royal icing recipe. The cookie recipe yielded about 35 small/mini cookies. I like a thicker cookie so I roll out my cookies to 3/8″ using my Cookie Countess Precision Rolling Pin. The thickness of your cookie will change the cookie yield.
Prepping Royal Icing
We Go Together Cookie Set
This cookie set include 6 icing colors using brown, white, red and pink. I made a light brown, medium brown and dark brown using Totally Brown Gel color from Cookie Countess.
Helpful Decorating Tips and Tricks
Cookie Timeline
I like to break up the decorating process over a few days. It works better for my stage of life to do a little each day. Here is a sample timeline to show how long each step takes.
DAY 1
Make and bake my cookies. I do not chill my dough so usually, this takes about 1 hour from start to finish. Mix royal icing, color, and prep all the icing bags. I like to color the day before because the colors will deepen over time.
DAY 2
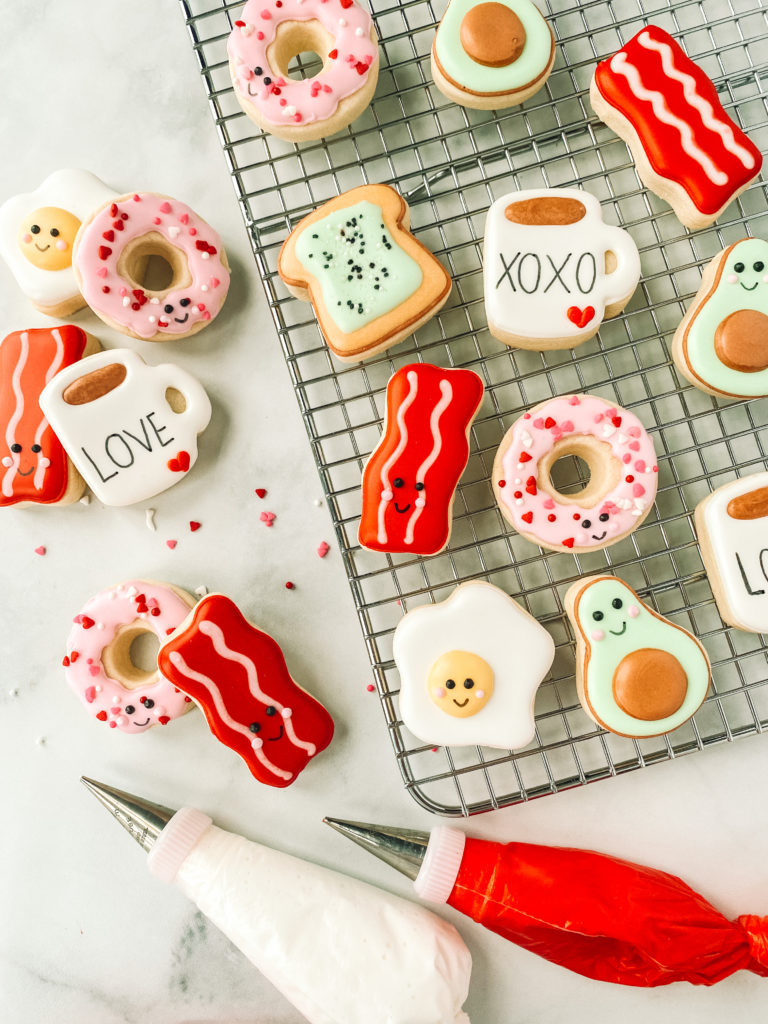
Outline and Flood Cookies. Make sure to allow them to dry in front of a fan for 1-2 hours before adding details. Add final details like airbrushing, piping and stenciling.
Day 3
Always take pictures of your beautiful cookies. Make sure to allow 10-14 hours of drying time before packaging your cookies. I like to store mine on a baking pan with a lid overnight.
Tools included in this tutorial:
- 7 Food Gels: White, Red, Pink, Totally Brown, Mint Green, Yellow, Ivory
- 14 Icing bags
- 7 #2 PME tips
- 7 Couplers
- Cutters from Sweet Sugarbelle Mini Cutter Set 2
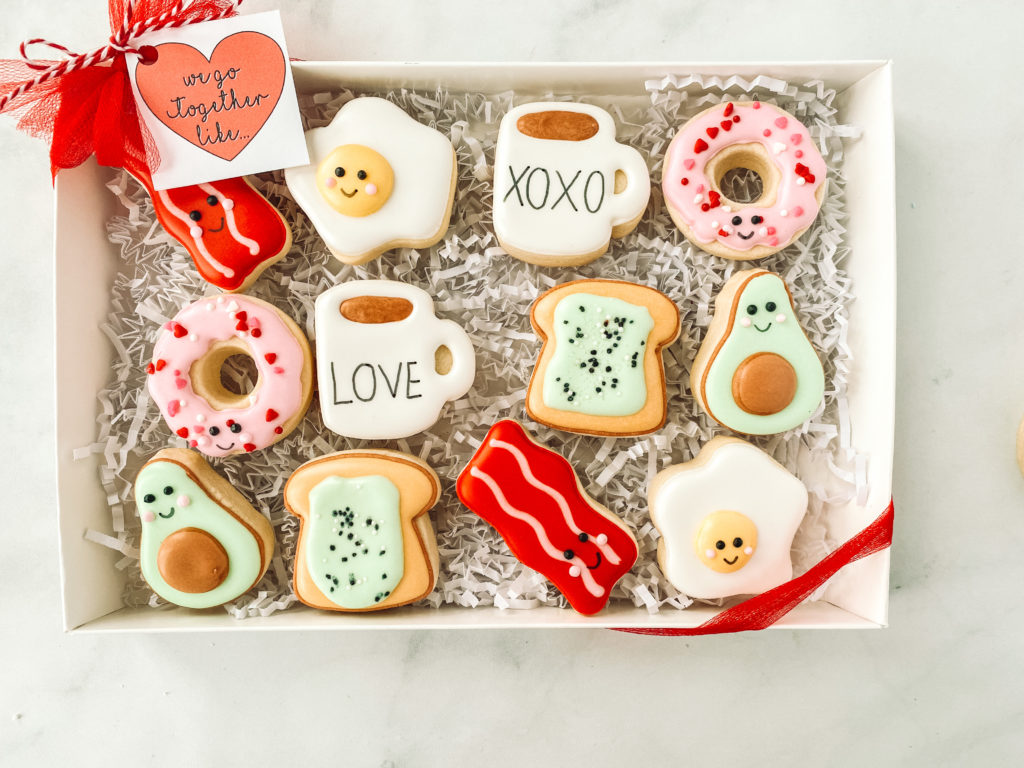
Packaging:
Red Toule, We go together like…tag from Pastry Shells, Box is 10×7 from BRP Box Shop
Now that you know how to decorate these easy little mini cookies, grab your supplies and order your cutters so you can make a few sets too! Your work buddies and bestie will love them, they’re just perfect for the people you want to show you care, without being lovey dovey!
Share your pictures and who you gave your cookies to, maybe you can inspire someone else to get out of their comfort zone and give cookie decorating a try!