
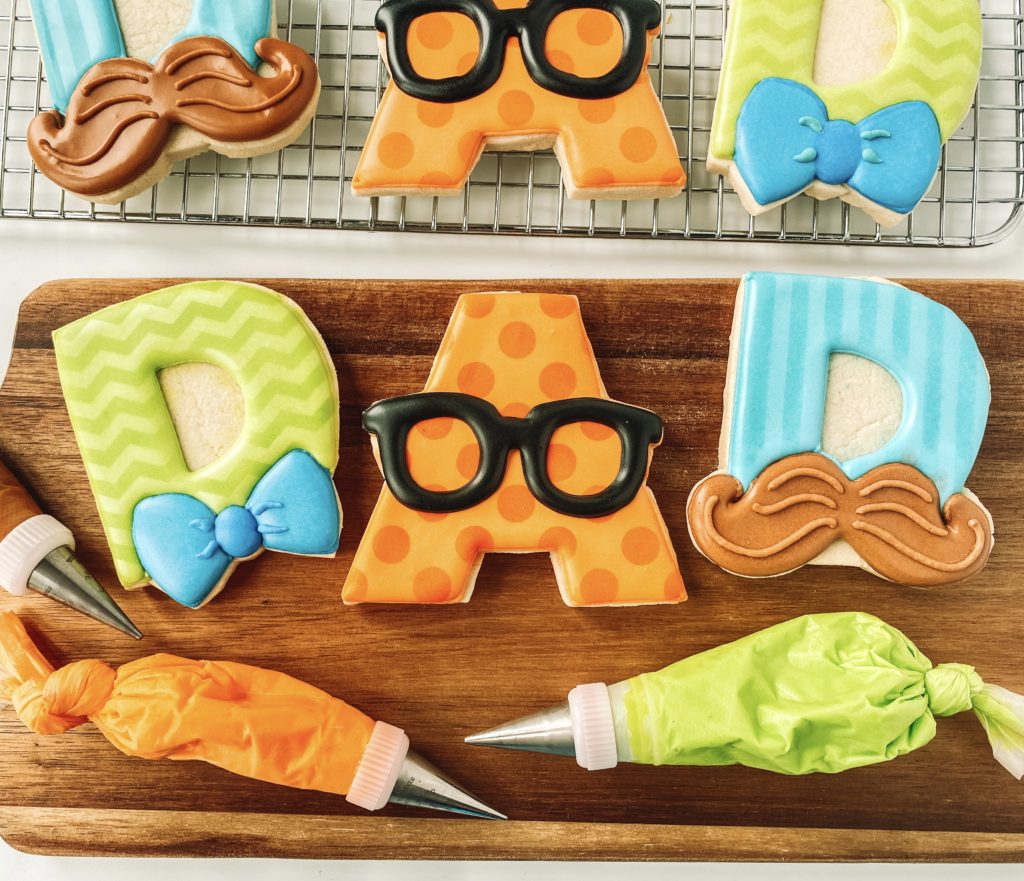
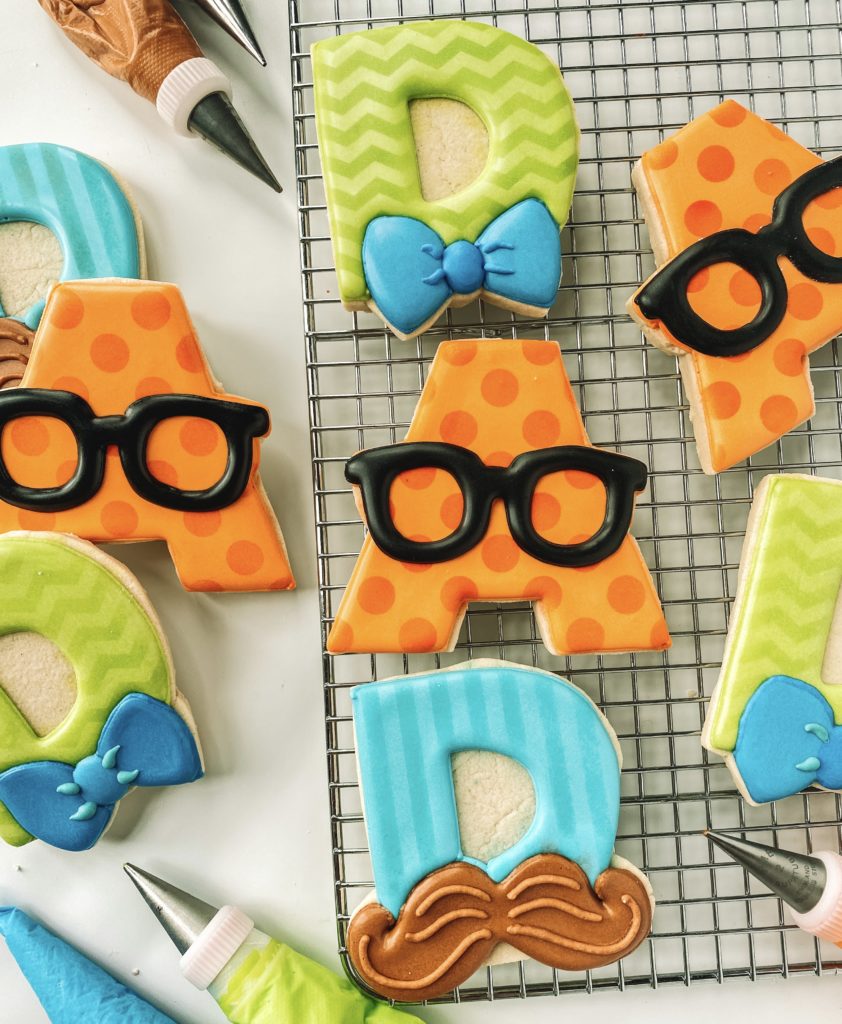
Father’s Day Cookies are always a hit with any man in your life, the way to a guy’s heart is through the stomach after all! No matter what the dad(s) in your life is like, they will love having cookies made just for them! This super easy set of Father’s Day Cookies will be as much fun to decorate as they are to give away!
For these cookies, I used my exclusive sugar cookie recipe and royal icing recipe. The cookie recipe yielded about 12-15 regular size 3 – 3.5 inch cookies. I like thicker cookies so I roll out my cookies to 3/8″ using my Cookie Countess Precision Rolling Pin. The thickness of your cookie will change the cookie yield.
Check out the step-by-step video tutorial
I show you how to decorate these colorful “DAD” cookie sets and also share the best way to package them. Check out the video tutorial for tips on how to make and package these cookies!
CUTTERS: DAD CUTTER SET – The Sweet Designs Shoppe
COLORS YOU WILL NEED:
- Electric Green Icing – outline and flood icing
- Orange Icing – outline and flood icing
- Blue – outline and flood icing
- Brown – outline and flood icing
- Black- outline and flood icing
Optional
- Airbrush Machine (Cookie Countess)
- Thin Line Stencil and big dot stencil (Cookie Countess)
- Zigzag stencil (2T’s Stencils)
- Red velvet, beachy blue, and tangerine orange airbrush color (Cookie Countess)
Prepping Royal Icing
Father’s Day Guide
This cookie set includes 5 icing colors using green, orange, blue, brown, and black. I made all the colors with Americolor
Helpful Decorating Tips and Tricks
Cookie Timeline
I like to break up the decorating process over a few days. It works better for my stage of life to do a little each day. Here is a sample timeline to show how long each step takes.
DAY 1
Make and bake my cookies. I do not chill my dough so usually, this takes about 1 hour from start to finish. Mix royal icing, color, and prep all the icing bags. I like to color the day before because the colors will deepen over time.
DAY 2
Outline and Flood Cookies. Make sure to allow them to dry in front of a fan for 1-2 hours before adding details. Add final details like airbrushing, piping and stenciling.
Day 3
Always take pictures of your beautiful cookies. Make sure to allow 10-14 hours of drying time before packaging your cookies. I like to store mine on a baking pan with a lid overnight.
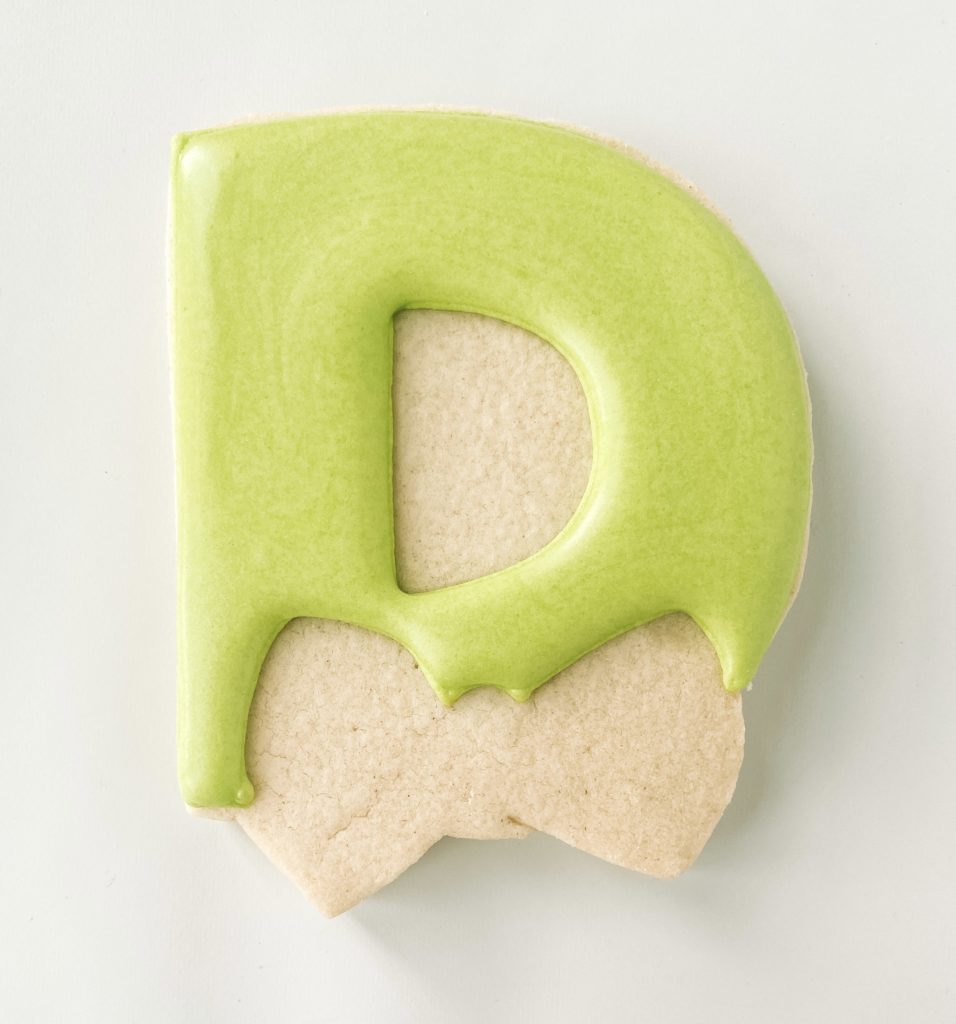
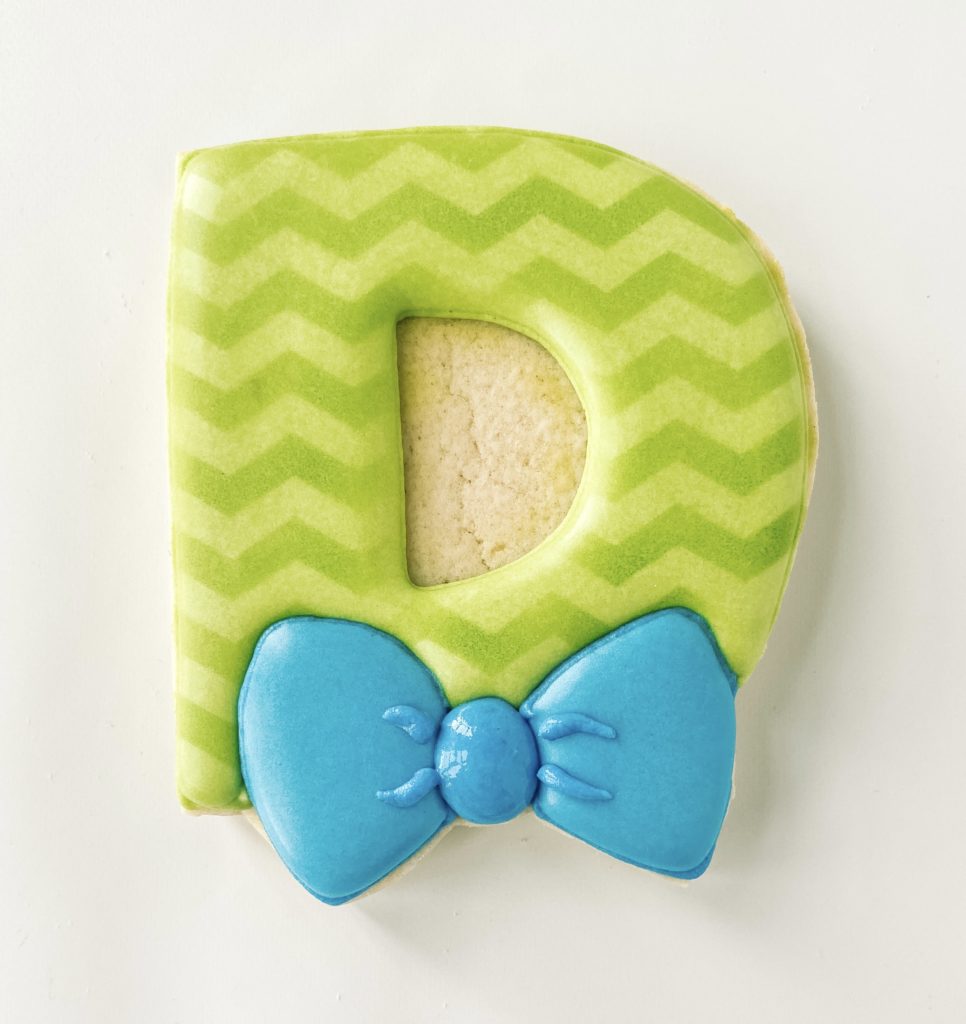
“D” with Bow Tie COOKIE
OUTLINE AND FLOODING
Step 1: Outline the cookie in green piping icing.
Step 2: Fill the outline with green flood icing.
Stop and allow your cookie to dry in front of a fan for 1-2 hours before moving to the next section.
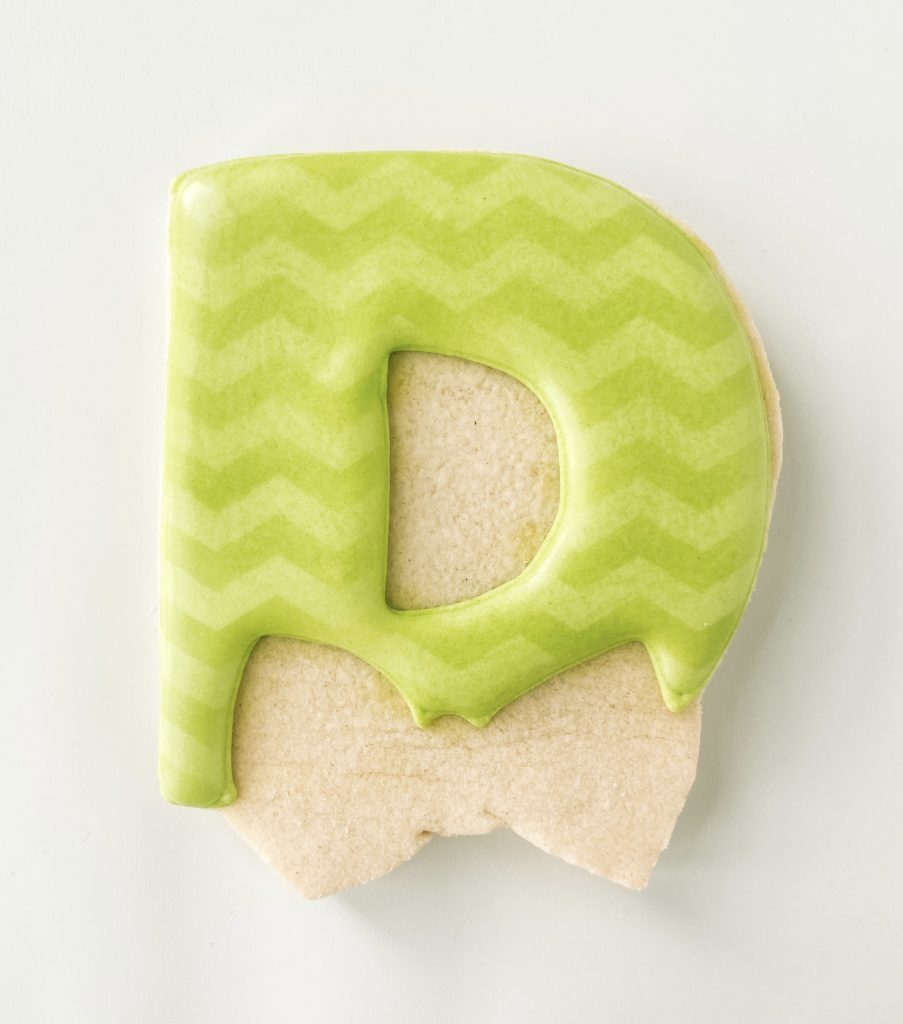
DETAILS
Step 3: Using the zigzag stencil from 2T’s (plus optional stencil genie and screen genie) lay the stencil on top of the cookie. Using glowing green airbrush color apply a layer of airbrush onto the cookie.
Stop and allow your cookie to dry in front of a fan for 10-20 minutes before moving to the next section.
Step 4: With blue piping icing outline each side of the bow with blue piping icing. Fill in the bow with blue flood icing.
Stop and allow your cookie to dry in front of a fan for 10-20 minutes before moving to the next section.
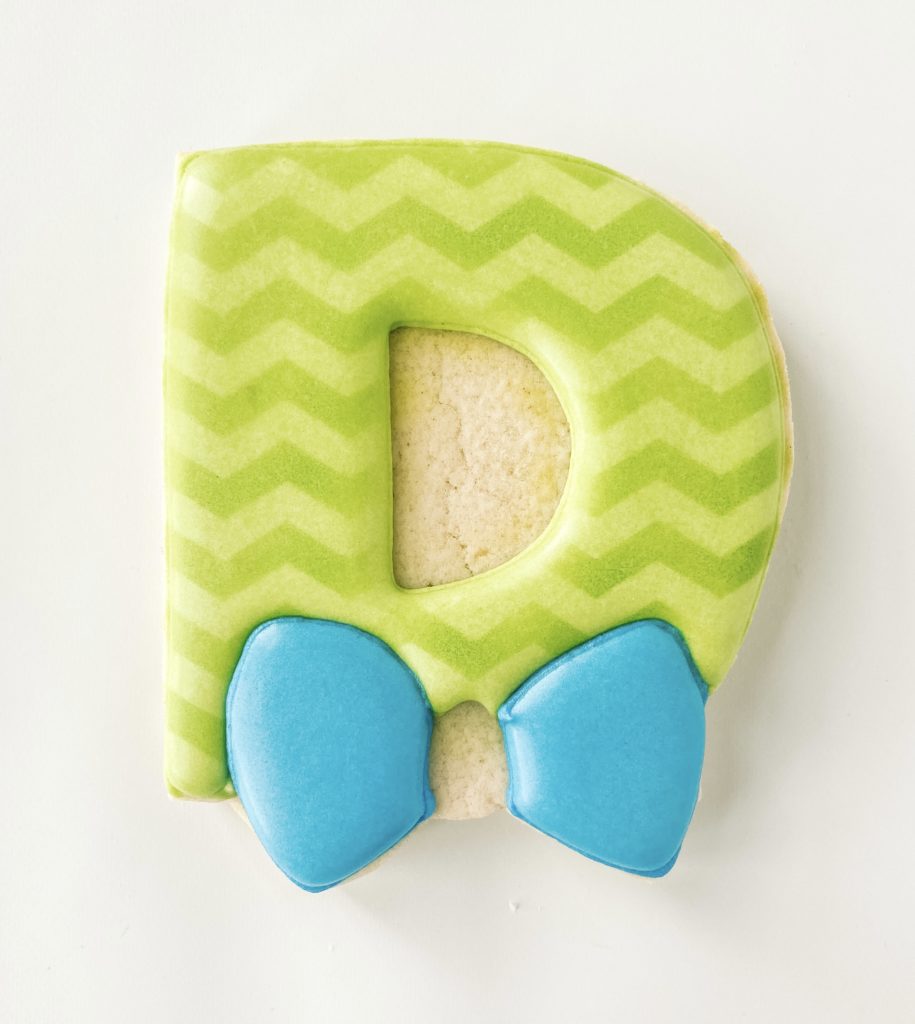
Step 5: Add details to the bow plus the middle of the bow with blue piping icing.
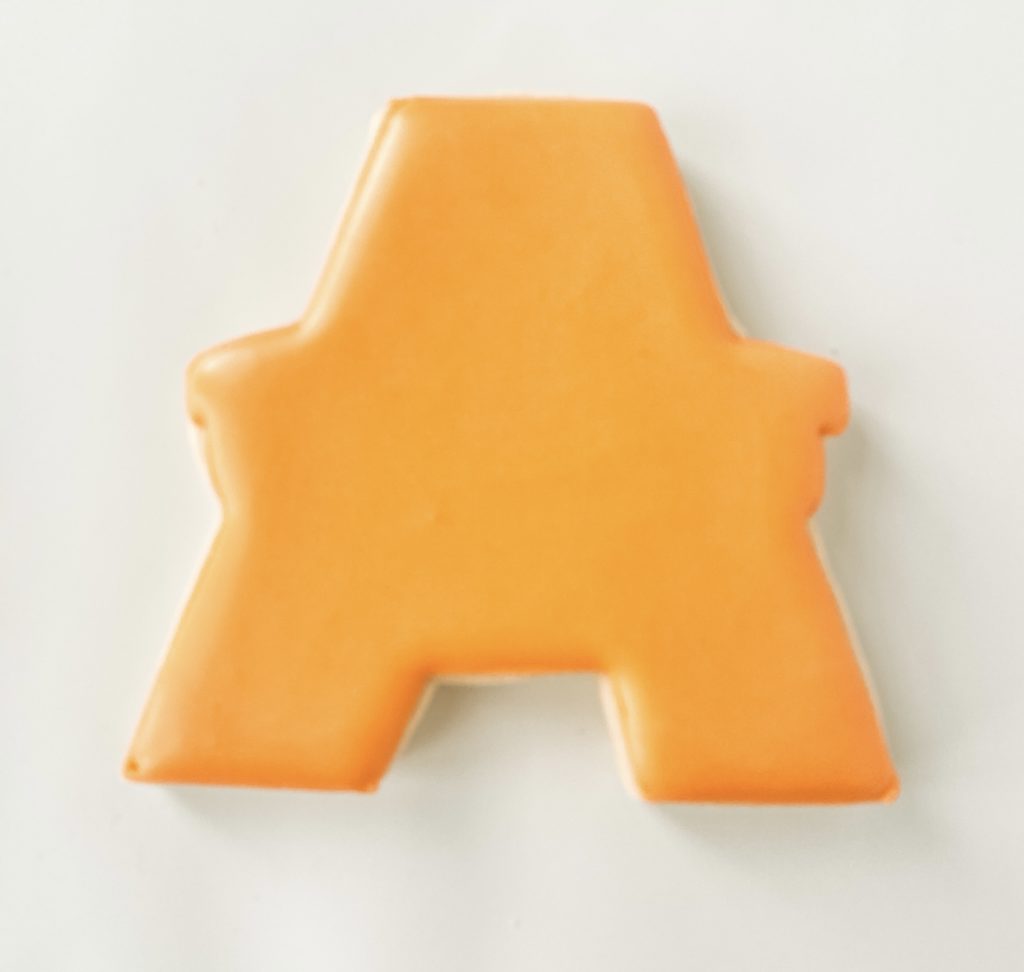
“A” COOKIE
OUTLINE AND FLOODING
Step 1: Outline the cookie in orange piping icing.
Step 2: Fill in the outline with orange flood icing.
Stop and allow your cookie to dry in front of a fan for 30-40 minutes before moving to the next section.
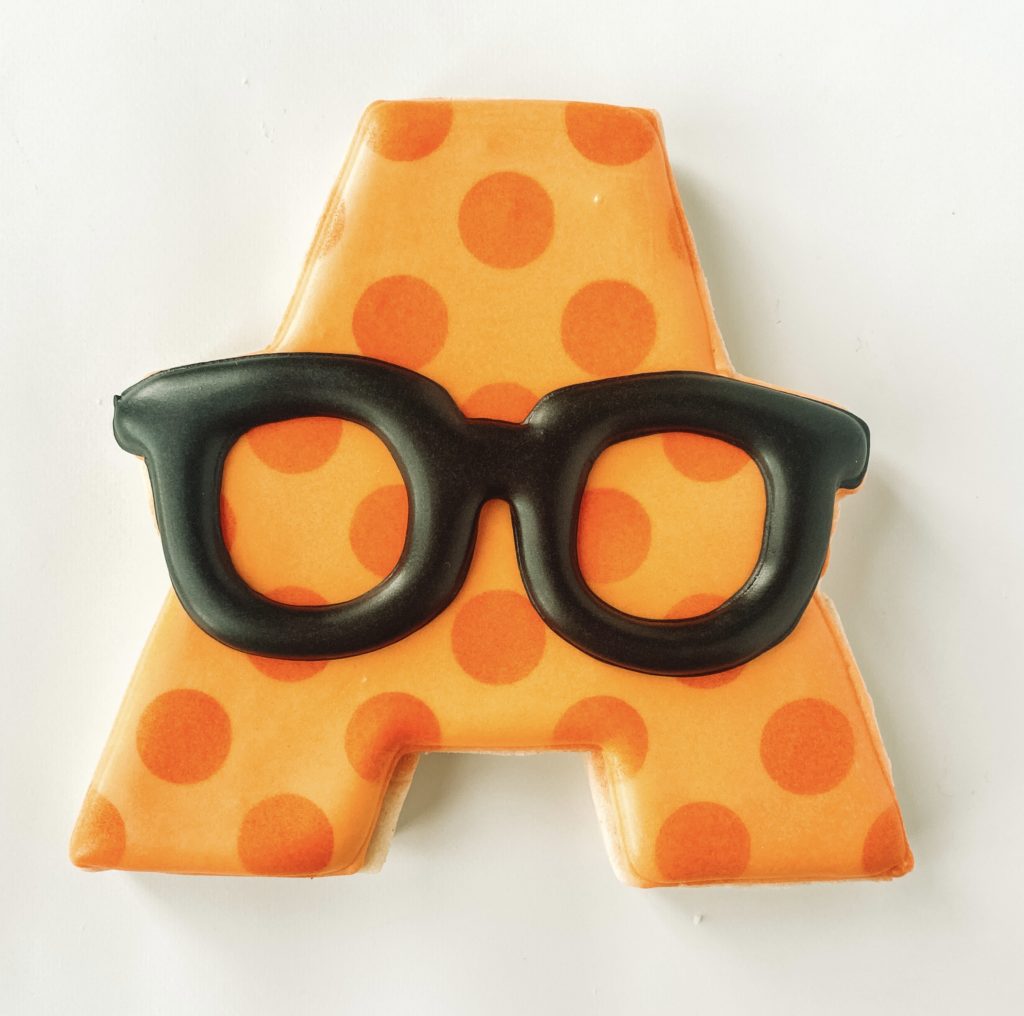
Step 3: Using the thin big dot stencil from Cookie Countess (plus optional stencil genie and screen genie) lay the stencil on top of the cookie. Using a tangerine orange airbrush color apply a layer of airbrush onto the cookie.
Stop and allow your cookie to dry in front of a fan for 10-20 minutes before moving to the next section.

DETAILS
Step 3: With black piping icing outline the nerdy glasses. Fill in the outline with black flood icing.
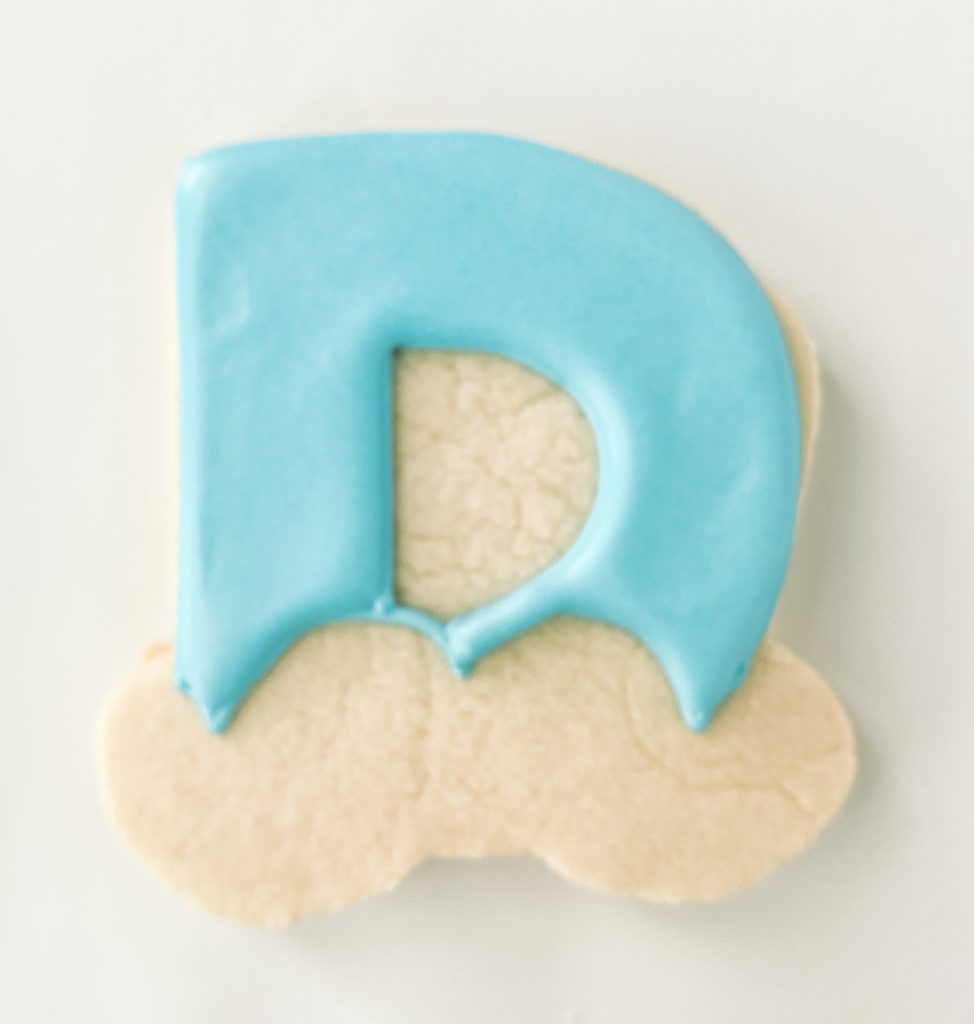
“D” with mustache COOKIE
OUTLINE AND FLOODING
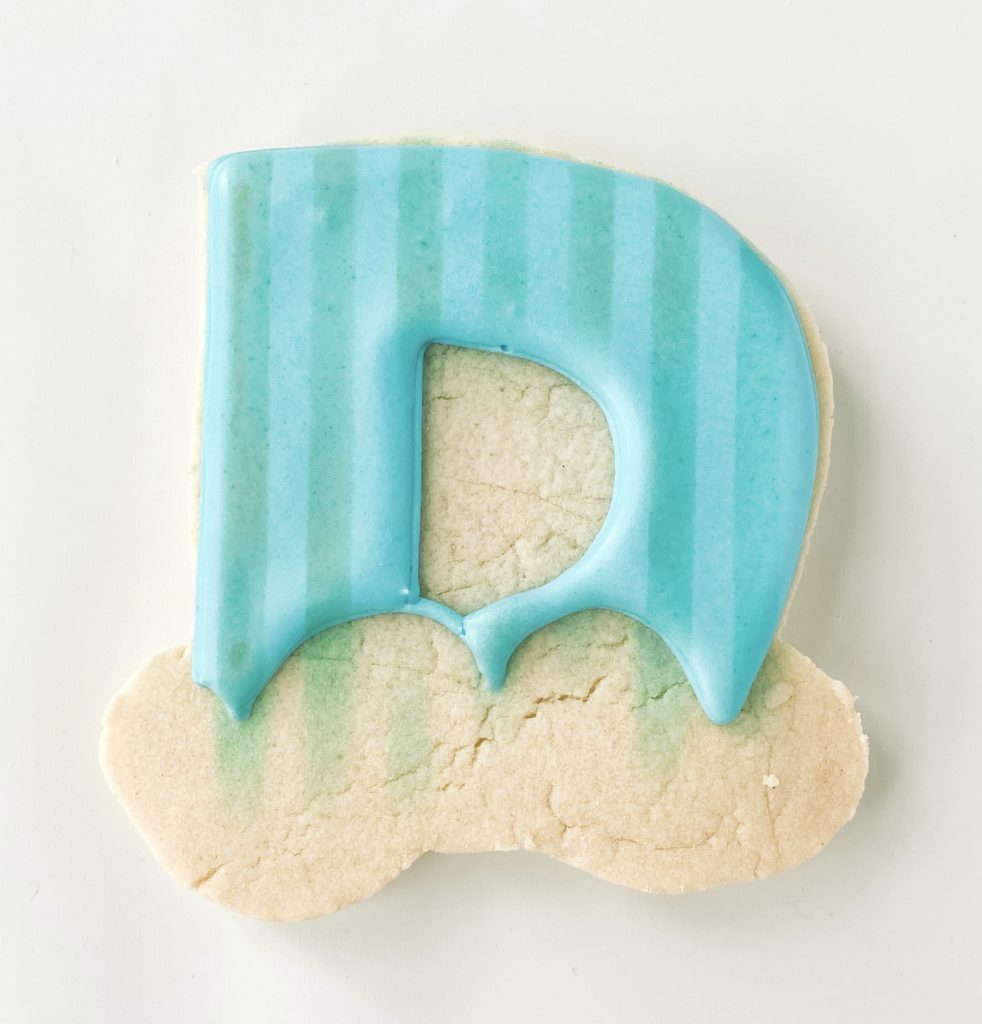
Step 1: Outline the cookie in blue piping icing. Outline around the mustache
Step 2: Fill the outline with blue flood icing.
Stop and allow your cookie to dry in front of a fan for 1-2 hours before moving to the next section.
DETAILS
Step 3: Using the thin stripe stencil from Cookie Countess (plus optional stencil genie and screen genie) lay the stencil on top of the cookie. Using beachy blue airbrush color apply a layer of airbrush onto the cookie.
Stop and allow your cookie to dry in front of a fan for 10-20 minutes before moving to the next section.
Step 4: With brown piping icing outline the mustache with icing. Fill in the mustache with brown flood icing.
Stop and allow your cookie to dry in front of a fan for 10-20 minutes before moving to the next section.
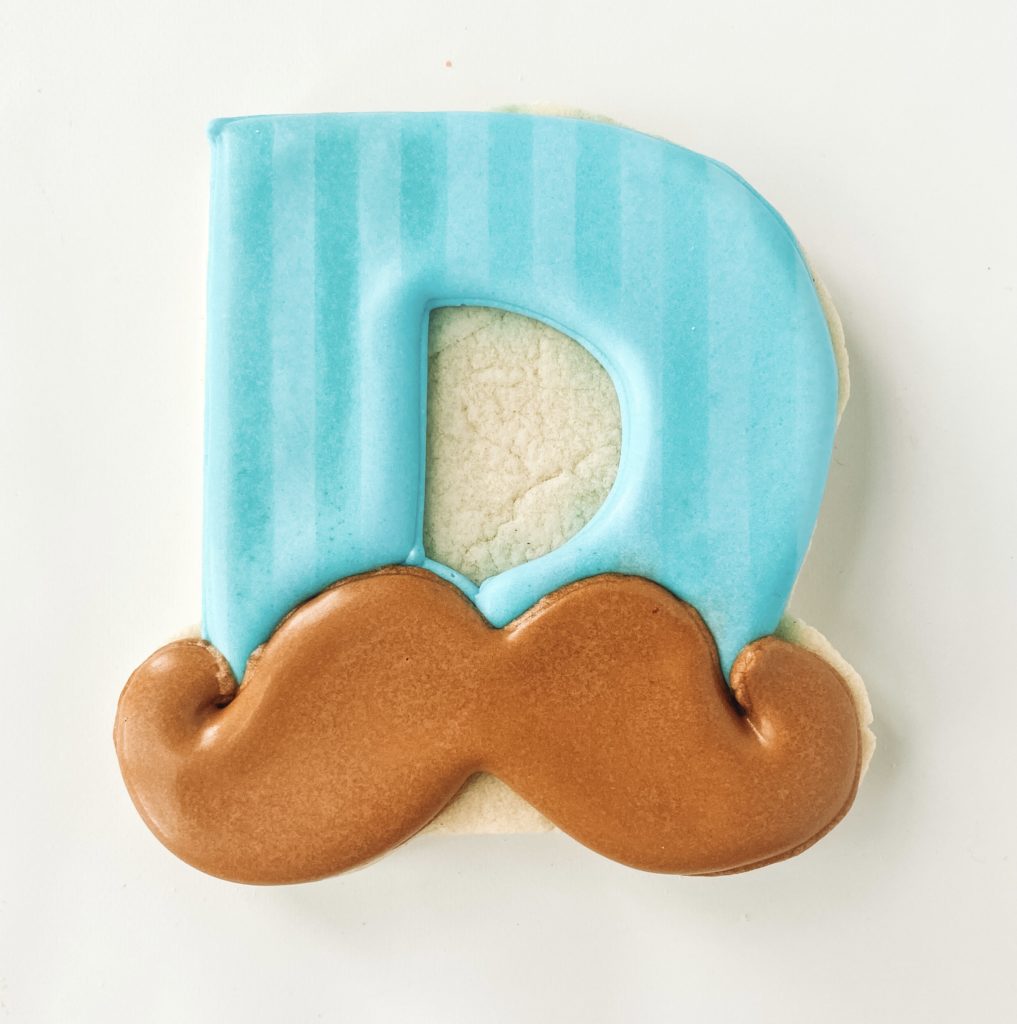
Step 5: Add details to the mustache with brown piping icing.
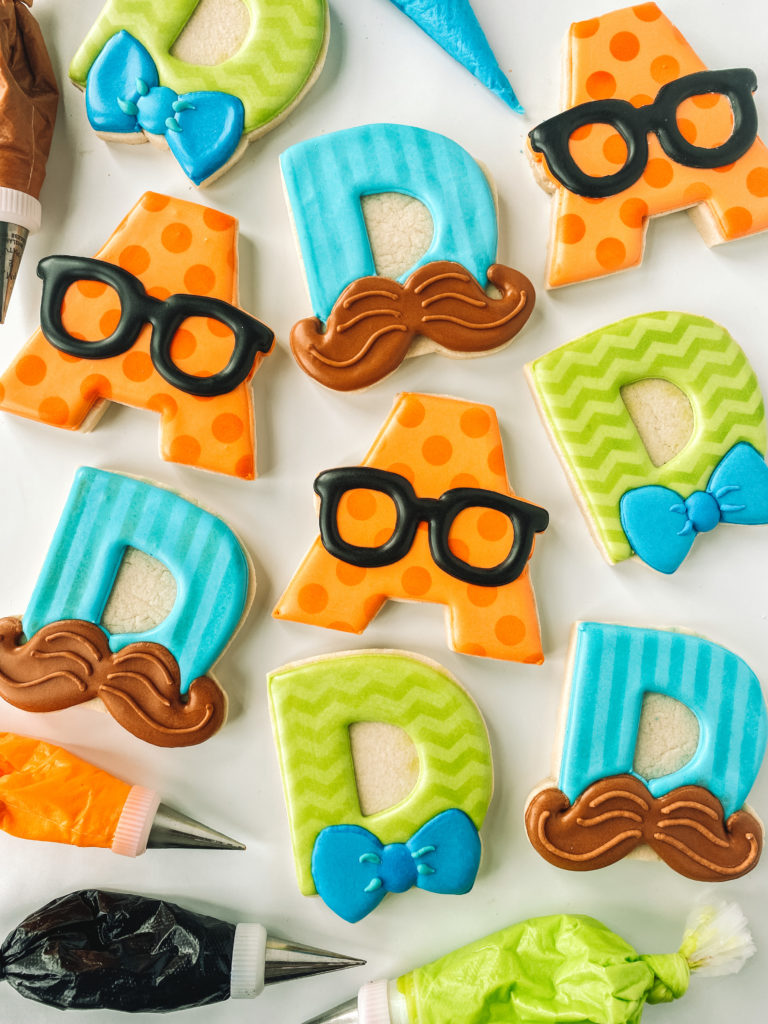
Now you have a great set of Father’s Day Cookies to package up and give to the dad in your life! You can change things up for the personality that your dad has, make the mustache a different color, jazz up the bow tie, give him glasses that match his real ones, and make the airbrushing designs match his personality too!
If you don’t have an airbrush, no worries! You can do some wet-on-wet techniques or leave them solid colors, whatever works for you. This cookie set is able to be decorated by any skill level, you could even do it with the kids and make it even more fun for dad to get as a gift!
Don’t forget to post a picture of your finished set and tag me on Instagram so I can see your beautiful Father’s Day Cookie sets!