
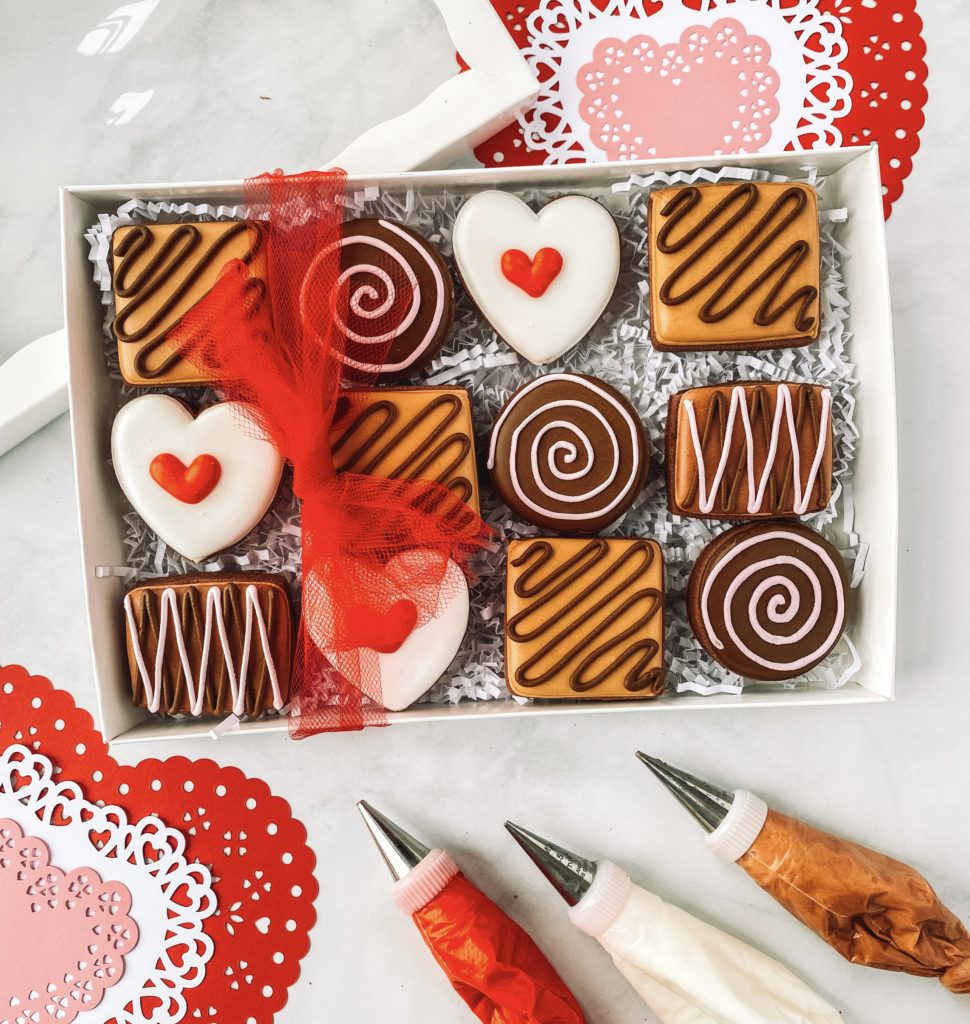
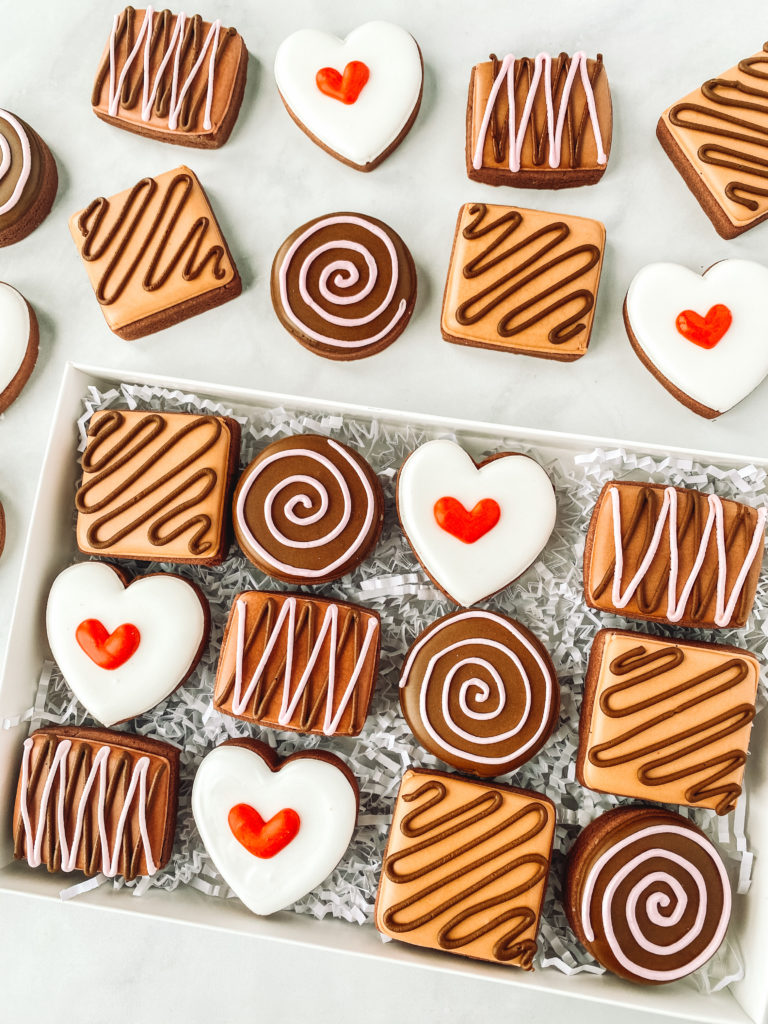
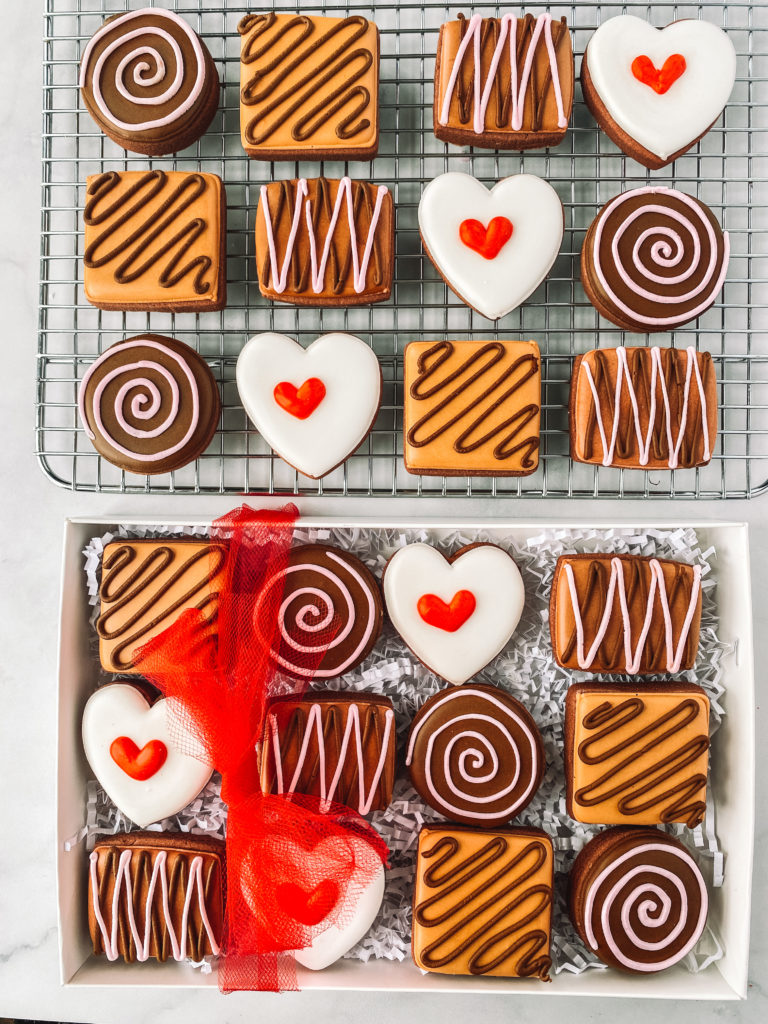
Cookies or chocolates for your valentine, who says you have to choose when you can have both with these delicious and adorable Box of Chocolate Cookies!
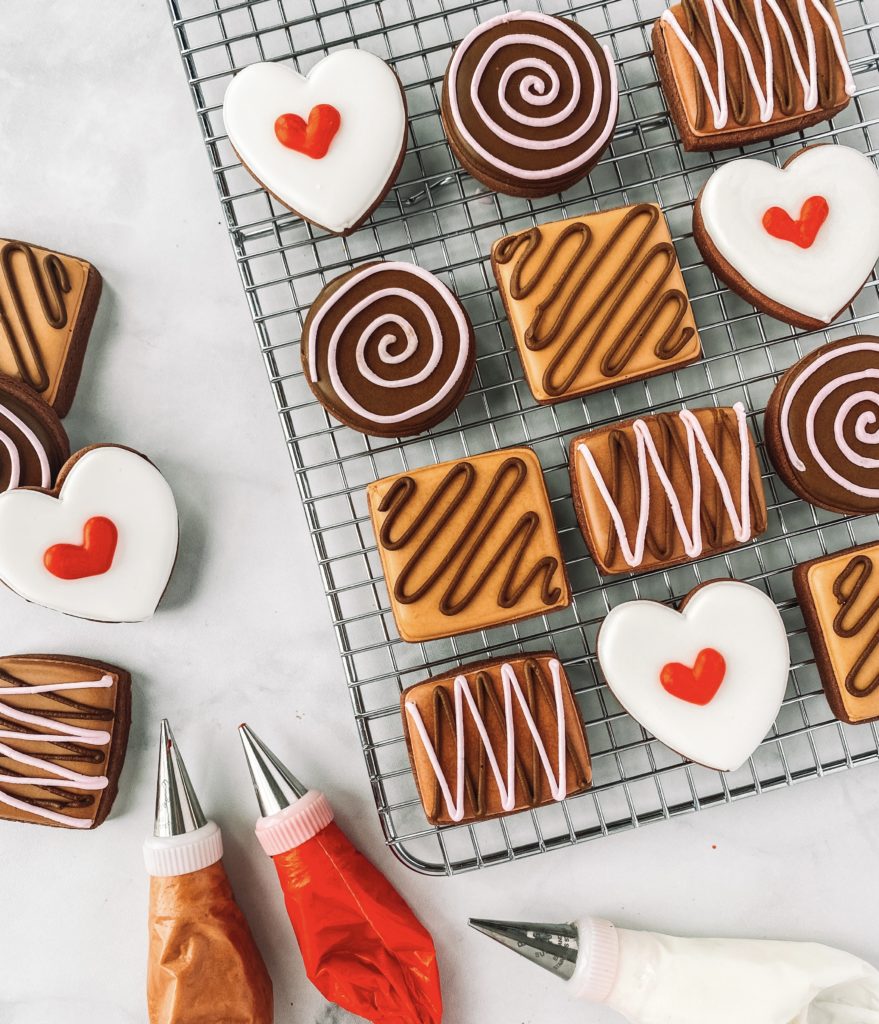
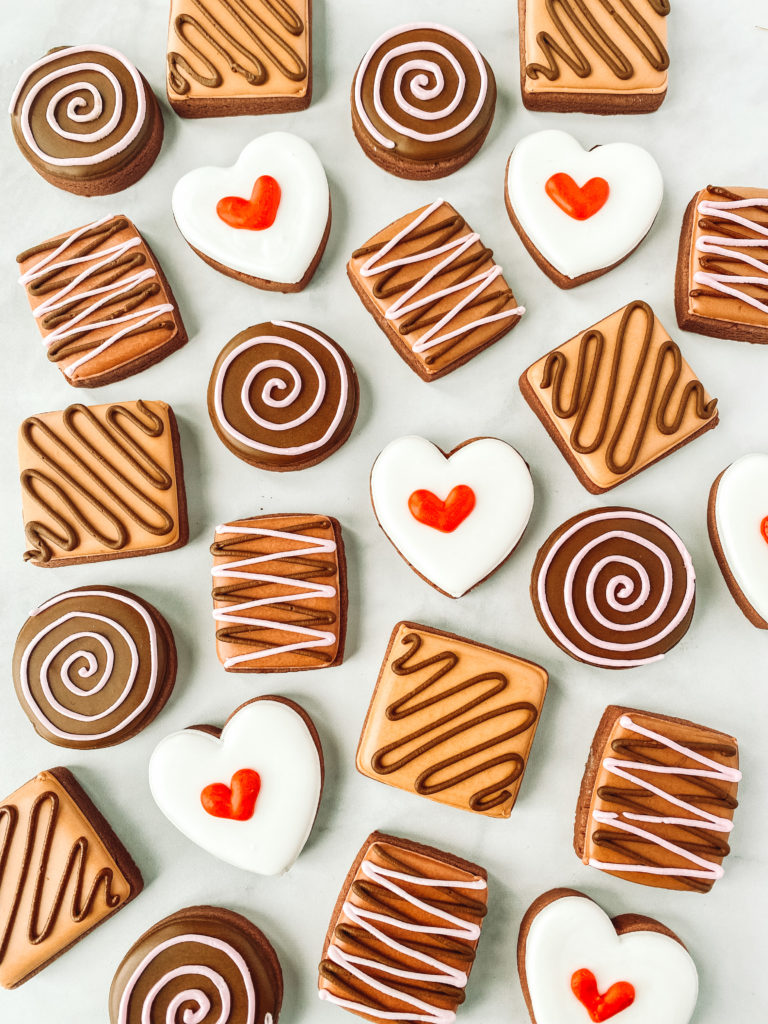
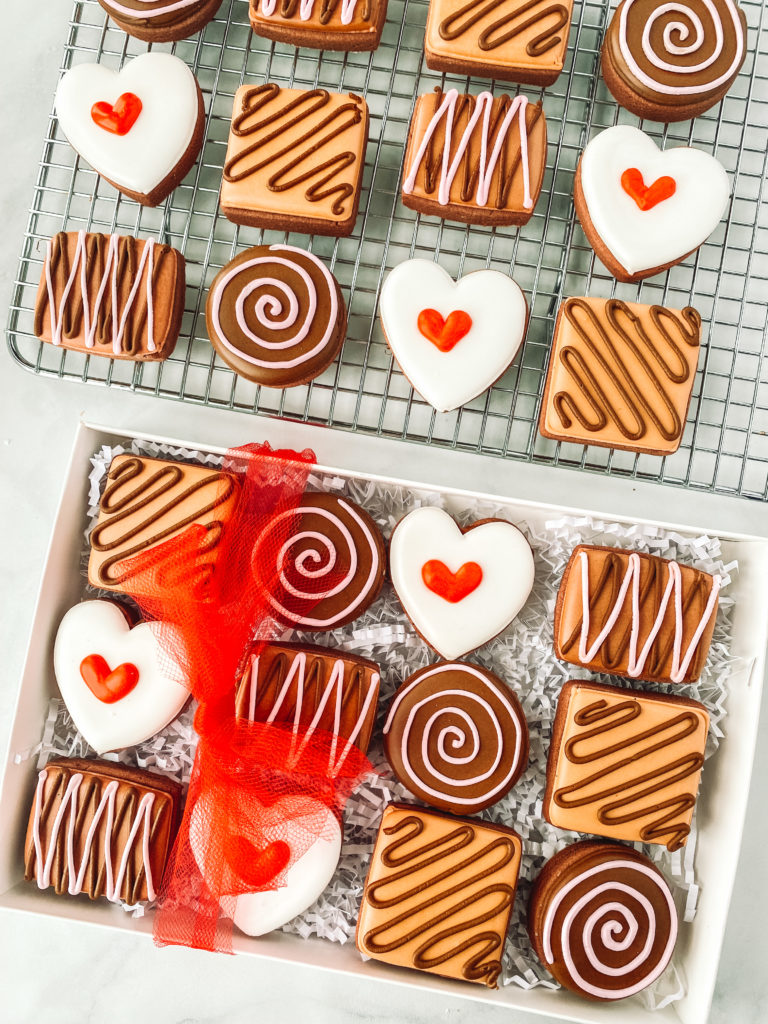
This is one of my favorite Valentine’s Day cookie designs, it’s simple and easy, and I made them with chocolate sugar cookie dough (it’s red velvet, but that’s chocolate with food coloring), I mean, what else would you make cookies that look like chocolates out of?! 🙂
If you have a chocolate lover in your life and you’re trying to find something new and different to gift them for Valentine’s Day this is a fun and easy cookie you can quickly decorate just by following my YouTube video posted below, you don’t even need to buy cutters, you can hand-cut circles and squares and that’s all you need.
Check out the step-by-step video tutorial
I show you how to decorate these yummy chocolates but also share the best way to package them. Check out the video tutorial for tips on how to make and package these cookies!
For these cookies I used Sweet Sugarbelle’s Red Velvet Roll-out cookie recipe. The cookie recipe yielded about 35 small/mini cookies. I like a thicker cookie so I roll out my cookies to 3/8″ using my Cookie Countess Precision Rolling Pin. The thickness of your cookie will change the cookie yield.
Prepping Royal Icing
Box of Chocolate Icing Guide
This cookie set include 6 icing colors using brown, white, red and pink. I made a light brown, medium brown and dark brown using Totally Brown Gel color from Cookie Countess.
Helpful Decorating Tips and Tricks
Cookie Timeline
I like to break up the decorating process over a few days. It works better for my stage of life to do a little each day. Here is a sample timeline to show how long each step takes.
DAY 1
Make and bake my cookies. I do not chill my dough so usually, this takes about 1 hour from start to finish. Mix royal icing, color, and prep all the icing bags. I like to color the day before because the colors will deepen over time.
DAY 2
Outline and Flood Cookies. Make sure to allow them to dry in front of a fan for 1-2 hours before adding details. Add final details like airbrushing, piping and stenciling.
Day 3
Always take pictures of your beautiful cookies. Make sure to allow 10-14 hours of drying time before packaging your cookies. I like to store mine on a baking pan with a lid overnight.
Tools included in this tutorial:
- 4 Food Gels: White, Red, Pink, Totally Brown
- 12 Icing bags
- 6 #2 PME tips
- 6 Couplers
Your valentine will love these sugar cookies as much as you enjoyed making them, now that you know how, go ahead and make your own! I can’t wait to see your cookies, so don’t forget to post them on social media and tag me so I can see them too!