
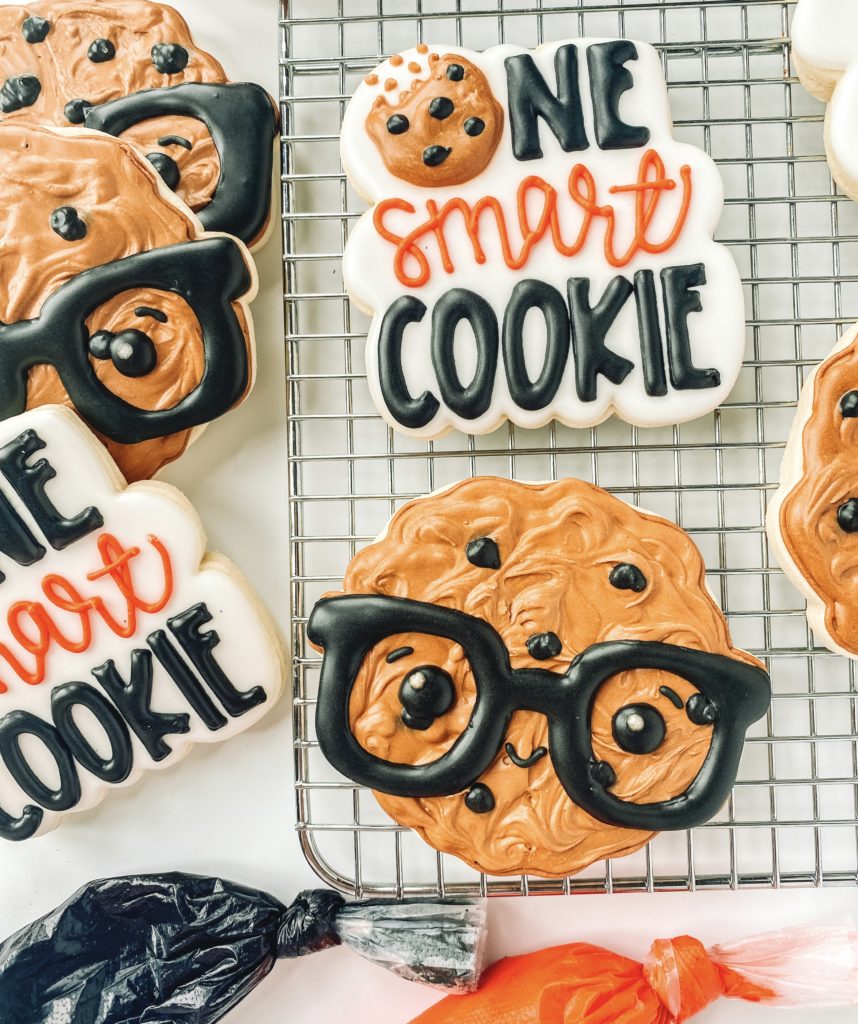
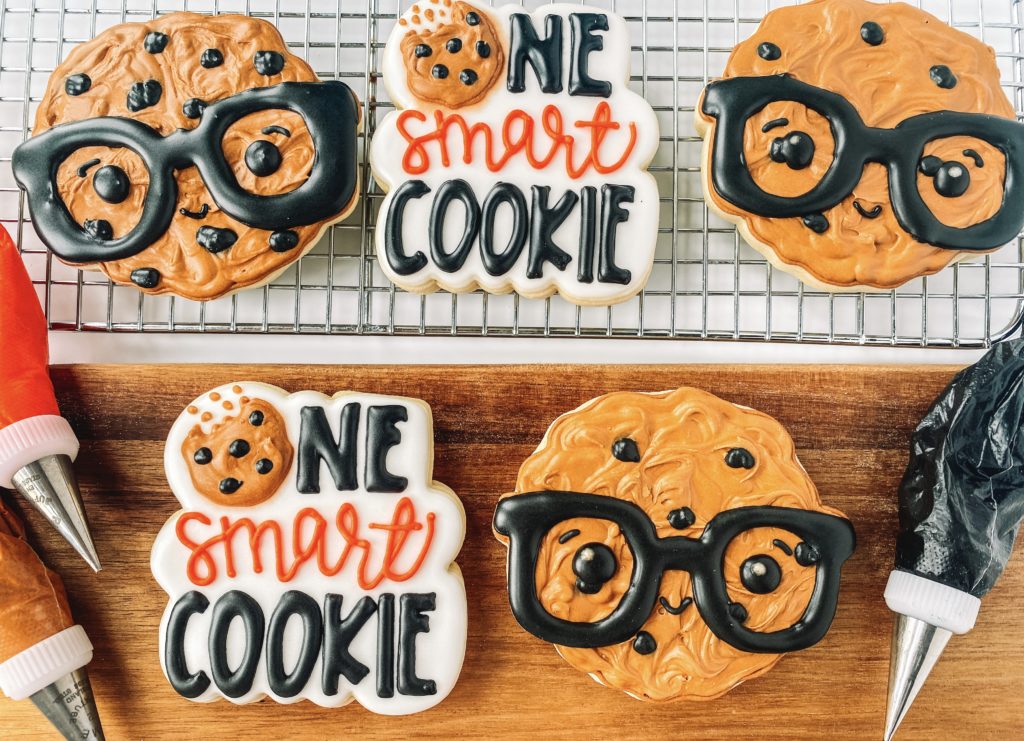
Want to make cookies to celebrate the end of the school year and graduation all in one set? Make this One Smart Cookie Set and you can use it in multiple ways! This cute set of faux chocolate chip cookies with adorable glasses is perfect for any academic celebration, even someone finishing a doctoral degree! Let’s talk about how to decorate the One Smart Cookie set, it’s easier than you think.

Check out the step-by-step video tutorial.
I show you how to decorate this One Smart Cookie Set but also share the best way to package them. Check out the video tutorial for tips on how to make and package these cookies!
For these cookies, I used my exclusive sugar cookie recipe and royal icing recipe. The cookie recipe yielded about 12-15 regular size 3 – 3.5 inch cookies. I like thicker cookies so I roll out my cookies to 3/8″ using my Cookie Countess Precision Rolling Pin. The thickness of your cookie will change the cookie yield.
CUTTERS: Nerdy Cookie – The Sweet Design Shoppe, One Smart Cookie – The Sweet Design Shoppe
COLORS YOU WILL NEED:
- Red – outline and flood icing
- Brown- outline and flood icing
- White – outline and flood icing
- Black- outline and flood icing
Prepping Royal Icing
One Smart Cookie Guide
This cookie set includes 4 icing colors using red, white, black, and brown. I made all the colors with Americolor food gels.
Helpful Decorating Tips and Tricks
Cookie Timeline
I like to break up the decorating process over a few days. It works better for my stage of life to do a little each day. Here is a sample timeline to show how long each step takes.
DAY 1
Make and bake my cookies. I do not chill my dough so usually, this takes about 1 hour from start to finish. Mix royal icing, color, and prep all the icing bags. I like to color the day before because the colors will deepen over time.
DAY 2
Outline and Flood Cookies. Make sure to allow them to dry in front of a fan for 1-2 hours before adding details. Add final details like airbrushing, piping and stenciling.
Day 3
Always take pictures of your beautiful cookies. Make sure to allow 10-14 hours of drying time before packaging your cookies. I like to store mine on a baking pan with a lid overnight.
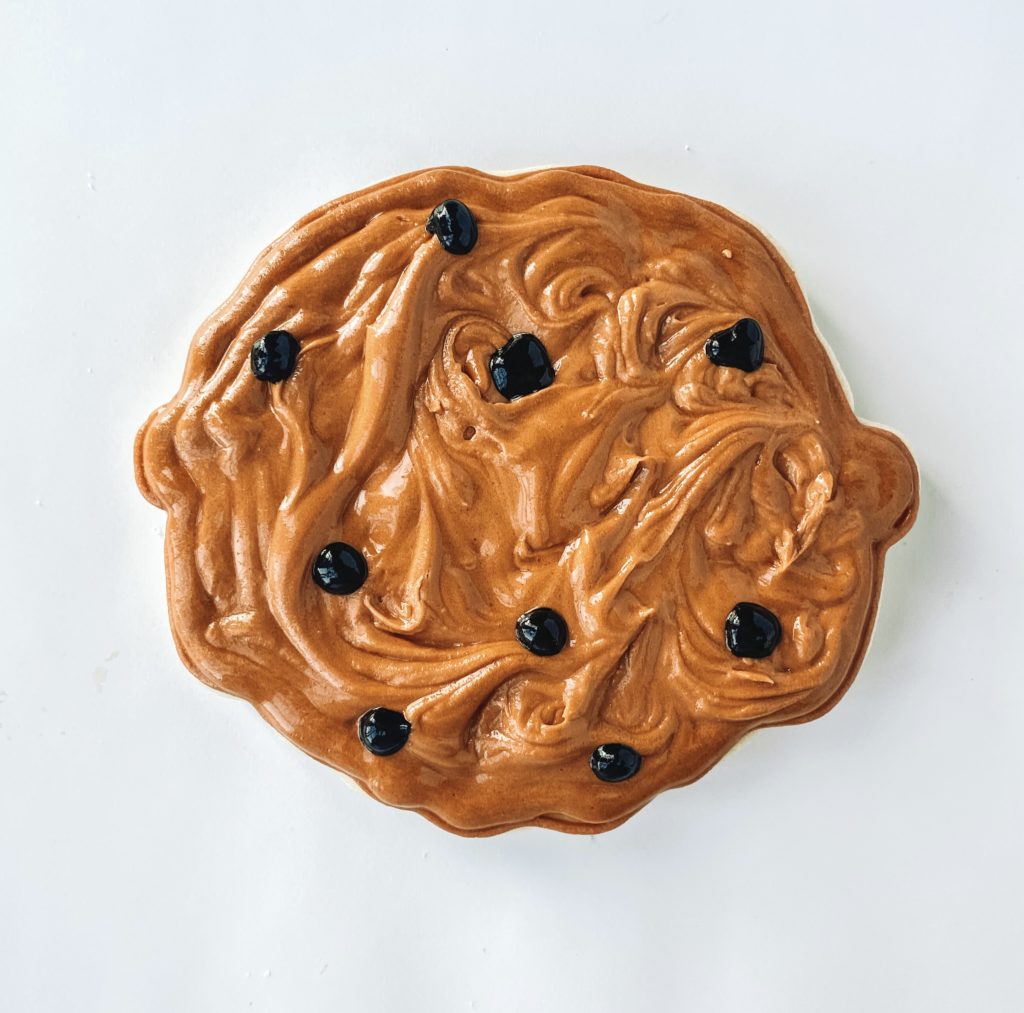
NERDY CHOCOLATE CHIP COOKIE
OUTLINE AND FLOODING
Step 1: Outline the cookie in brown piping icing.
Step 2: Fill the outline with brown PIPING icing.
Step 3: Use black piping icing to add “chocolate chips” to the cookie. Make sure to swirl around the icing on the cookie before it dries.
Stop and allow your cookie to dry in front of a fan for 1-2 hours before moving to the next section.
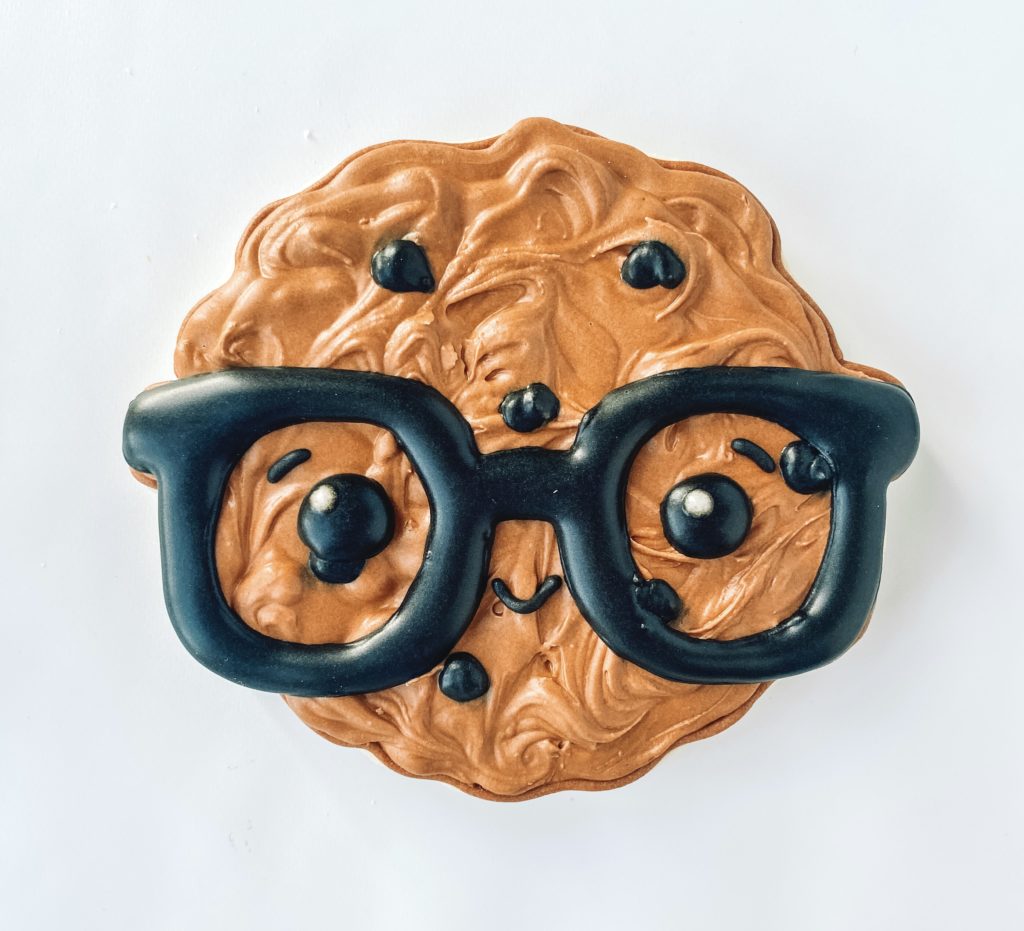
DETAILS
Step 4: Using black piping icing outline the glasses on the cookie
Step 5: Fill in the glasses with black flood icing.
Step 6: Add eyes, eyebrows, and a smile with black piping icing.
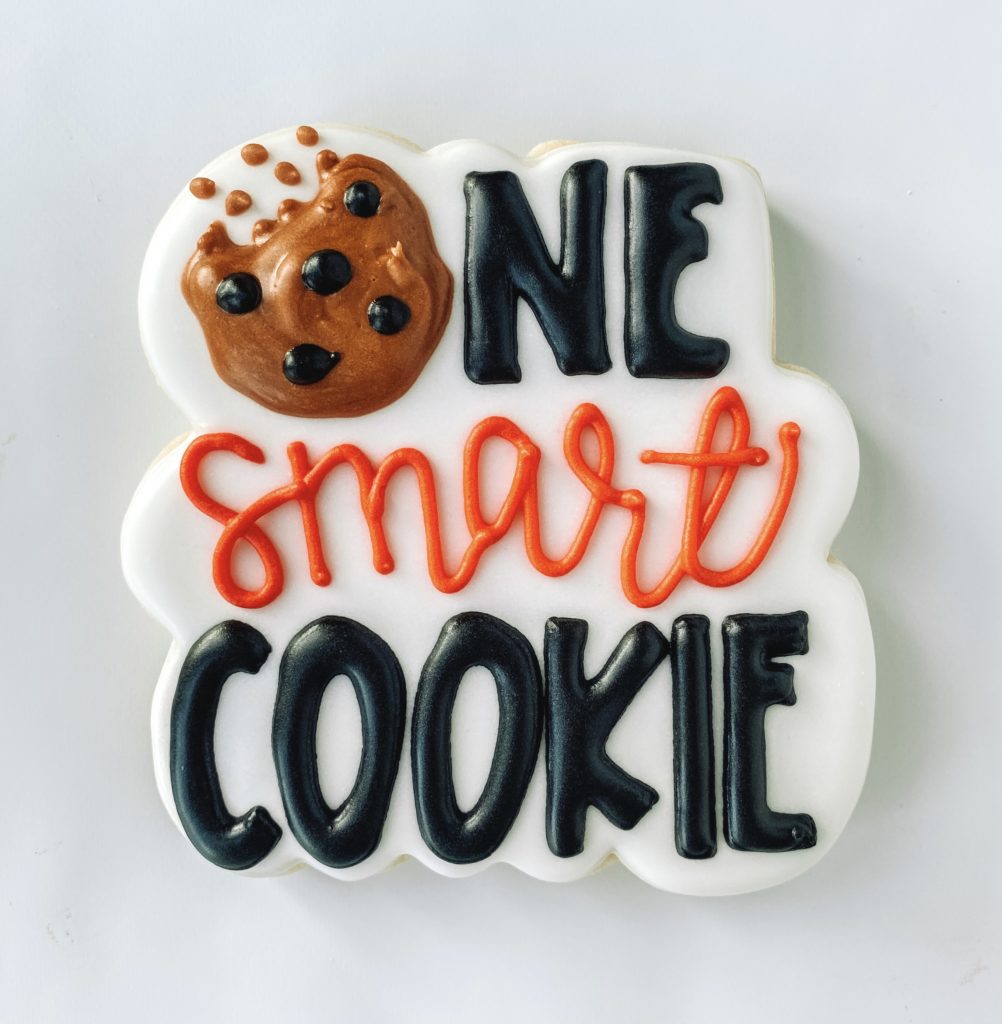
ONE SMART COOKIE
OUTLINE AND FLOODING
Step 1: Outline the cookie in white piping icing.
Step 2: Fill in the outline with white flood icing.
Stop and allow your cookie to dry in front of a fan for 1-2 hours before moving to the next section.
DETAILS
Step 3: Outline the “cookie” in brown piping icing. Fill in with brown piping icing. Make sure to add black “chocolate chips” with black piping icing.
Step 4: Outline the letters NE and COOKIE in black piping icing. Fill in the center with black flood icing.
Step 5: Using red piping icing write SMART. Add a white dot to the middle of the eyes with white piping icing.
You could change it up and make dark brown chocolate chips, make neat little circles in different colors to make them M&M cookies, or change up the color of the glasses to make them personalized or fun colors for the person you’re delivering them to! Have a graduate you’re celebrating? Make the text on the cookie plaque in the school colors they are graduating from or will start attending in the fall. You can always personalize decorated sugar cookies to fit the person or people you’re giving them to!
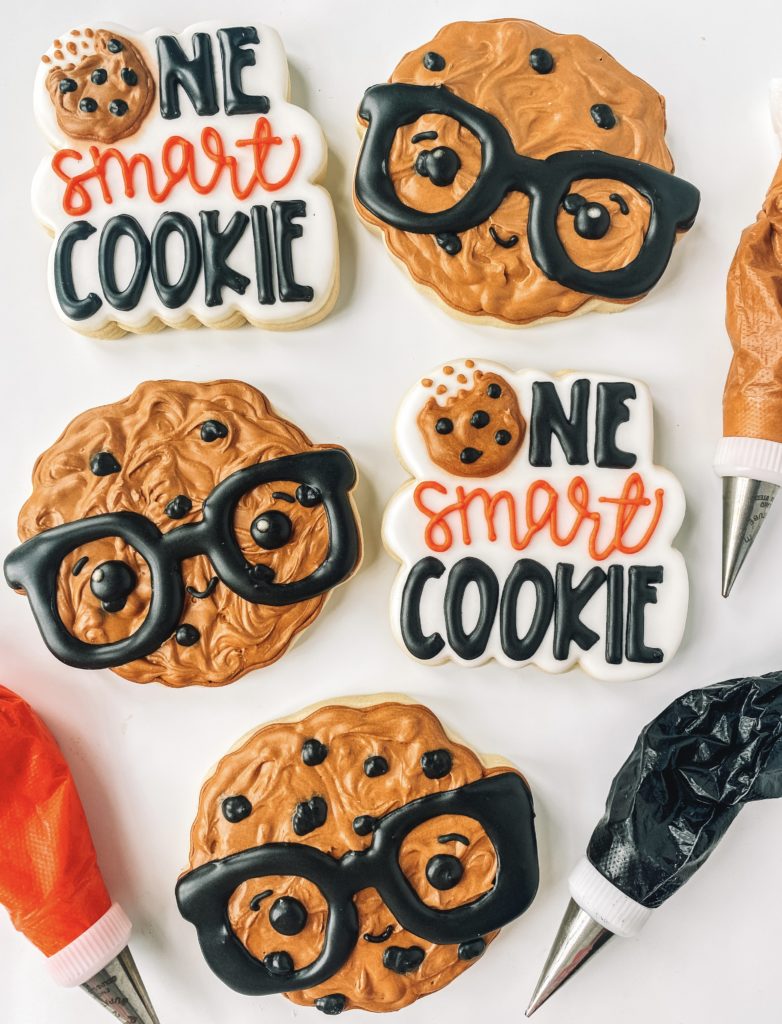
See how easy that was? Everyone is going to be calling YOU One Smart Cookie when they see you handing out these cute cookie sets. Decorated sugar cookies don’t have to be overly complicated, or require a huge investment in tools and gadgets to make them, just find a design you like and make them!
Take some photos of your cookies and tag me when you post them online, I would love to see your creativity and how you made your cookies unique!