You’ll win over all the hearts when you show up with a set of Nurse Appreciation Cookies at your local medical center! Nurses deserve every single bit of appreciation we can give, cookies don’t say it enough, but they are sure to deliver a smile and brighten a touch day with a sweet treat and endearing message!
This cookie set is easy to decorate and even if you don’t have an airbrush you can use a wet-on-wet polka dot technique and still make these adorable cookies for all the nurses you want to thank! Make a few sets of Nurse Appreciation Cookies and deliver them to a local doctor’s office, urgent care, hospital, nursing facility, or anywhere else you know there’s a great set of nurses that could use a smile!
Have a few nurses you know that deserve their own set? You can easily personalize these cute cookies or make them a set and package them up separately! There’s no wrong way to spread appreciation and happiness!

Check out the step-by-step video tutorial
I show you how to decorate these fun nurse appreciation cookies but also share the best way to package them. Check out the video tutorial for tips on how to make and package these cookies!
For these cookies, I used my exclusive sugar cookie recipe and royal icing recipe. The cookie recipe yielded about 12-15 regular size 3 – 3.5 inch cookies. I like a thicker cookies so I roll out my cookies to 3/8″ using my Cookie Countess Precision Rolling Pin. The thickness of your cookie will change the cookie yield.
CUTTERS: Scrub Cutter – Wilton, Heart with Nurse Hat – Kaliedacuts, Round – any round cookie will work (you could also use an oval cutter)
COLORS YOU WILL NEED:
- Red – outline and flood icing
- White- outline and flood icing
- Black – outline only icing
- Turquoise – outline and flood icing
- Gray- outline only icing
Optional
- Airbrush machine – Cookie Countess
- Big Dot Stencil – Cookie Countess
- Red Velvet Airbrush color – Cookie Countess
- Rainbow Sprinkles
Prepping Royal Icing
Nurse Appreciation Guide
This cookie set include 6 icing colors using red, white, black, turquoise and gray. I made all the colors with Americolor.
Helpful Decorating Tips and Tricks
Cookie Timeline
I like to break up the decorating process over a few days. It works better for my stage of life to do a little each day. Here is a sample timeline to show how long each step takes.
DAY 1
Make and bake my cookies. I do not chill my dough so usually, this takes about 1 hour from start to finish. Mix royal icing, color, and prep all the icing bags. I like to color the day before because the colors will deepen over time.
DAY 2
Outline and Flood Cookies. Make sure to allow them to dry in front of a fan for 1-2 hours before adding details. Add final details like airbrushing, piping and stenciling.
Day 3
Always take pictures of your beautiful cookies. Make sure to allow 10-14 hours of drying time before packaging your cookies. I like to store mine on a baking pan with a lid overnight.

SCRUB COOKIE
OUTLINE AND FLOODING
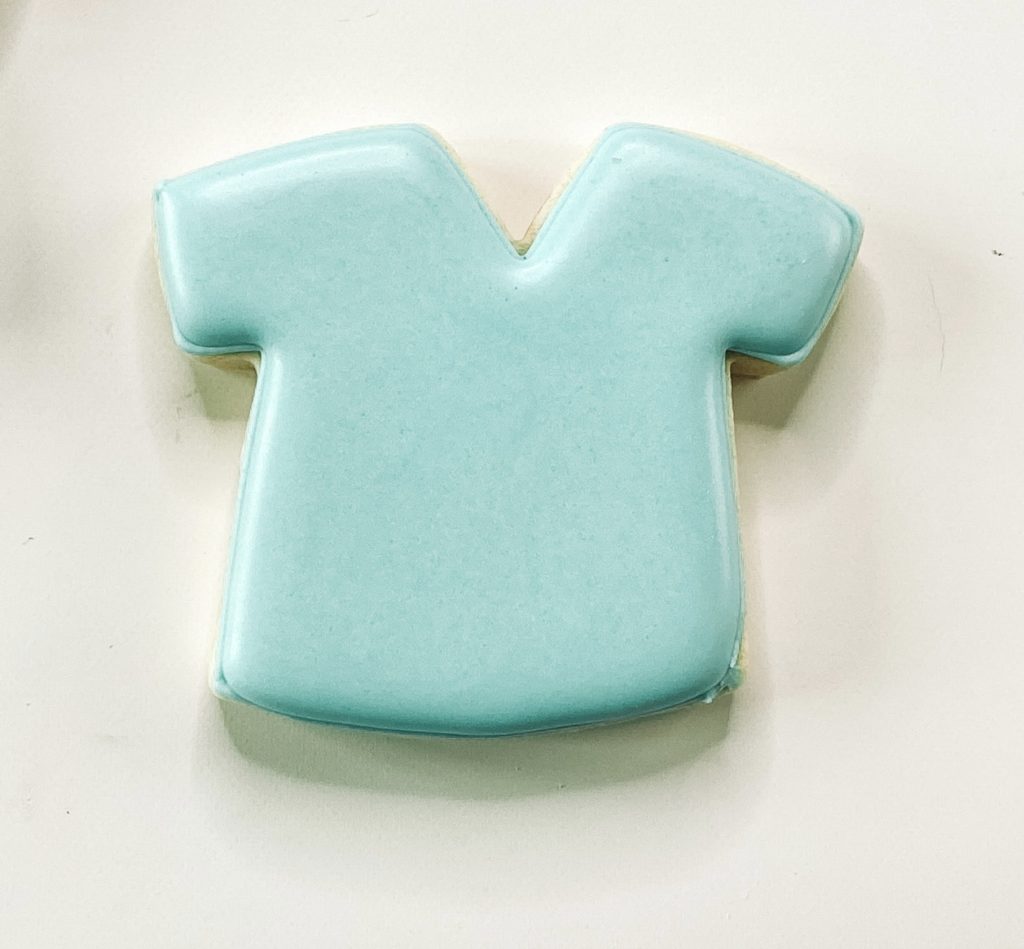
Step 1: Outline the cookie in turquoise piping icing.
Step 2: Fill the outline with turquoise flood icing.
Stop and allow your cookie to dry in front of a fan for 1-2 hours before moving to the next section.
DETAILS
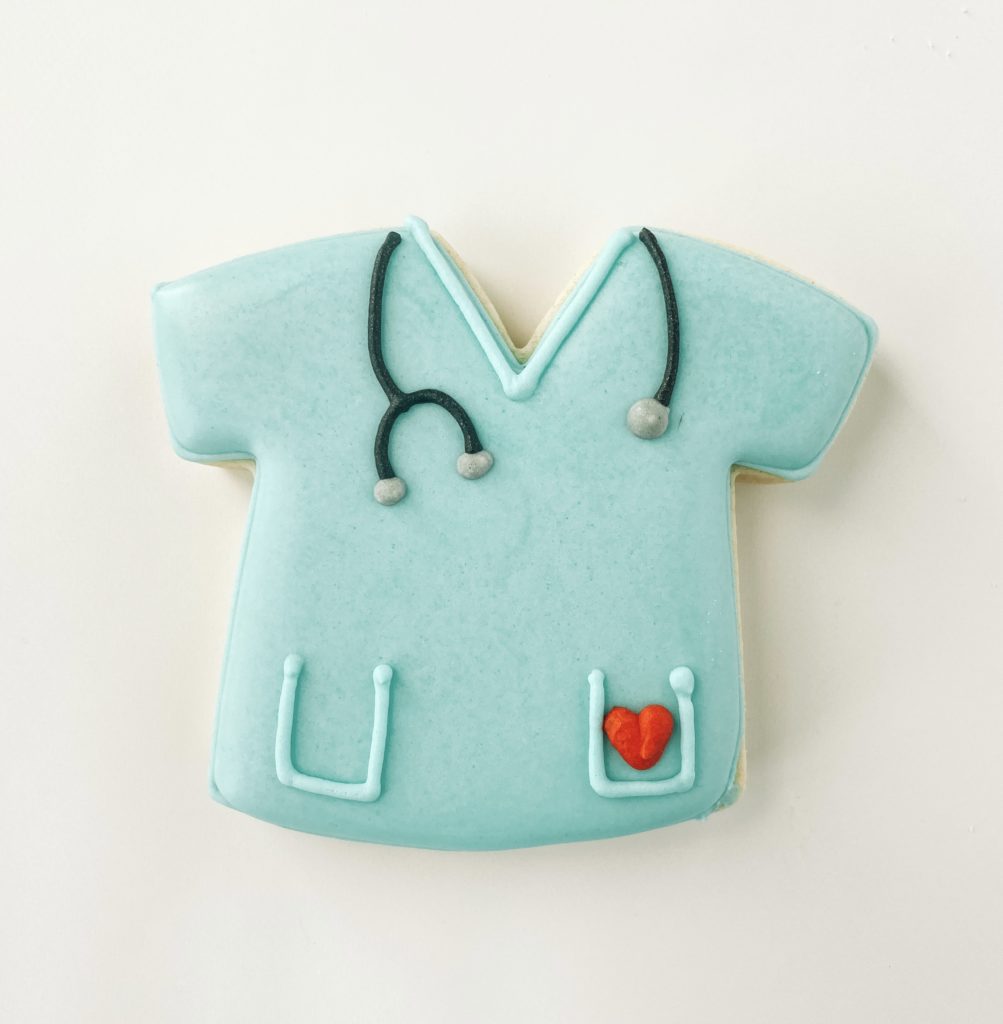
Step 3: Using turquoise piping icing add a pocket and a V around the neck of the scrub.
Step 4: With black piping icing add a curved line on one side. On the other side add another curved line but shorter than a U at the end of that curved line.
Step 5: Add a heart in one pocket using red piping icing and making a teardrop technique – squeeze and allow icing to billow out of the tip then pull down at an angle. Add the earpieces and round dots to the end of the black lines to make a stethoscope.
MEDICINE PILL COOKIE
OUTLINE AND FLOODING
Step 1: Outline half the circle in white piping icing.
Step 2: Fill in the outline with white flood icing.
Stop and allow your cookie to dry in front of a fan for 30-40 minutes before moving to the next section.
DETAILS
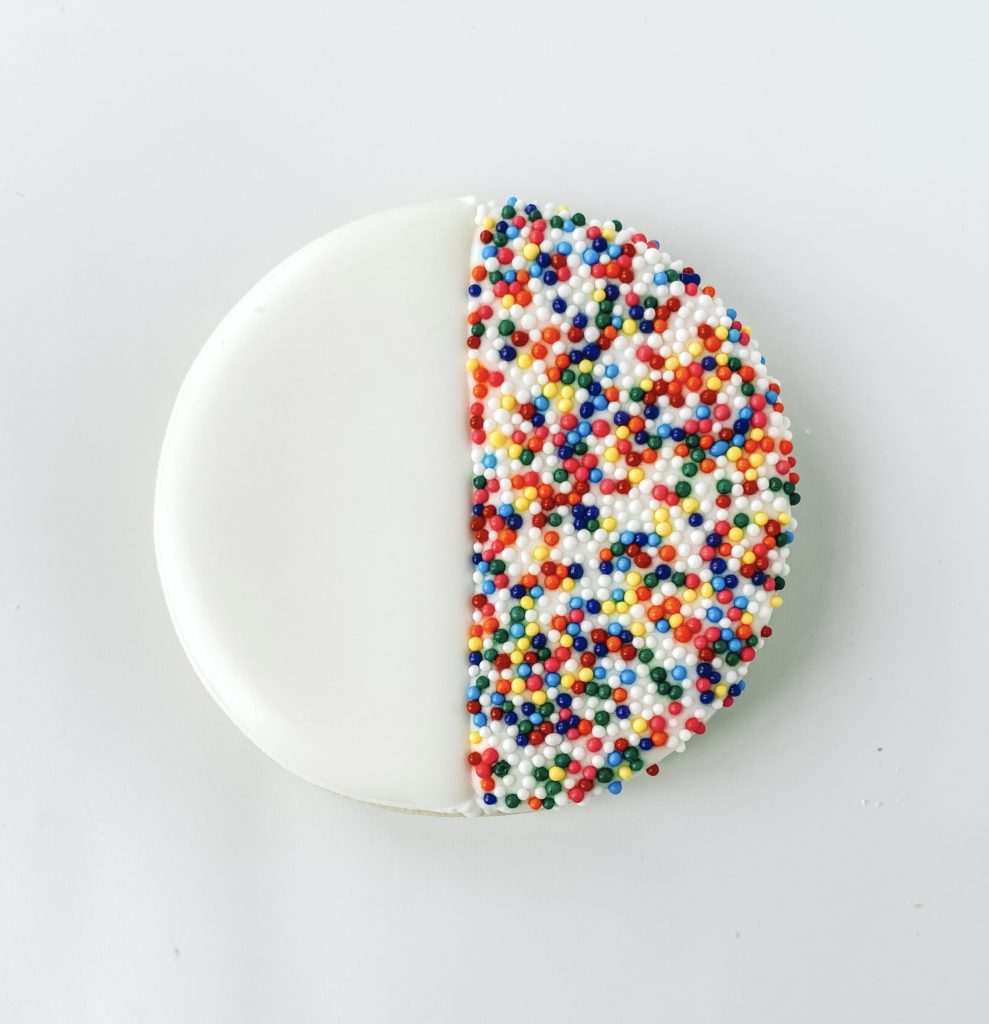
Step 3: With white piping icing outline the other half of the cookie and fill in with white flood icing.
Step 4: Place cookie on a paper plate and sprinkle rainbow non-perils over the wet white flood. Gently shake off any excess cookies.
NURSE HEART COOKIE
OUTLINE and FLOODING
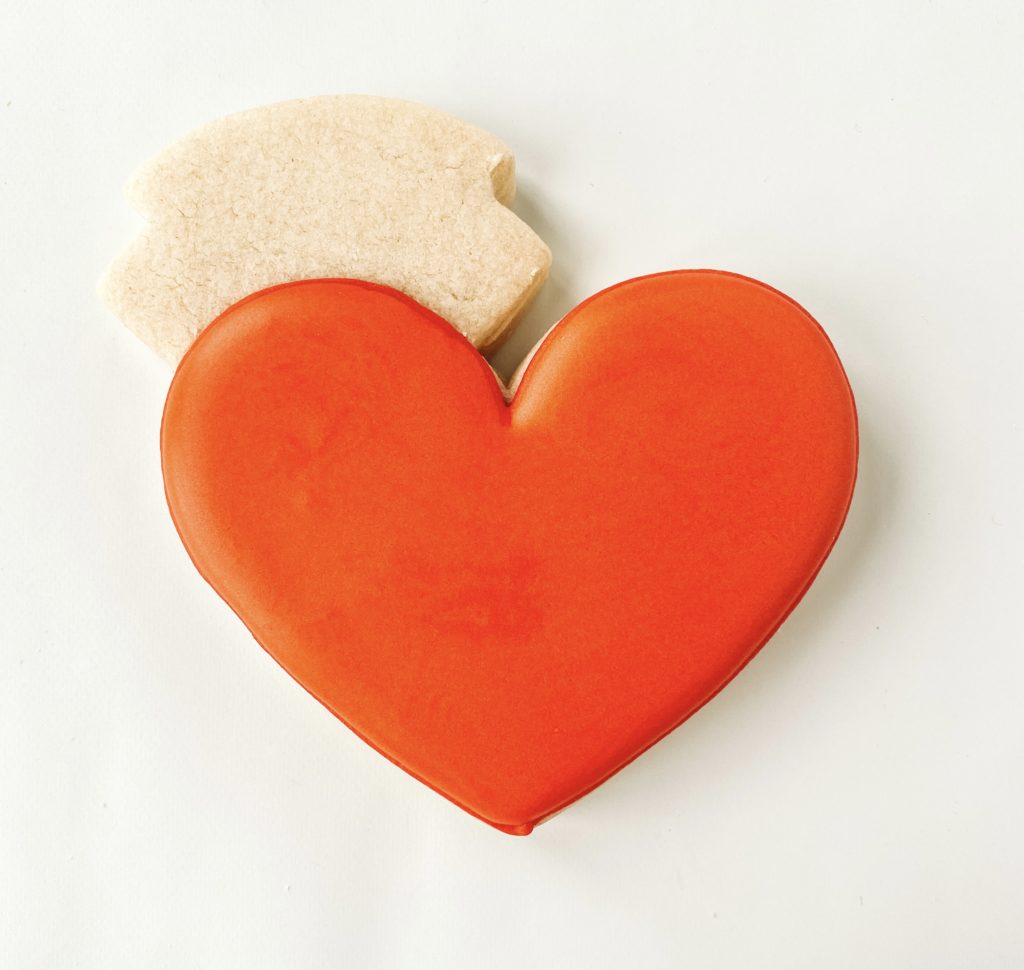
Step 1: Outline the heart with red piping icing. Fill in the outline with red flood icing.
Stop and allow your cookie to dry in front of a fan for 15-20 minutes before moving to the next section.
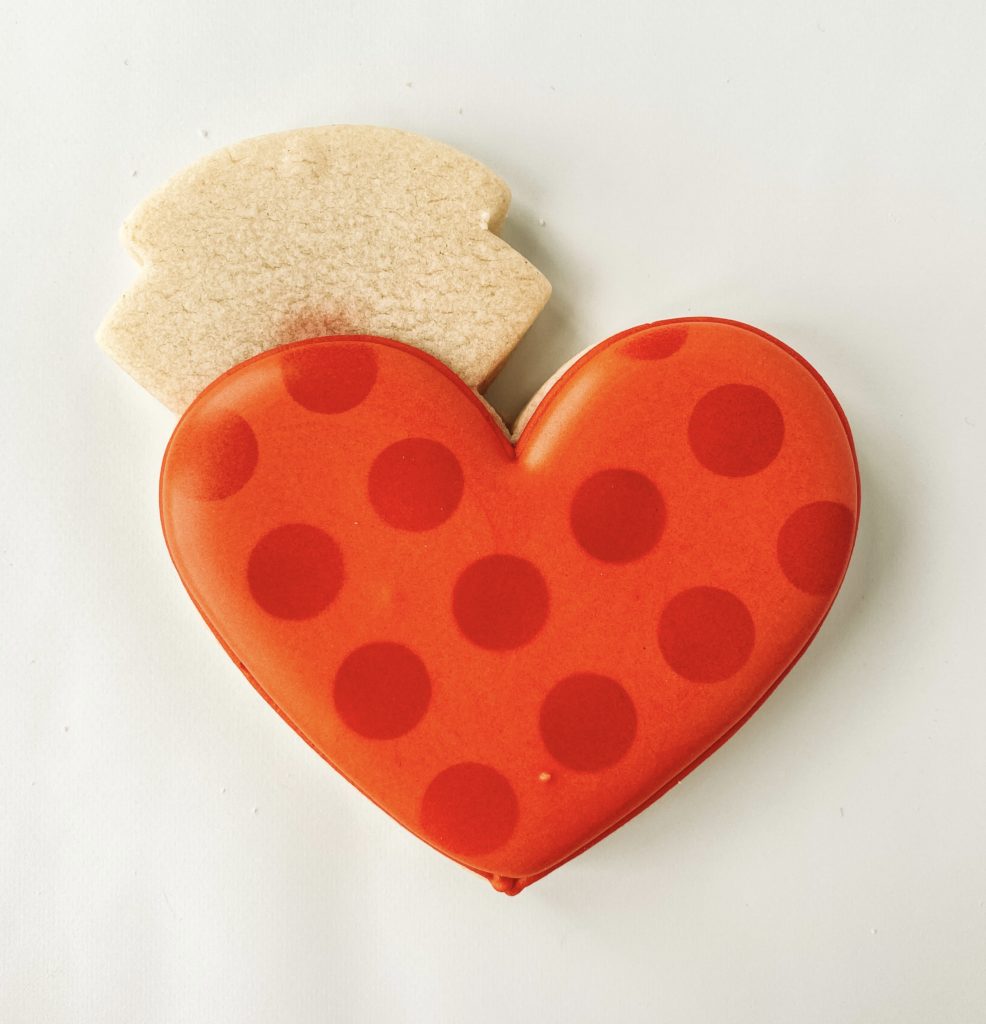
Step 2: Using the big dot stencil and red airbrush color gently airbrush design on the heart.
Stop and allow your cookie to dry in front of a fan for 15-20 minutes before moving to the next section.
DETAILS
Step 3: Outline the nurse hat with white piping icing and fill in with white flood icing. Using black piping icing add a heartbeat line in the middle of the cookie. Write “Thank You” with white piping icing and number 1.5 tip. Fill in the other section of the nurse hat with white flood icing.

Section 4: Lastly, add a plus sign with red piping icing on the nurse hat.



How did you do? Did you enjoy making your Nurse Appreciation Cookies? I think you will enjoy this easy set, anyone from beginner to pro can tackle this set and make the day of the nurses they give them to!
Want to really personalize your set for a nurse or set of nurses you know? Make the scrub the color of the scrubs they wear each day, do they have a stethoscope they love, make the cookie match it! You’d be surprised how those little details really make them smile because you took notice and made the cookies match them!
Don’t forget to post a picture of your Nurse Appreciation Cookies and tag me on Instagram so I can see your cute cookie set and see how you made your own set unique!

