I thought I had made the cutest cookies ever a few times, and then these showed up and I had to make them, they are the most adorable winter cookies! Sugar cookies are fun all the time, but bringing smiles and joy in the winter gloom is always fun.
We got a lot of snow here in Tennessee this week, and the snowmen are showing up on every street today, and I wouldn’t be surprised to see a polar bear come walking down the sidewalk soon, but the ones made of sugar and flour here are not nearly as scary.
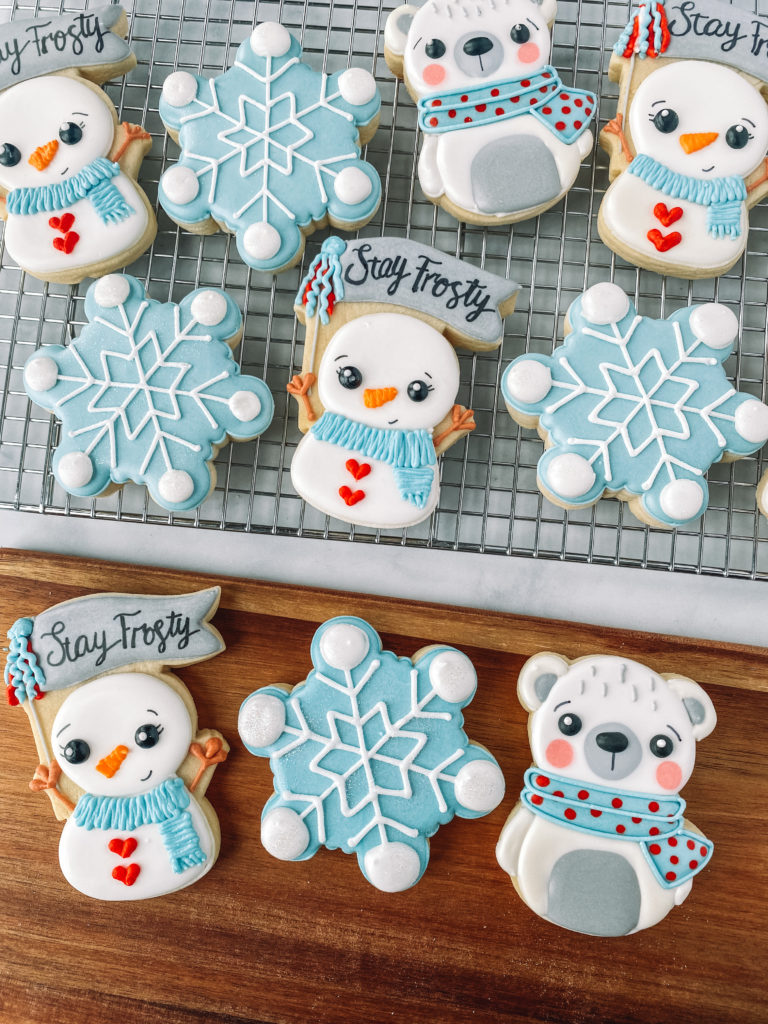
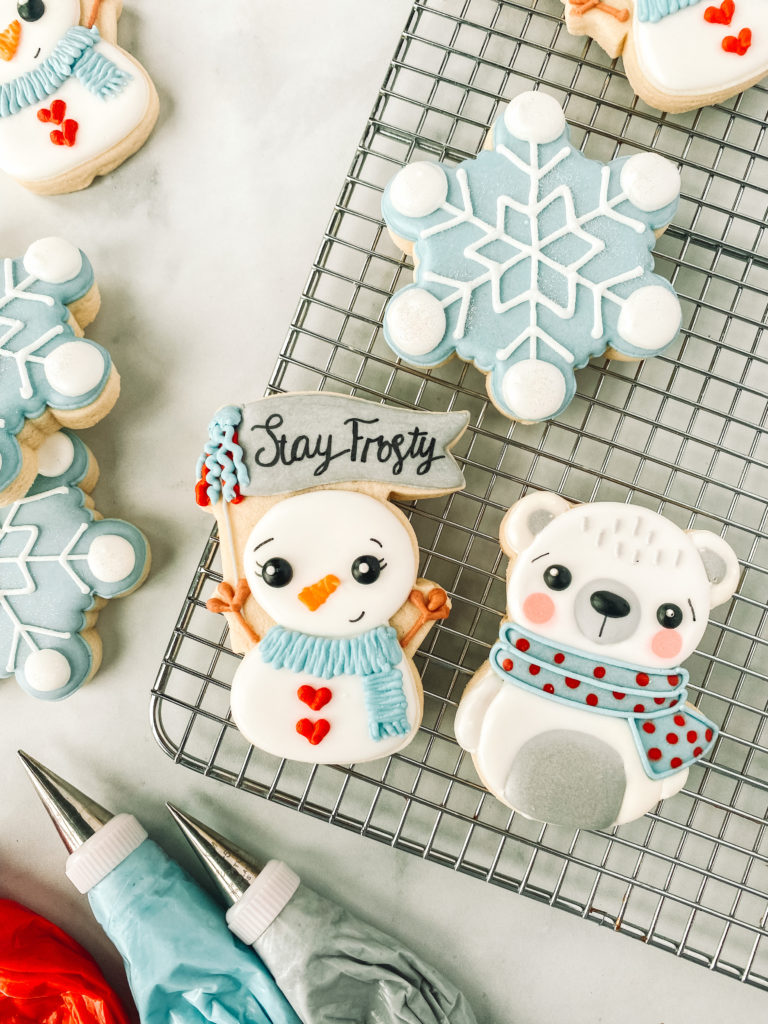
FROSTY WINTER COOKIE SET
YOU WILL NEED:
- Cut-out sugar cookie dough
- Royal icing
- Icing colors – I use Americolor brand
TOOLS AND TIPS:
- Tips #2 or #2.5
- Couplers
- Icing bags
- Parchment paper
- Cookie sheet
- Toothpick or scribe
CUTTERS:
- SNOWMAN FROM KALEIDACUTS
- WOBBLY BEAR AND SNOWFLAKE FROM THE SWEET DESIGNS SHOPPE
COLORS YOU WILL NEED:
- Black Icing – outline only
- Brown Icing – outline only
- White – outline and flood icing
- Gray – outline and flood icing
- Red- outline and flood icing
- Orange – outline only
- Wedgewood Blue – outline and flood icing
Optional
- Black Edible Marker
- Rainbow Luster Dust from The Sugar Art
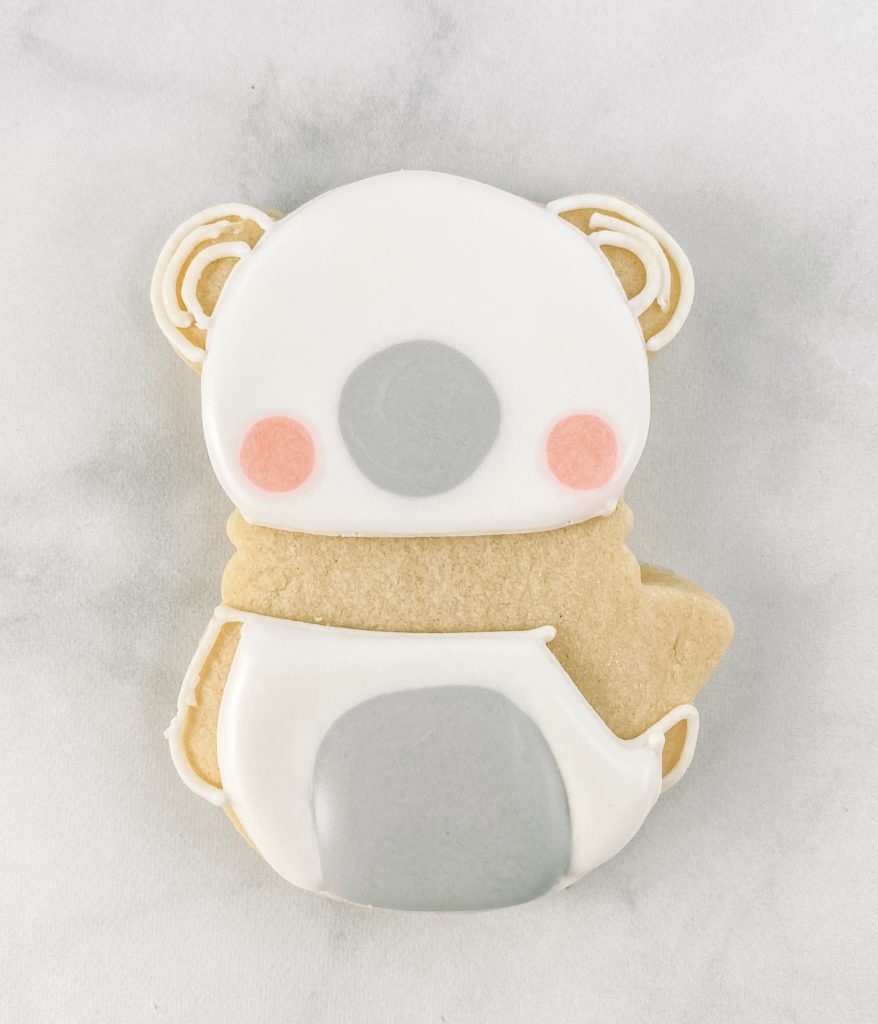
WOBBLY BEAR
OUTLINE AND FLOODING
Step 1: Outline the entire bear except leave the middle section for the scarf open.
Step 2: Fill the outlined face and the body with white flood icing. Add gray flood icing to the mouth area and the bottom middle of the bear. Add two dots for cheeks using pink flood icing
Stop and allow your cookie to dry in front of a fan for 1-2 hours before moving to the next section.
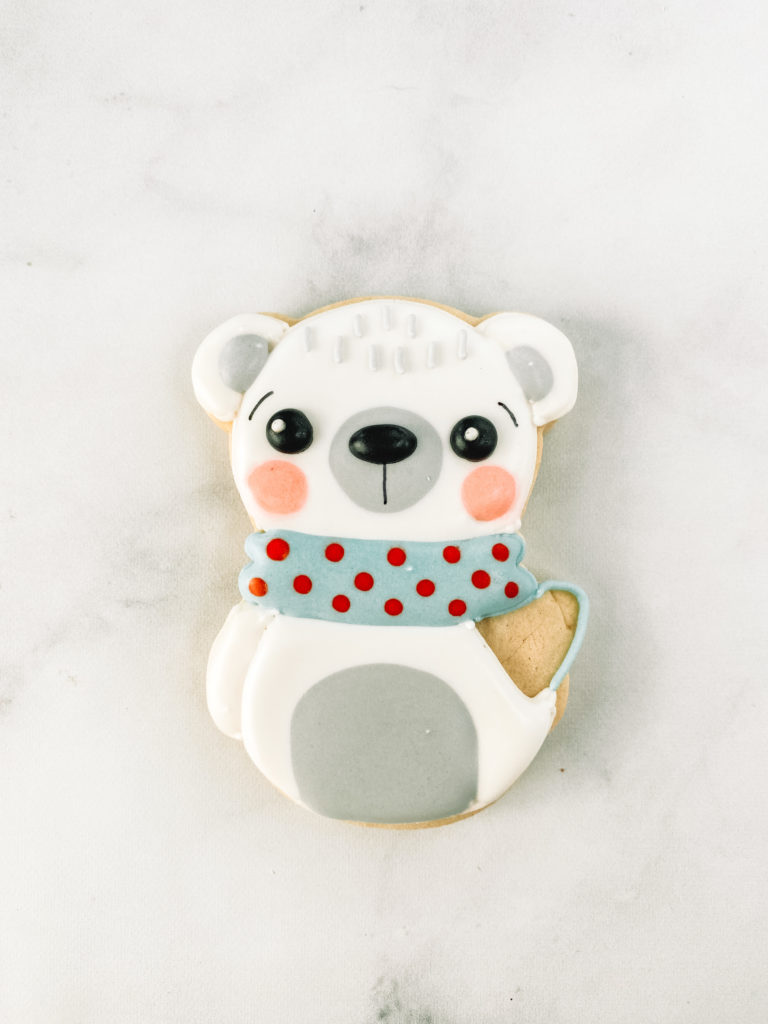
DETAILS
Step 3: Fill in the ears with white flood icing and the middle of the ear with gray flood icing. Fill in the arm with white flood icing as well.
Step 4: Using black outline icing make an oval nose and two black eyes. I always like to add a white dot to the eyes for the reflection. Use a black edible marker to draw a line under the nose and two eyebrows.
Step 5: Outline the scarf in Wedgewood blue piping icing. Fill in just the middle section of the scarf with blue flood icing. Add polka dots with red flood icing.
Step 6: With the grey outline icing add some details to the top of the bear’s head.
Stop and allow your cookie to dry in front of a fan for 30 minutes before moving to the next section.
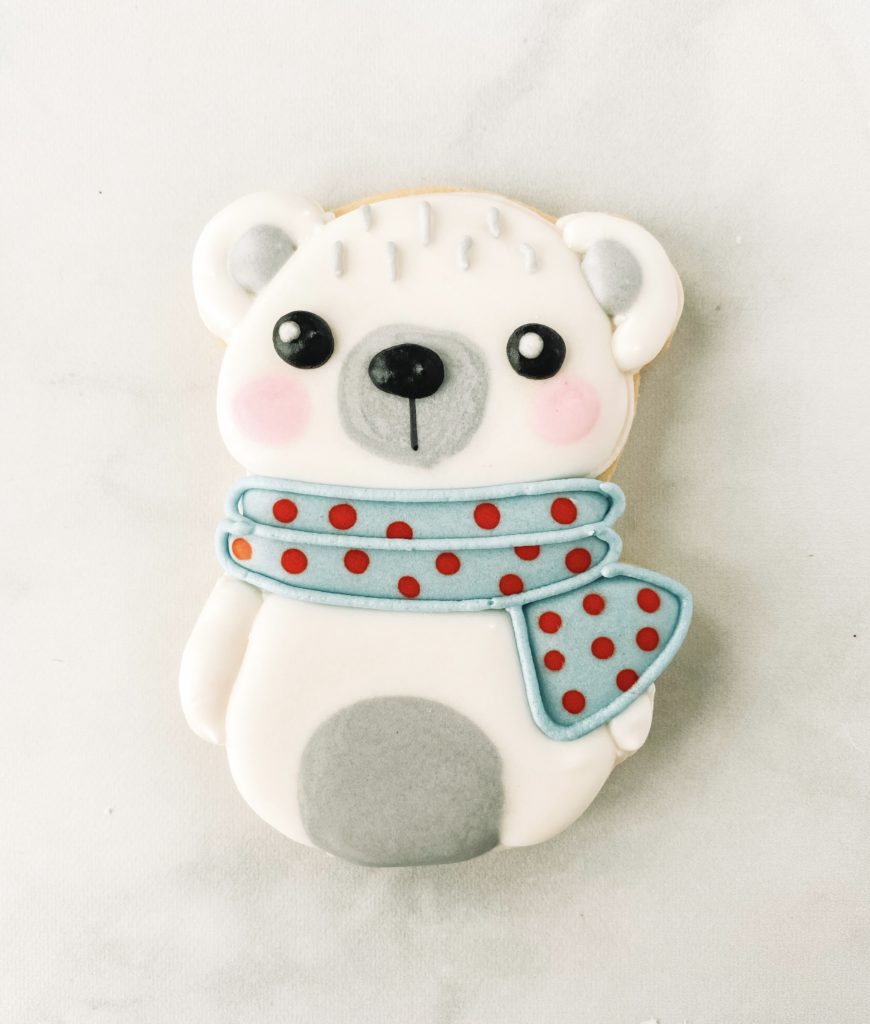
Step 7: Fill in the last section of the scarf with blue flood icing and add polka dots with red flood icing. Outline the scarf with blue piping icing.
SNOWFLAKE COOKIE
OUTLINE AND FLOODING
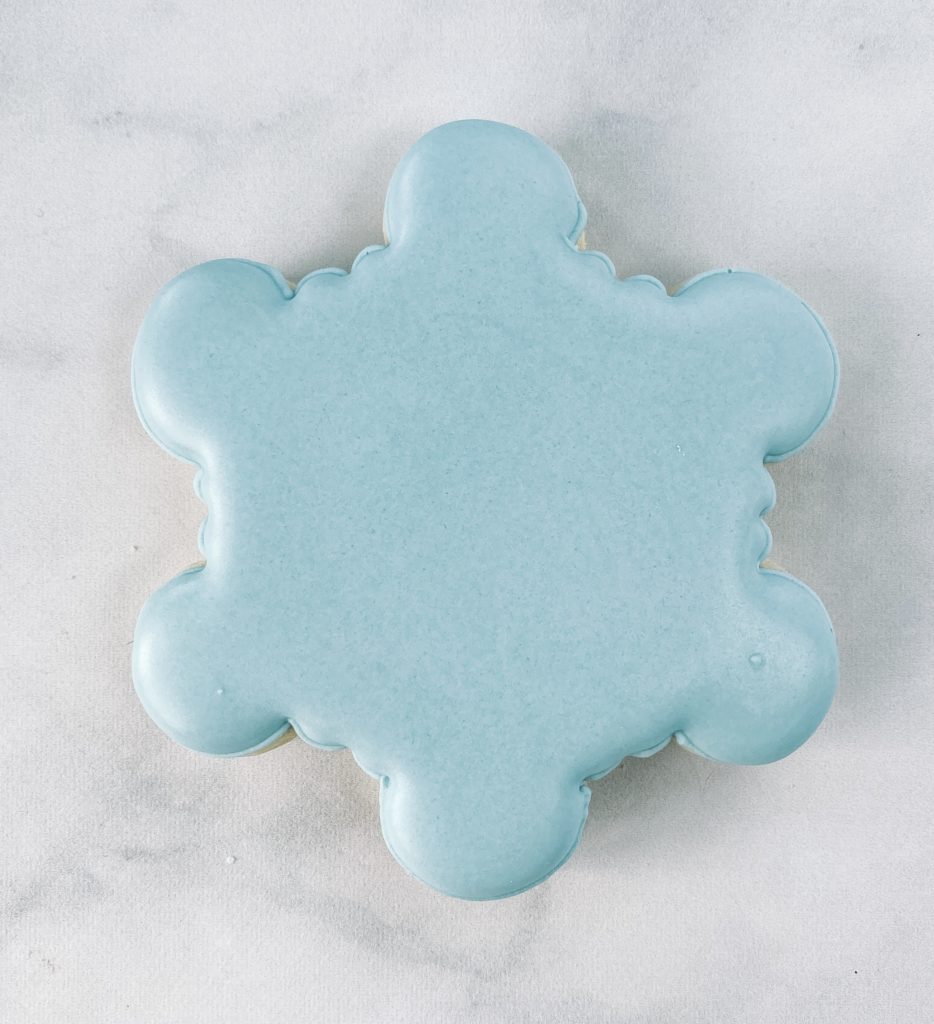
Step 1: Outline the snowflake in Wedgewood blue piping icing
Step 2: Fill with blue flood icing
Stop and allow your cookie to dry in front of a fan for 30-40 minutes before moving to the next section.
DETAILS
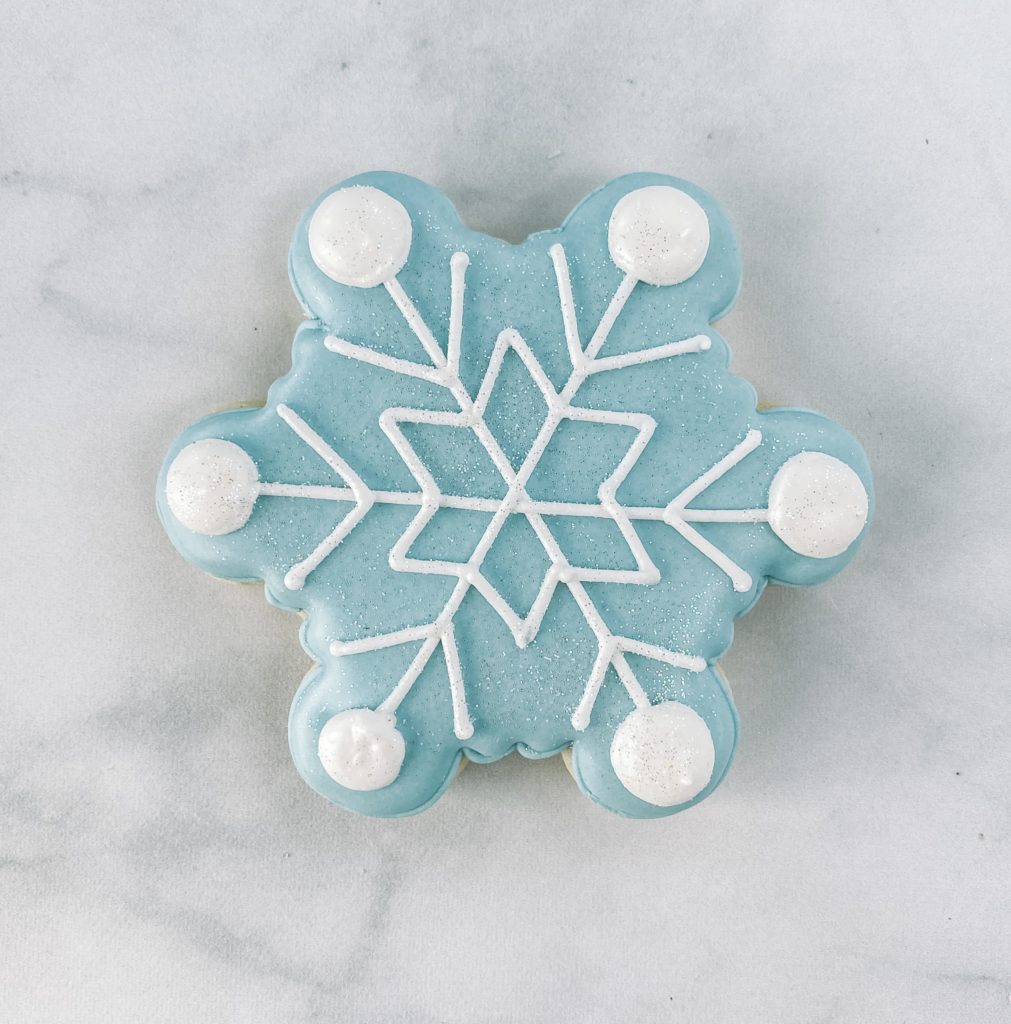
Step 3: Add details of the snowflake using white piping icing. For the round balls on the end outline a circle and fill in with flood icing.
STAY FROSTY SNOWMAN COOKIE
OUTLINE and FLOODING
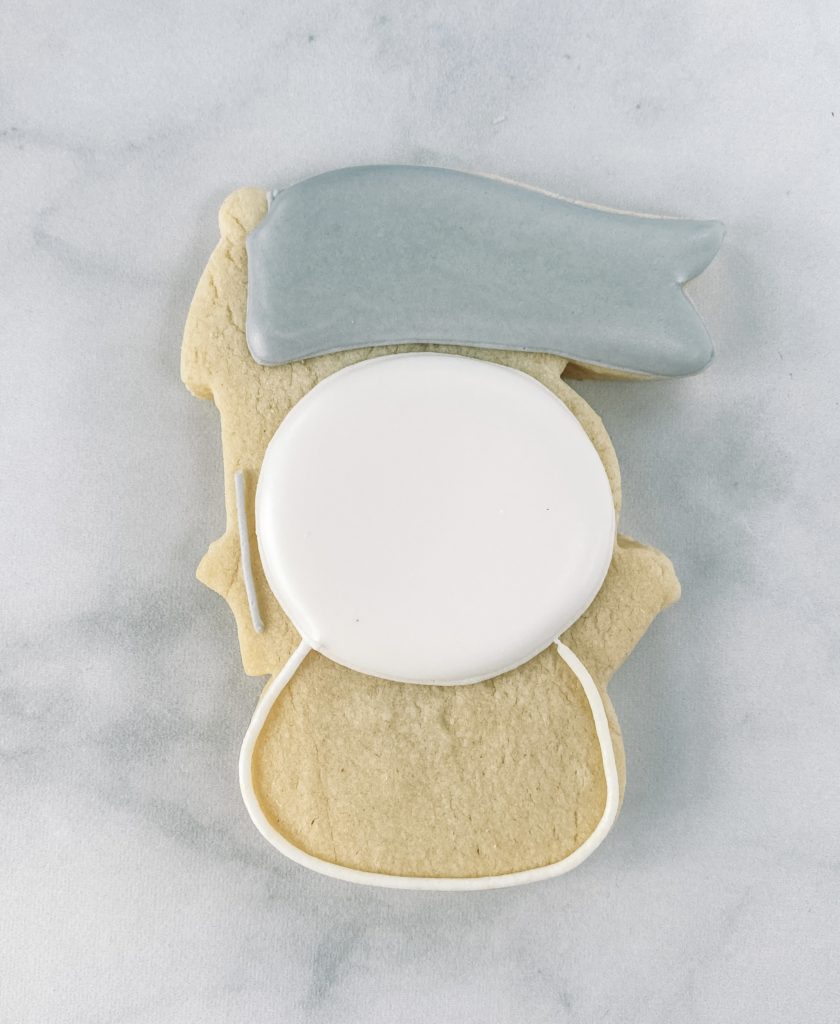
Step 1: Outline the snowman (both head and body) with white piping icing and outline banner with gray outline icing.
Step 2: Fill in the head with white flood icing and the banner with gray flood icing.
Stop and allow your cookie to dry in front of a fan for 30 minutes before moving to the next section.
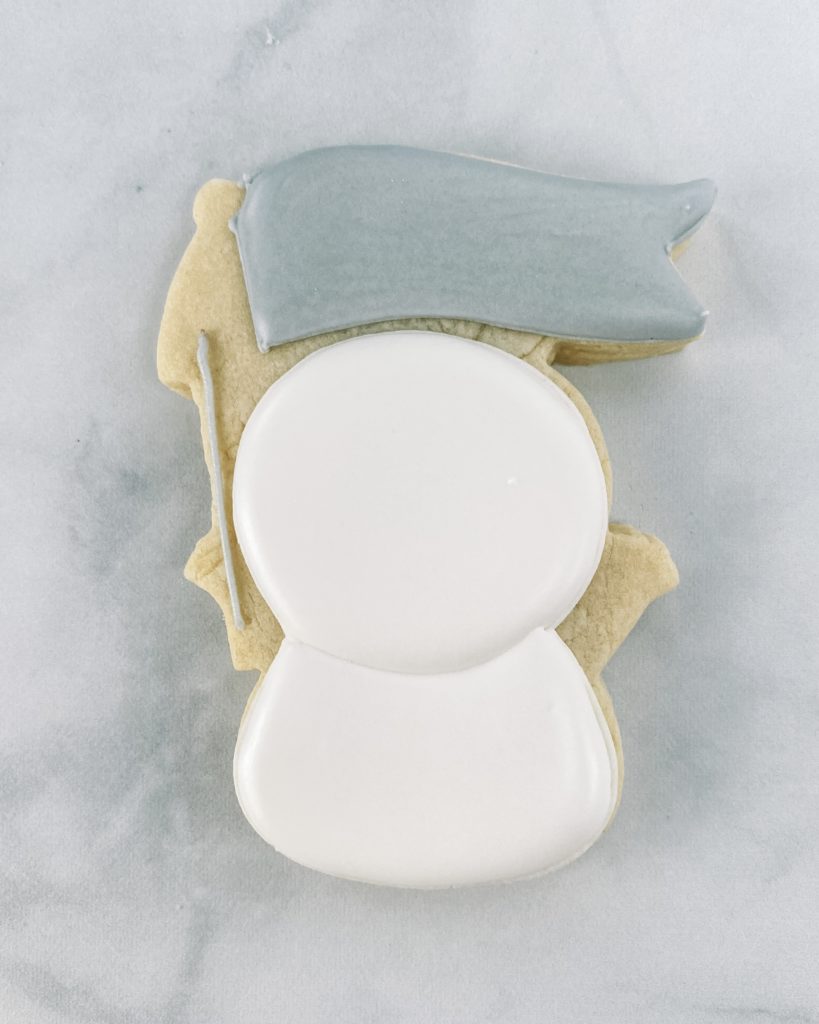
Section 3: Fill in the body with white flood icing.
Stop and allow your cookie to dry in front of a fan for 1-2 hours before flooding the next section.
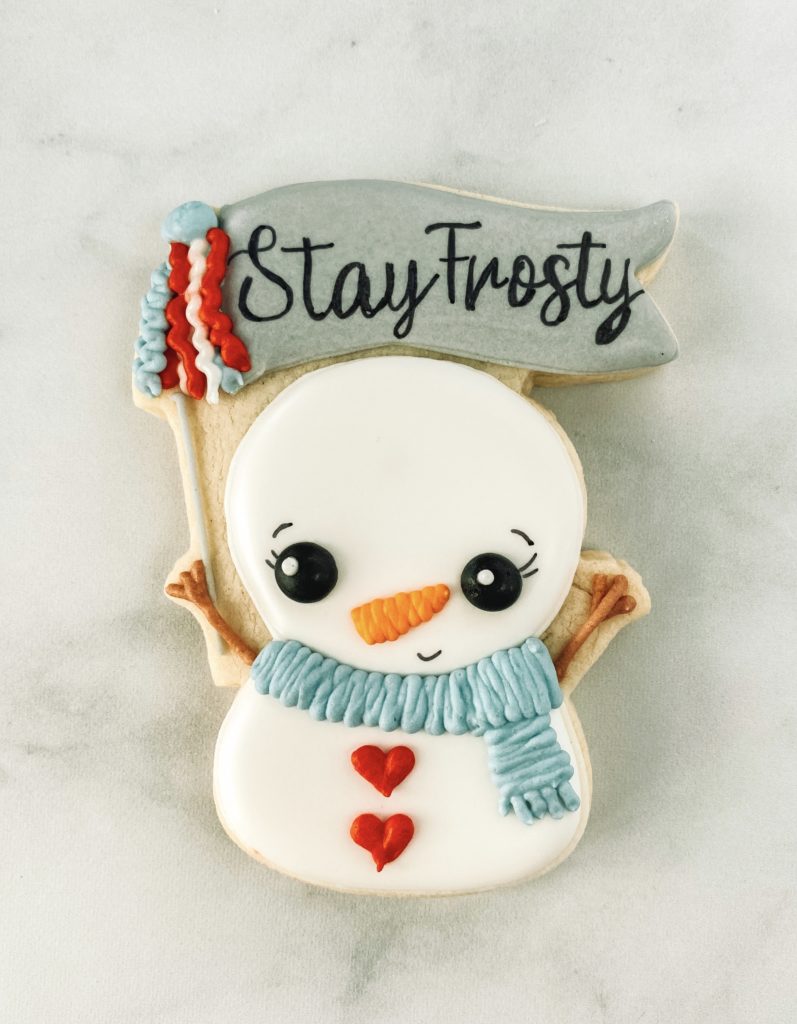
DETAILS
Section 4: Using a black edible marker write Stay Frosty in the banner (you can put a name or Brrr or anything really). Make sure to add eyelashes, eyebrows, and a smile for the head of the snowman.
Section 5: Using black outline icing add two eyes. With brown outline icing add two stick arms on each side of the snowman.
Section 6: Use orange outline icing to make a carrot nose. With your Wedgewood blue piping icing add details to the corner of the banner and make a scarf doing a zig-zag pattern. The easiest way to make a scarf.
Section 7: Use red piping icing to add some squiggles to the banner, then add two hearts on the belly of the snowman using the teardrop technique.
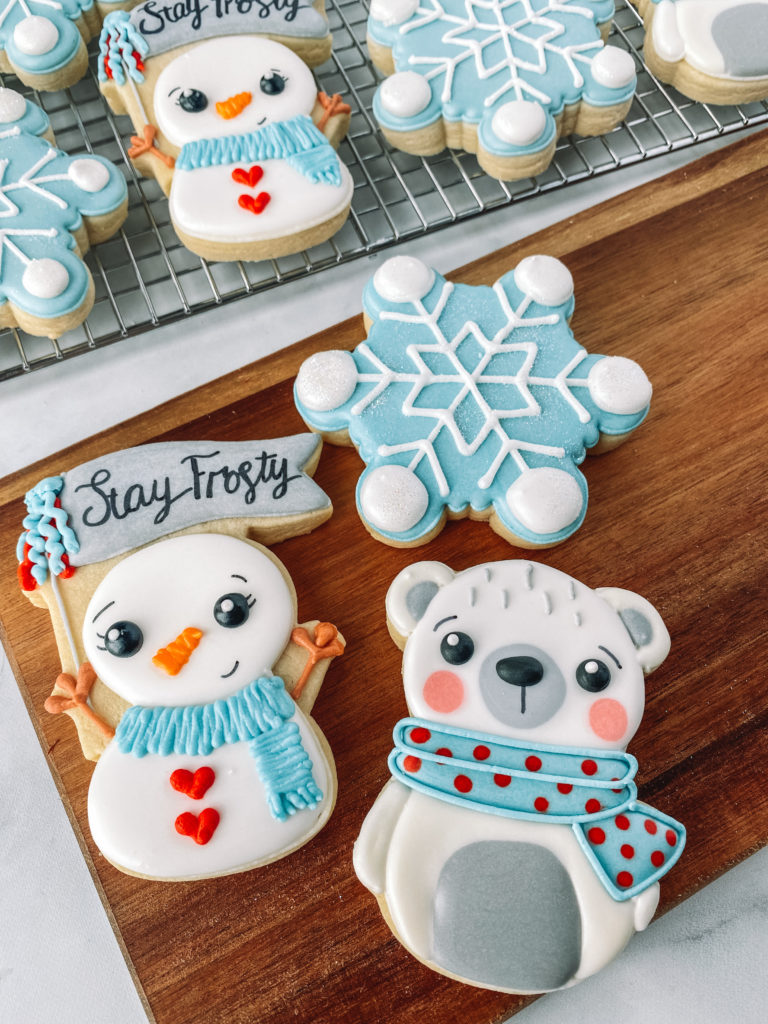
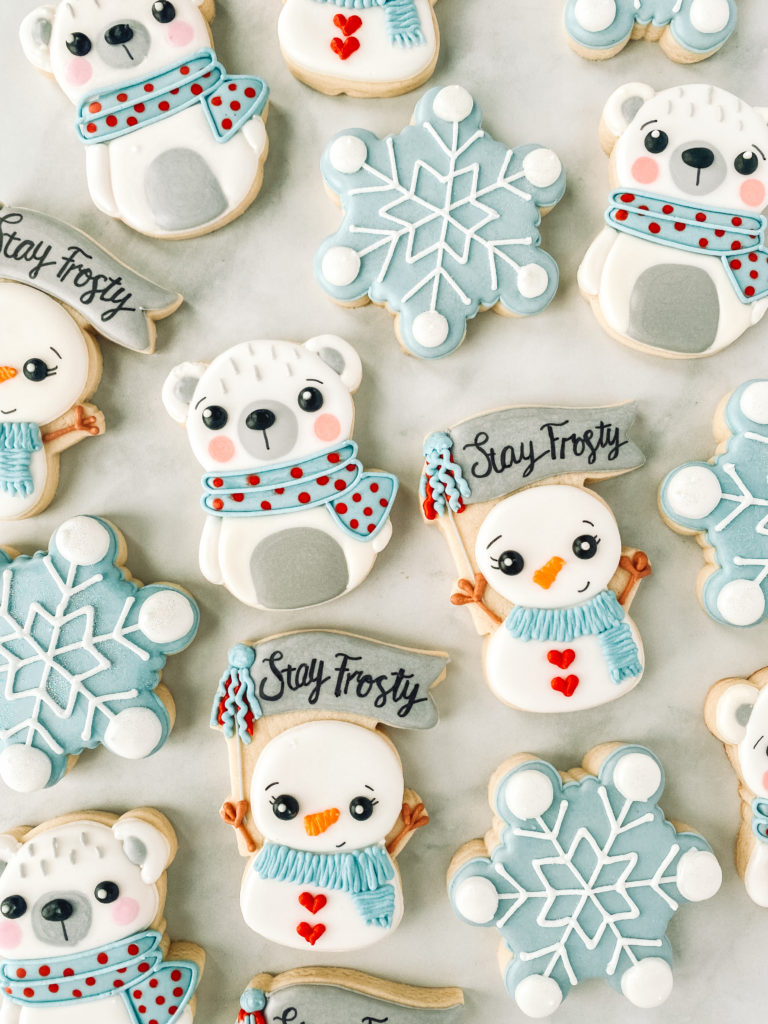
Now you have all your frosty friend sugar cookies ready to go for your snow day fun! That’s what we will be doing here this weekend, just enjoying the beauty of snow and all the fun it brings with it! What is your favorite snow day activity? Mine is definitely cookies and hot chocolate by the fireplace!

