You can make cute and easy Christmas Cookies with just a round cookie cutter and some royal icing, you really only need one or two tips and you have everything you need.
I like to make these with the kids when I am making more detailed and intricate cookies, so they can have some fun doing easy cookies. These are also great if you’re just starting out decorating sugar cookies and you want something to practice on that doesn’t require a large investment of money. You can do these cookies with just one tip and a marker or use two tips and a marker.

EASY CHRISTMAS COOKIES
YOU WILL NEED:
- Cut-out sugar cookie dough
- Royal icing
- Icing colors – I use Americolor brand or Cookie Countess Brands
TOOLS AND TIPS:
- Tips #2 or #2.5
- Couplers
- Icing bags
- Parchment paper
- Cookie sheet
- Toothpick or scribe
CUTTERS: ROUND COOKIE CUTTER
COLORS YOU WILL NEED:
- White – outline and flood
- Mint/lime green – outline and flood
- Black – outline and flood icing
- Brown – outline and flood icing
- Red – outline and flood icing
- Pink – outline and flood
- Light blue – outline only
- Orange – outline only
Optional:
- number 14 tip
- Black edible marker
- The Sugar Art diamond dust
- Sanding Sugar

GINGERBREAD FACE
OUTLINE and FLOODING
Step 1: Outline the cookie with brown piping icing
Step 2: Fill in the outline with brown flood icing. Using pink flood icing add two dots for the cheeks.
Stop and allow your cookie to dry in front of a fan for 1-2 hours before flooding the next section.

DETAILS
Step 3: With white piping icing add a squiggle near the top of his head.
Step 4: Add two eyes with black piping icing. I like to add a tiny white dot in the middle of the eye for the reflection.
Step 5: With a black edible marker add a smile and eyebrows just above the eyes.
Step 6: Using lime green piping icing make two triangles (not touching) at the base of the circle. Then add a dot to the center.
SANTA COOKIE
OUTLINE and FLOODING
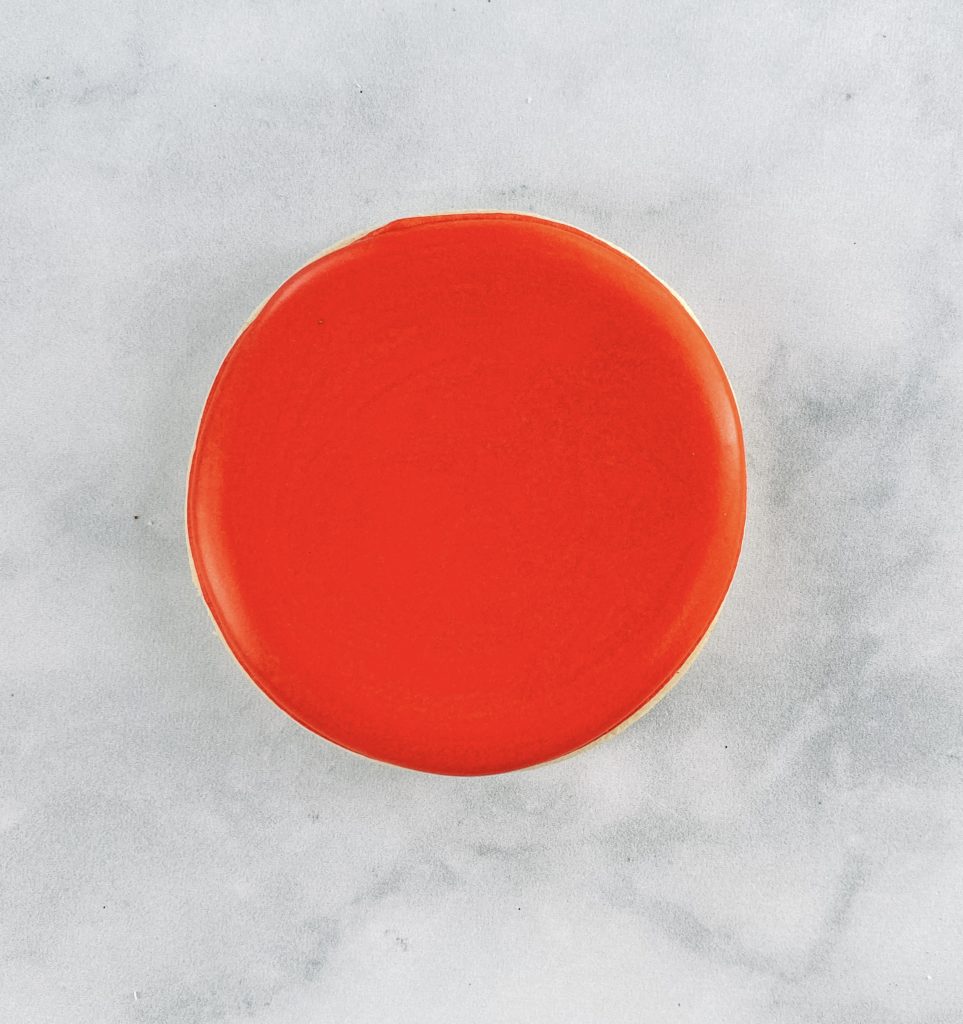
Step 1: Outline cookie in red piping icing
Step 2: Fill in the outline circle with red flood icing
Stop and allow your cookie to dry in front of a fan for 1-2 hours before moving on to the next section.
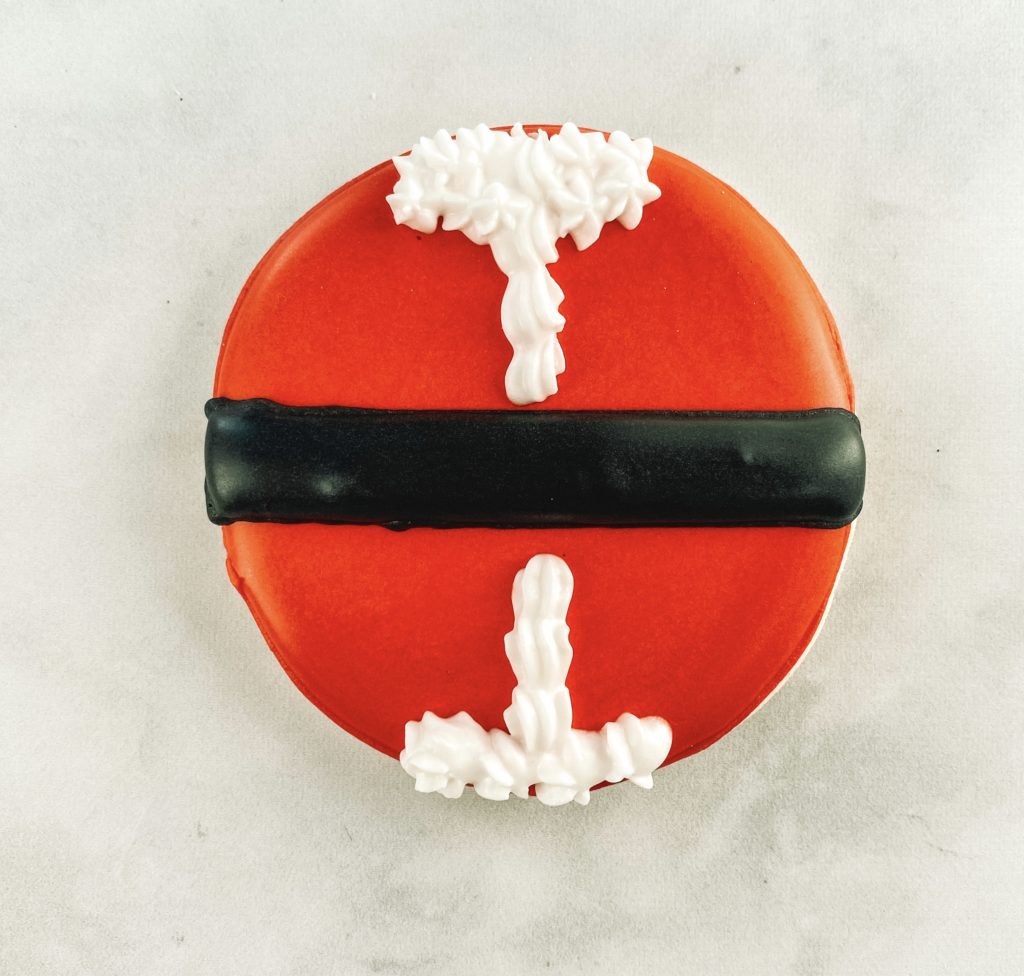
Step 3: Using black piping icing outline a belt in the middle of the cookie
Step 4: Fill in the outlined sections with black flood icing.
DETAILS
Step 4: With a star tip (I’m using a 14 here) pipe stars in the pattern of Santa’s beard and coat.
Stop and allow your cookie to dry in front of a fan for 1-2 hours before moving on to the next section.
Step 5: Using yellow outline icing outline a belt in the middle of the cookie. Start with a small rectangle in the middle then a bigger rectangle. Fill in the belt with yellow flood icing.
SNOWMAN COOKIE
OUTLINE and FLOODING
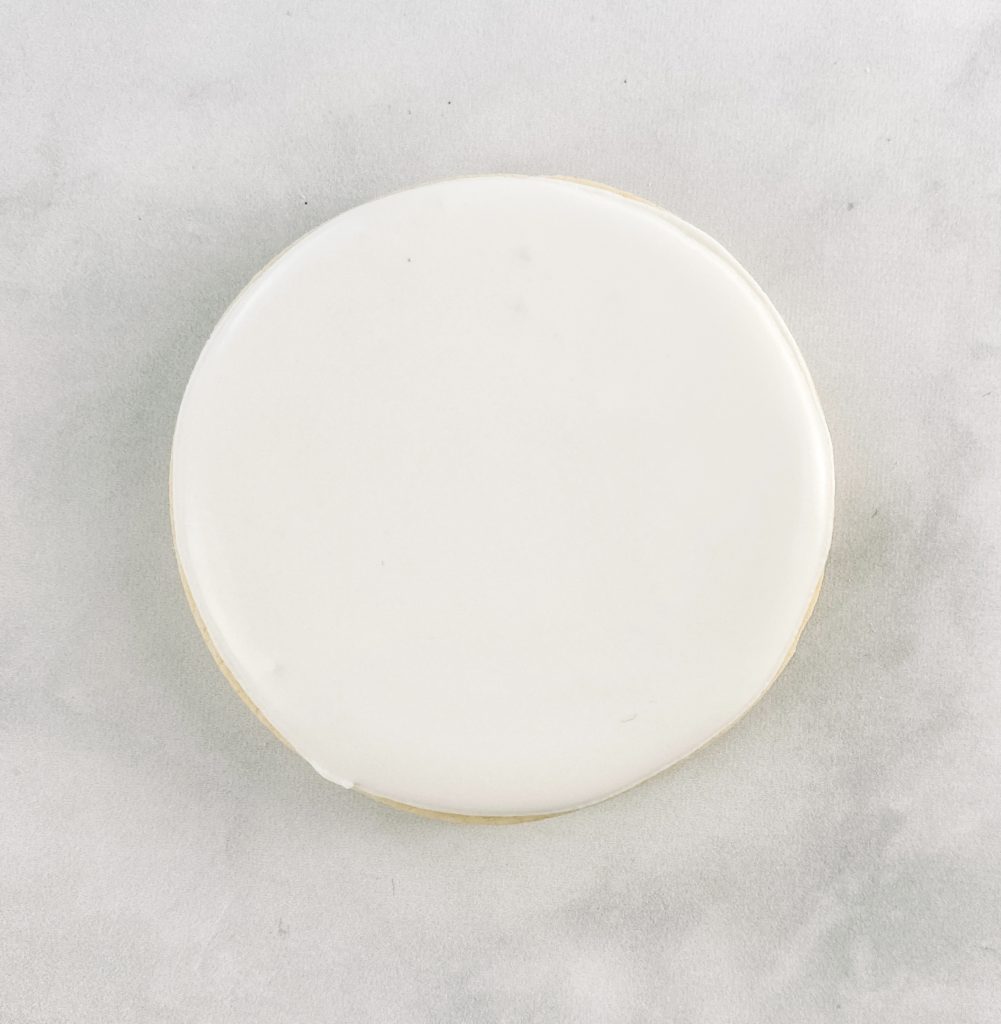
Step 1: Outline the cookie with white piping icing
Step 2: Fill the outline using white flood icing.
Stop and allow your cookie to dry in front of a fan for 1-2 hours before moving on to the details.

DETAILS
Step 3: Using pink piping icing make two dots for the checks. I added a little diamond dust for detail.
Step 4: Use black piping icing to make two eyes (small white dots in the center for reflection) and dots for the smile.
Step 5: For the carrot nose using piping icing. Starting at the wider part go back and forth until coming to a point.
Step 6: Using blue piping icing add two ovals on each side of the snowman’s head. I added some sanding sugar for detail. Then pipe a line across the top connecting the two ear muffs.
Step 7: Lastly, using a black edible marker add eyebrows just above his eyes.

See how easy that was? You practiced a few different techniques and made some adorable Christmas Cookies with very few tools. I want to see your cute little creations so make sure you share some photos and tag me so I can see them!

