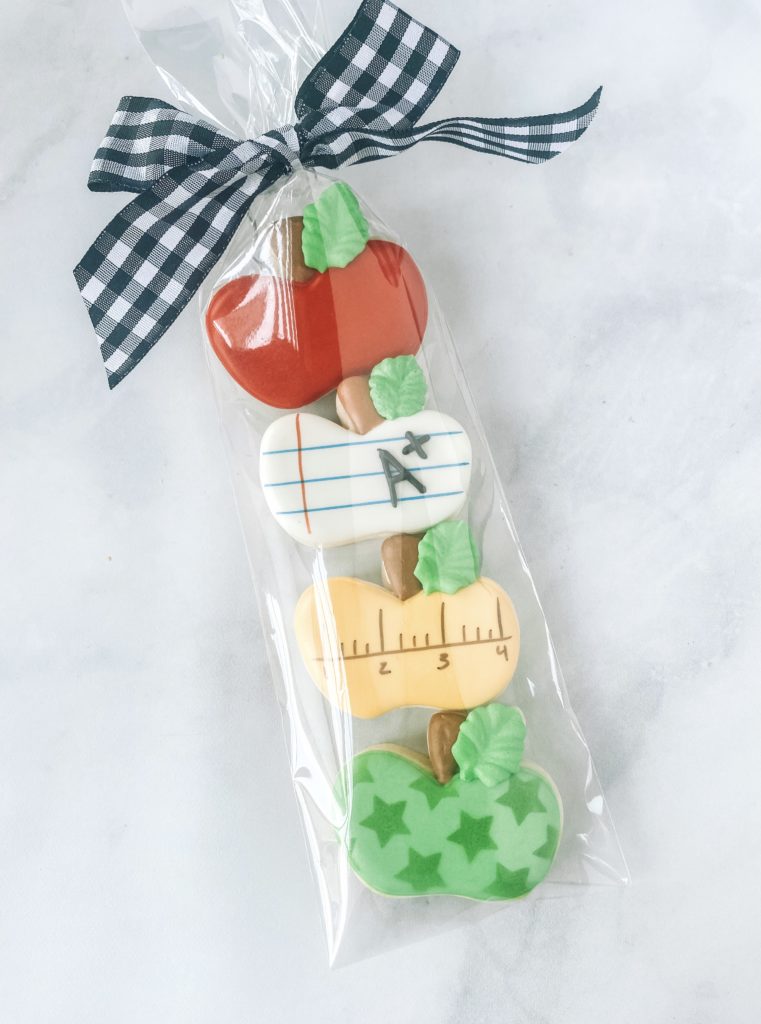
Back to school is always a super busy time of the year! Especially if you have little ones in your house like I do. The summer is fun with no routine, sleeping in and pool dates but there’s nothing I love more than getting back into a new routine with new rythymns each August.
For some easy back to school cookies whether for your little ones to take to the teacher on the first day of school, your cuties lunch box or you are selling cookies in your community for others these fun back to school cookies are sure to delight and impress all your friends and family.
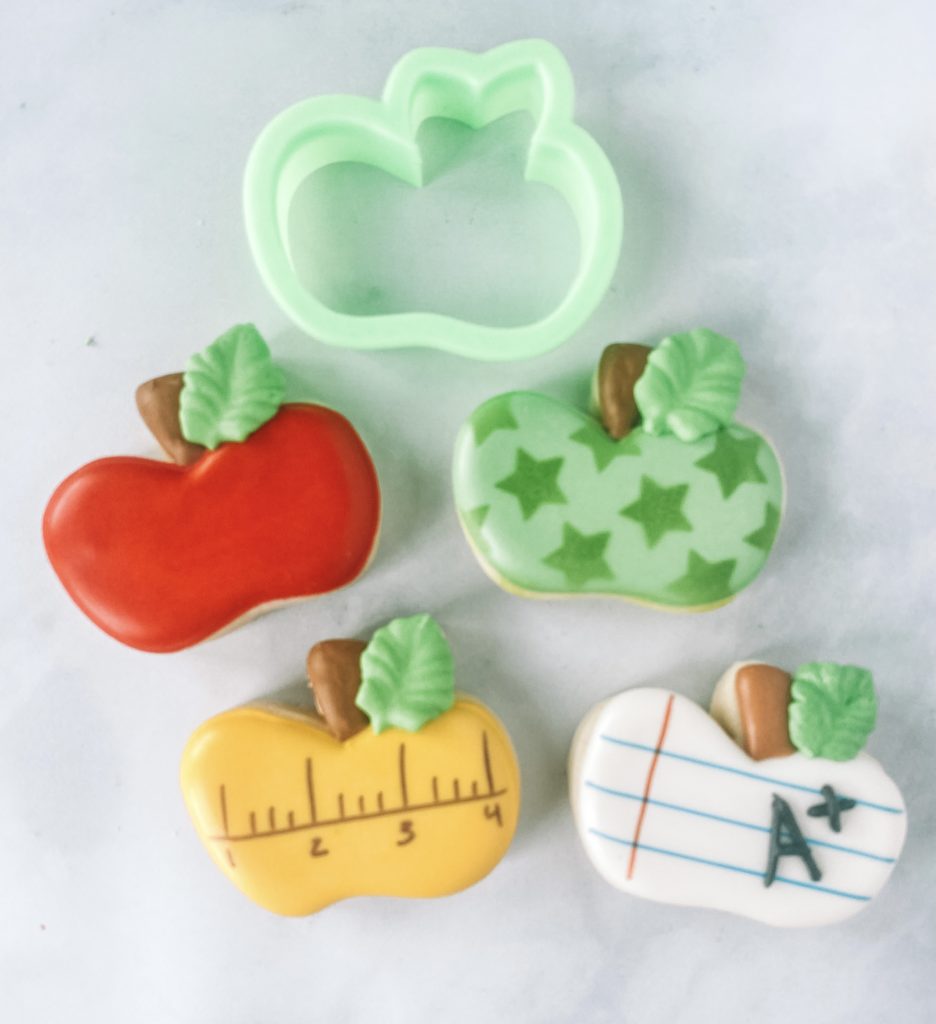
Here’s what you will need for these cookies:
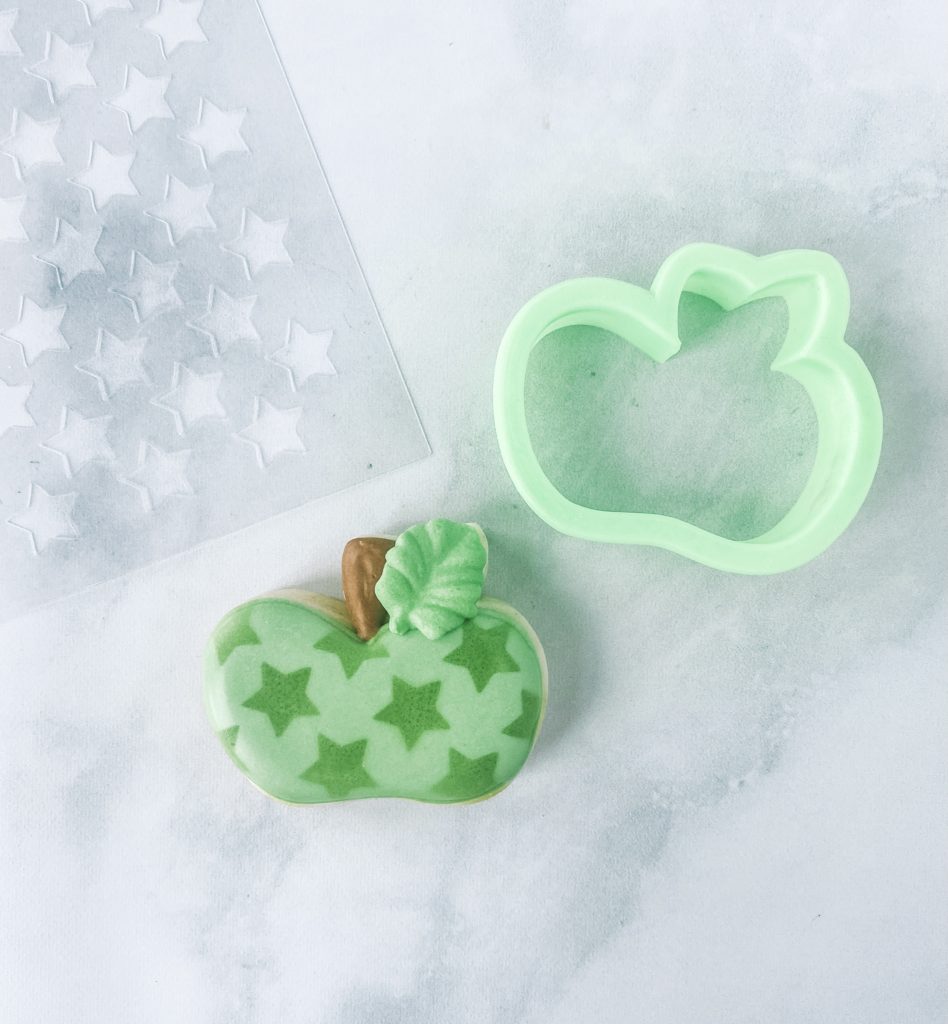
Mini apple cutter – Kaleidacuts
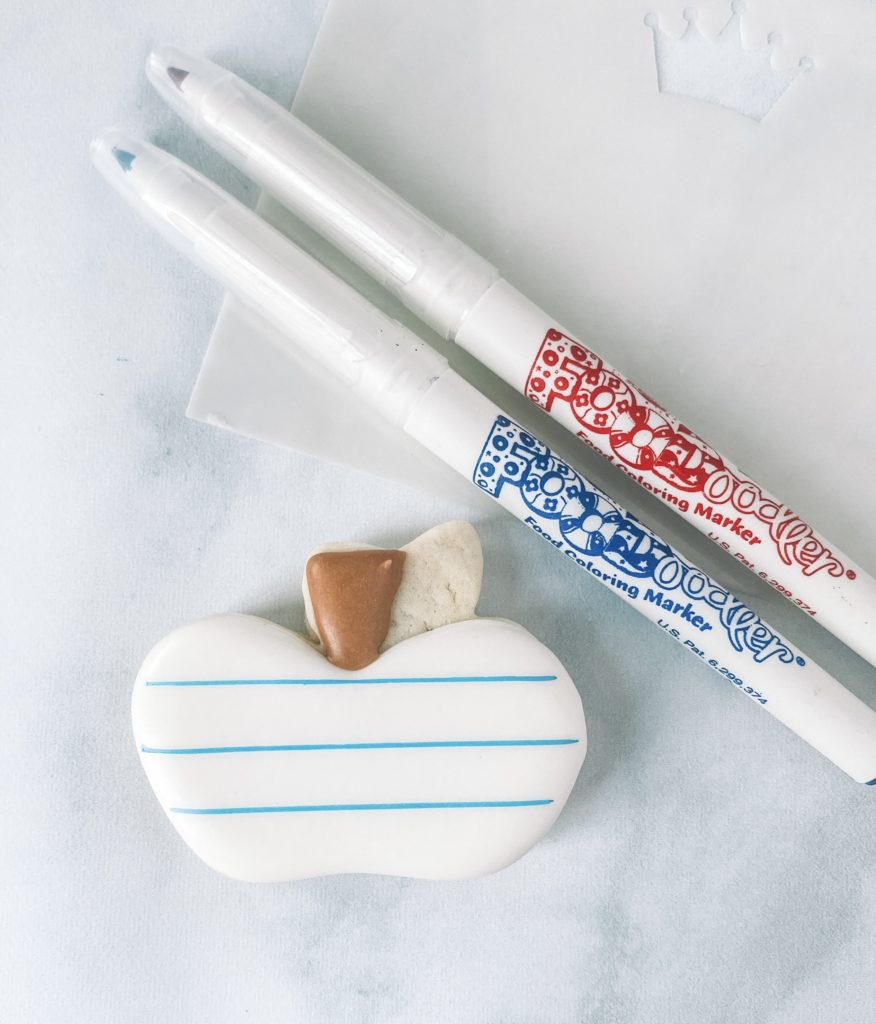
Black, Red and Blue edible marker – Bakerpan
Star stencil – cookie countess
Royal Icing in outline and flood – Red, white, yellow, green, brown
Leaf tip wilton #352
3″x11″ cello bag
Pre-tied Bows
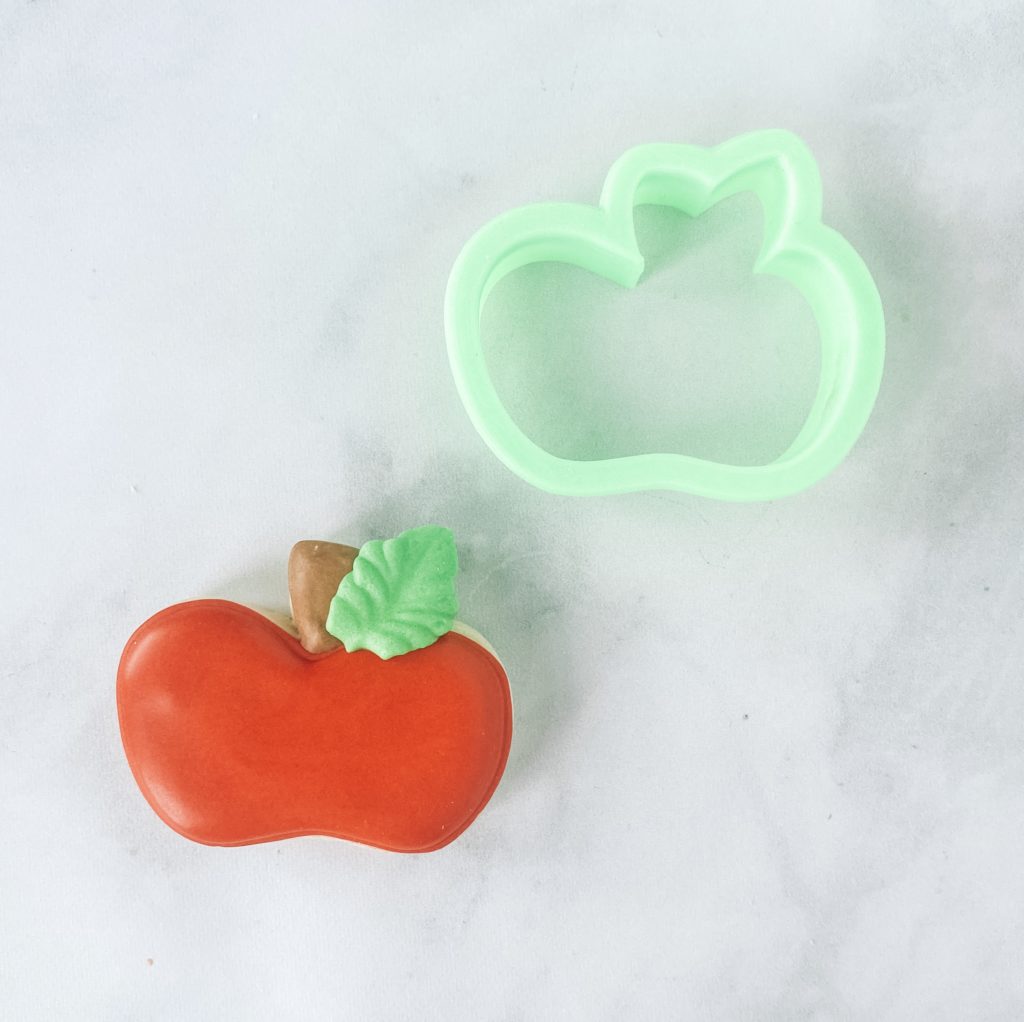
OUTLINE: For the red apple take your red piping icing and outline the apple.
FLOOD: Using red flood icing fill in your outlined apple with red flood icing
DETAILS: Use brown outline icing to make a stem at the top of the apple. Using a wilton tip #352, (the “V” should be on either side so if you are looking down at the piping bag with the tip ready to pipe it will look like a point). Squeeze the piping back and slightly move your hand up and down to create a leaf for the top of your apple.
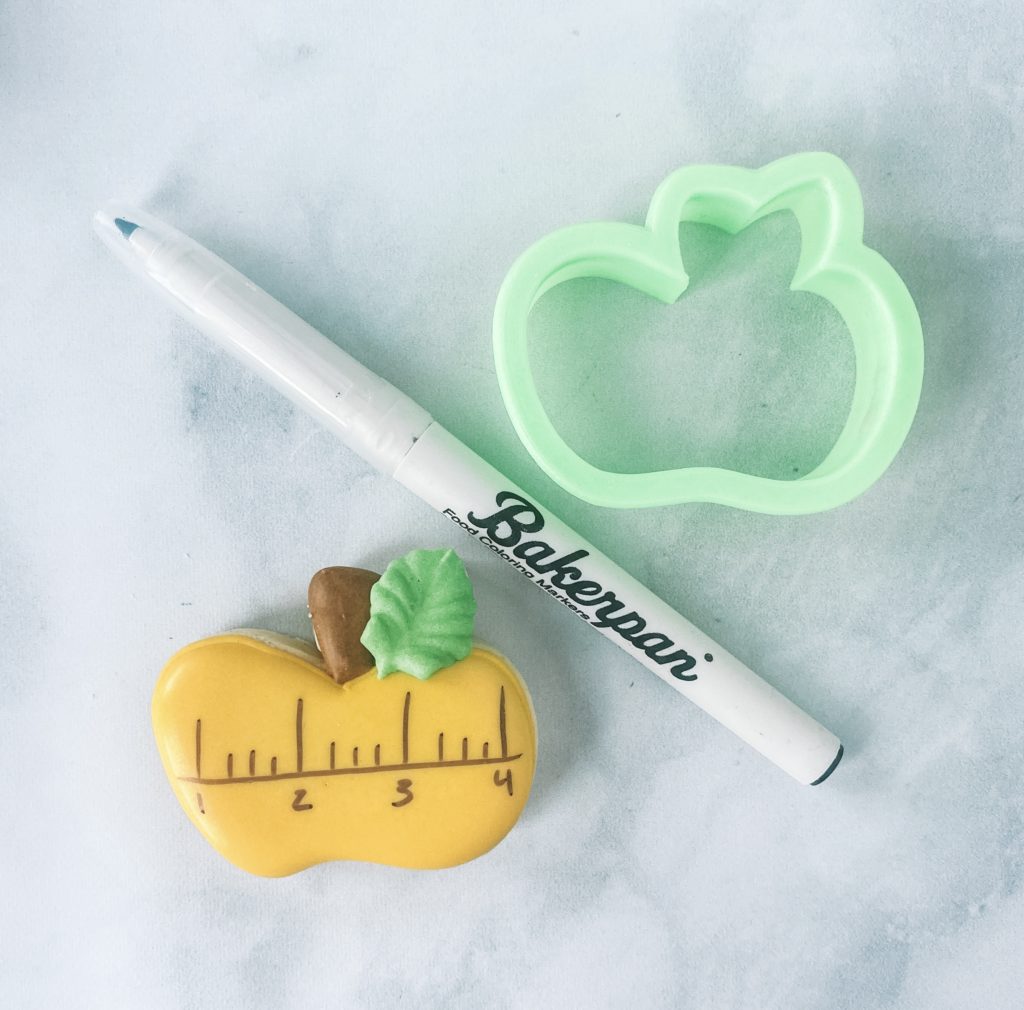
OUTLINE: For the yellow apple take your yellow piping icing and outline the apple.
FLOOD: Using yellow flood icing fill in your outlined apple with yellow flood icing
DETAILS: Using a straight edge and black edible marker make a line straight across the apple. Next make tick lines with numbers for your “ruler”. Use brown outline icing to make a stem at the top of the apple. Using a wilton tip #352, (the “V” should be on either side so if you are looking down at the piping bag with the tip ready to pipe it will look like a point). Squeeze the piping back and slightly move your hand up and down to create a leaf for the top of your apple.
OUTLINE: For the white apple take your white piping icing and outline the apple.
FLOOD: Using white flood icing fill in your outlined apple with white flood icing
DETAILS: Using a straight edge and blue edible marker make lines straight across the apple. Next make a red line on the left side. Using black piping icing make an “A +” on the cookie. Use brown outline icing to make a stem at the top of the apple. Using a wilton tip #352, (the “V” should be on either side so if you are looking down at the piping bag with the tip ready to pipe it will look like a point). Squeeze the piping back and slightly move your hand up and down to create a leaf for the top of your apple.
OUTLINE: For the white apple take your white piping icing and outline the apple.
FLOOD: Using white flood icing fill in your outlined apple with white flood icing
DETAILS: You can either air brush the stars using the stencil or scrap with piping consistency royal icing. For the air brushing I used glowing green from The Cookie Countess. Use brown outline icing to make a stem at the top of the apple. Using a wilton tip #352, (the “V” should be on either side so if you are looking down at the piping bag with the tip ready to pipe it will look like a point). Squeeze the piping back and slightly move your hand up and down to create a leaf for the top of your apple.
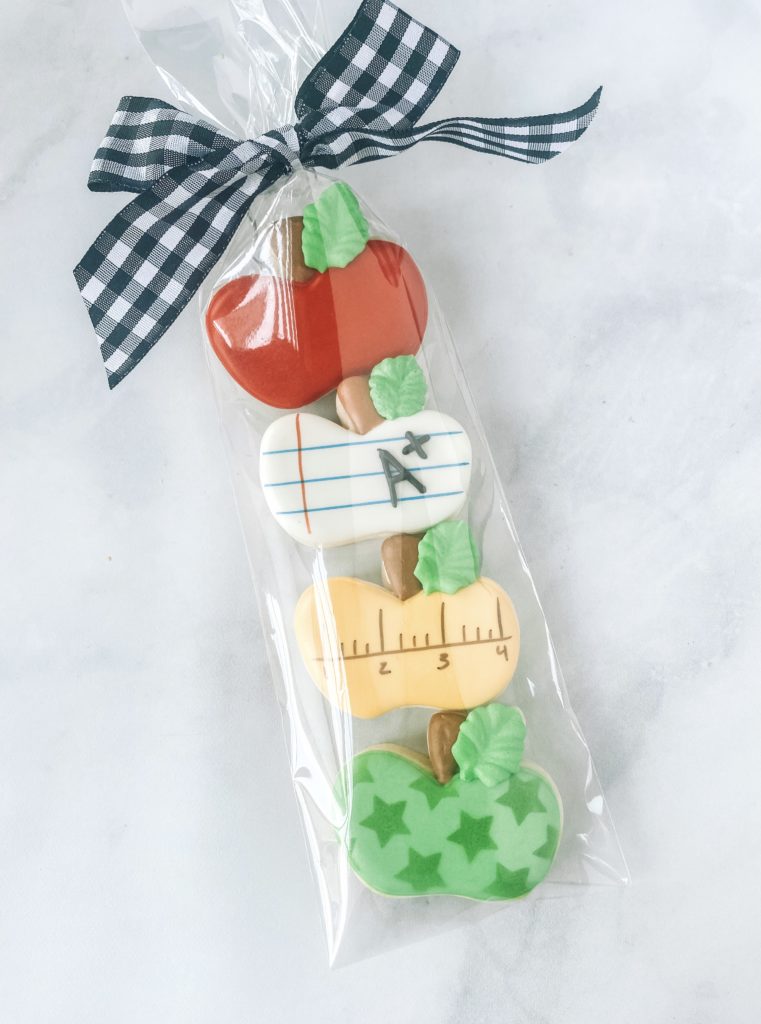
Once your cookies are completely dry package them in a 3″x11″ cello bag with a pre-tied bag. Perfect for your back to school cookie needs.

