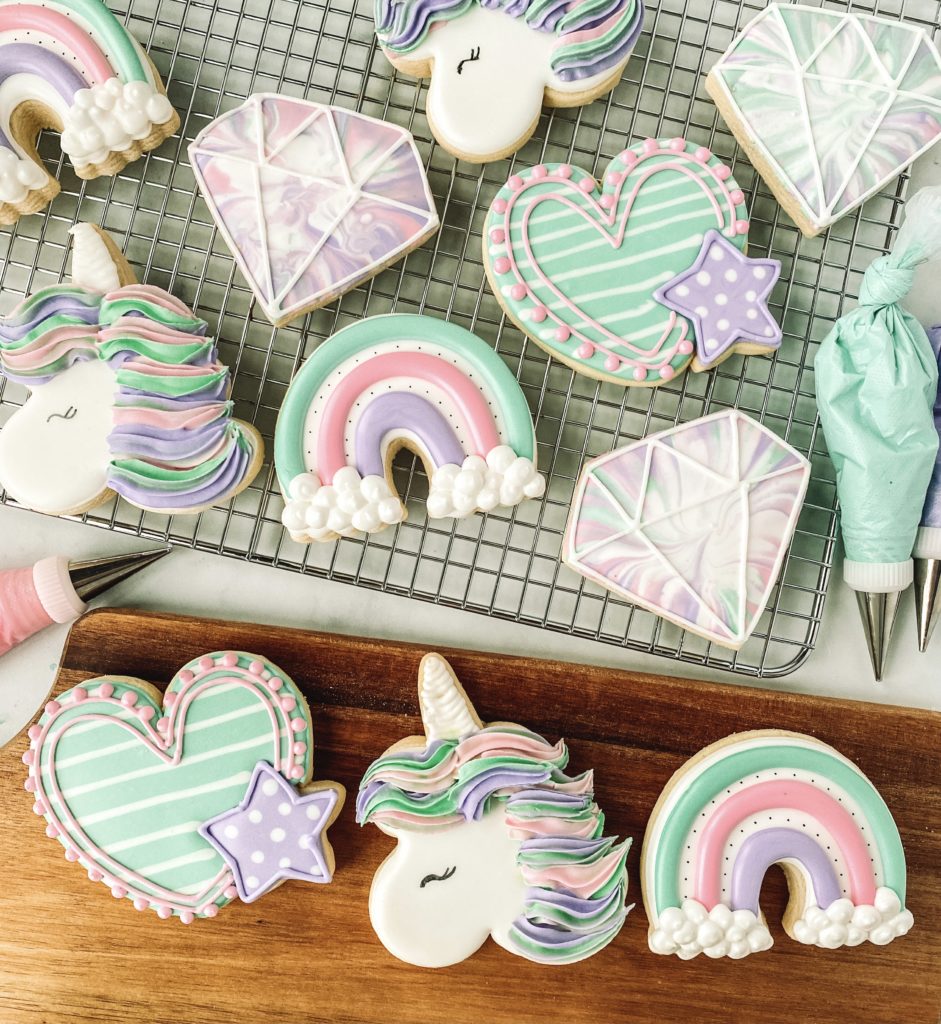
You don’t have to feel like a magical unicorn to make this set of cute fairytale cookies, just follow the steps and you’ll have cute little cookies for a party or a rainy day!

Check out the step-by-step video tutorial
I show you how to decorate these cute unicorn and fairytale cookies and also share the best way to package them. Check out the video tutorial for tips on how to make and package these cookies!
For these cookies, I used my exclusive sugar cookie recipe and royal icing recipe. The cookie recipe yielded about 35 small 2.5 inch cookies. I like thicker cookies so I roll out my cookies to 3/8″ using my Cookie Countess Precision Rolling Pin. The thickness of your cookie will change the cookie yield.
Prepping Royal Icing
This cookie set includes 6 icing colors using white, teal, purple, and pink. I made all the colors with Americolor food gels.
COLORS YOU WILL NEED:
White – outline and flood icing
Teal – outline and flood icing
Purple- outline and flood icing
Pink- outline and flood icing
Helpful Decorating Tips and Tricks
Cookie Timeline
I like to break up the decorating process over a few days. It works better for my stage of life to do a little each day. Here is a sample timeline to show how long each step takes.
DAY 1
Make and bake my cookies. I do not chill my dough so usually, this takes about 1 hour from start to finish. Mix royal icing, color, and prep all the icing bags. I like to color the day before because the colors will deepen over time.
DAY 2
Outline and Flood Cookies. Make sure to allow them to dry in front of a fan for 1-2 hours before adding details. Add final details like airbrushing, piping and stenciling.
Day 3
Always take pictures of your beautiful cookies. Make sure to allow 10-14 hours of drying time before packaging your cookies. I like to store mine on a baking pan with a lid overnight.
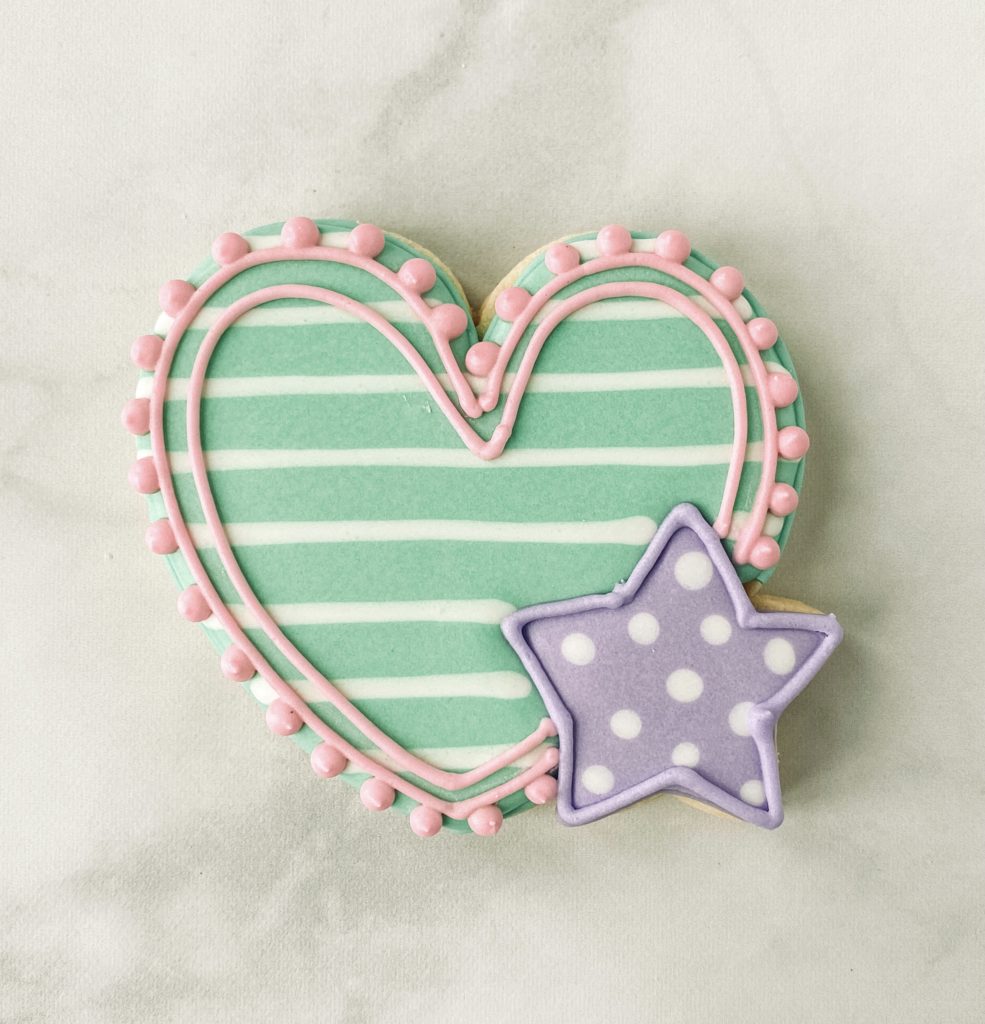
HEART WITH STAR COOKIE
OUTLINE and FLOODING
Step 1: Outline the star with purple piping icing. Outline the heart in teal piping icing.
Step 2: Fill in the heart with teal flood icing adding lines with white flood icing. Fill in the star with purple flood icing and add dots with white flood icing.
Stop and allow your cookie to dry in front of a fan for 1-2 hours before moving on to the next section


DETAILS
Step 3: Outline just inside the heart with pink piping icing. Add dots on the outside space about a 1/4 inch apart. Add a second line just inside the first line. Outline the star with purple piping icing.
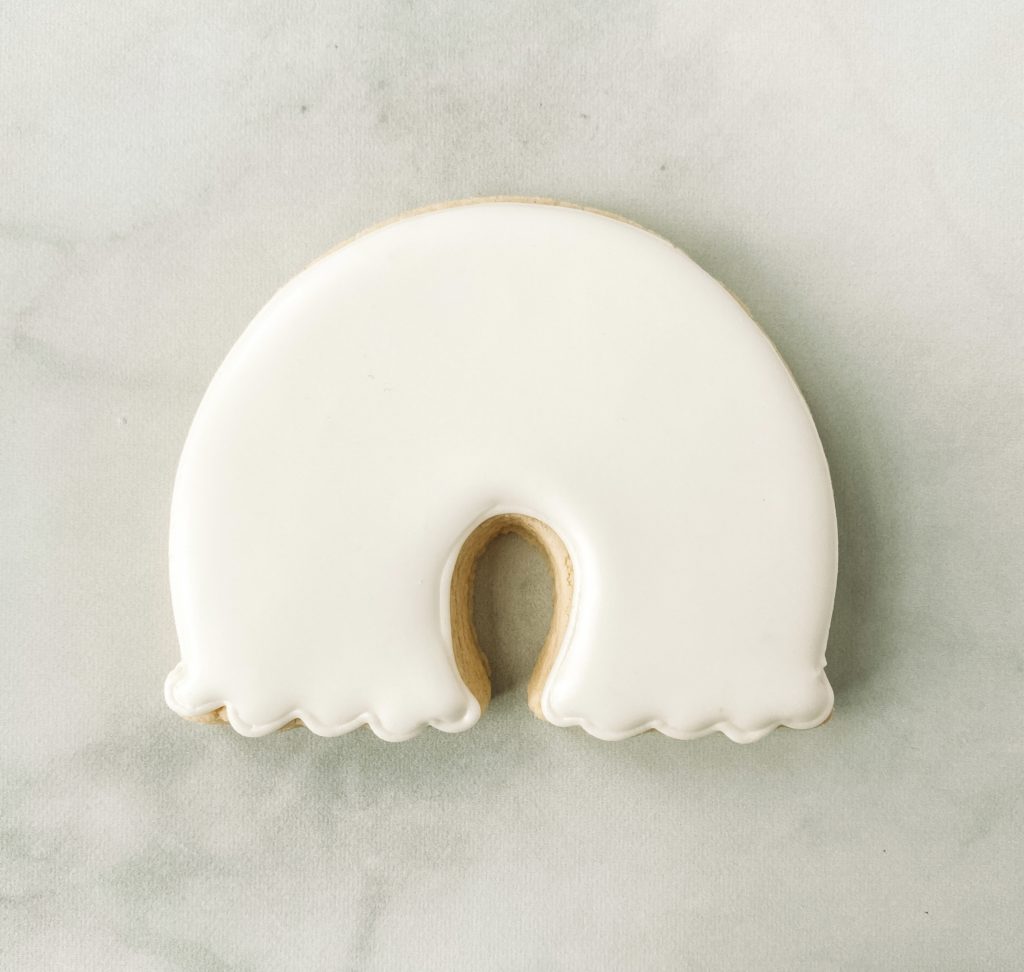
RAINBOW COOKIE
OUTLINE and FLOODING
Step 1: Outline the entire cookie with white piping icing.
Step 2: Fill in the outlined cookie with white flood icing.
Stop and allow your cookie to dry in front of a fan for 1-2 hours before moving on to the next section.
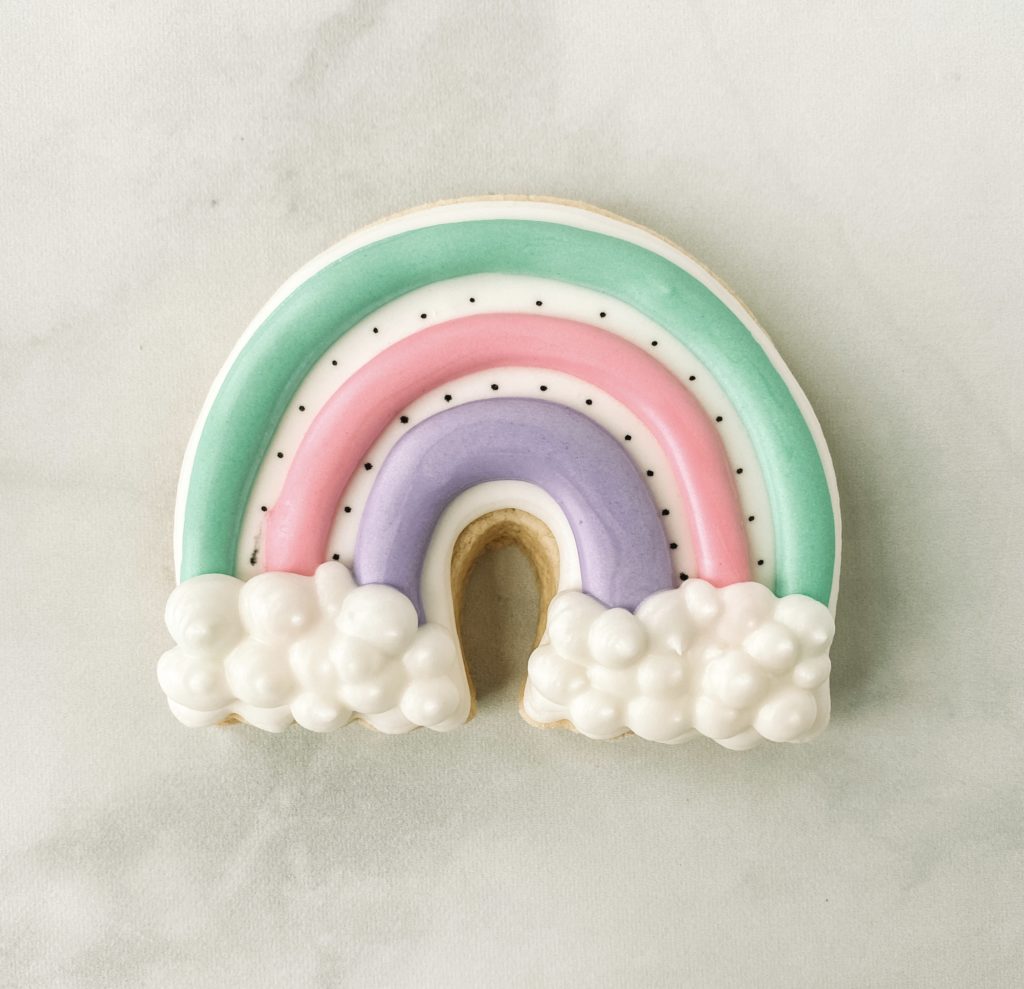
Step 3: Using teal piping icing outline the first part of the rainbow, Use pink piping icing to the middle section and the purple piping icing for the last section.
Step 4: Fill in each rainbow section with coordinating color.
Step 5: Using a black edible marker add dots in-between the sections.
Stop and allow your cookies to dry in front of a fan for 1-2 hours before moving on to the next section.
Step 6: Using white piping icing add clouds to the end of both sides of the rainbow.
DIAMOND COOKIE
OUTLINE and FLOODING
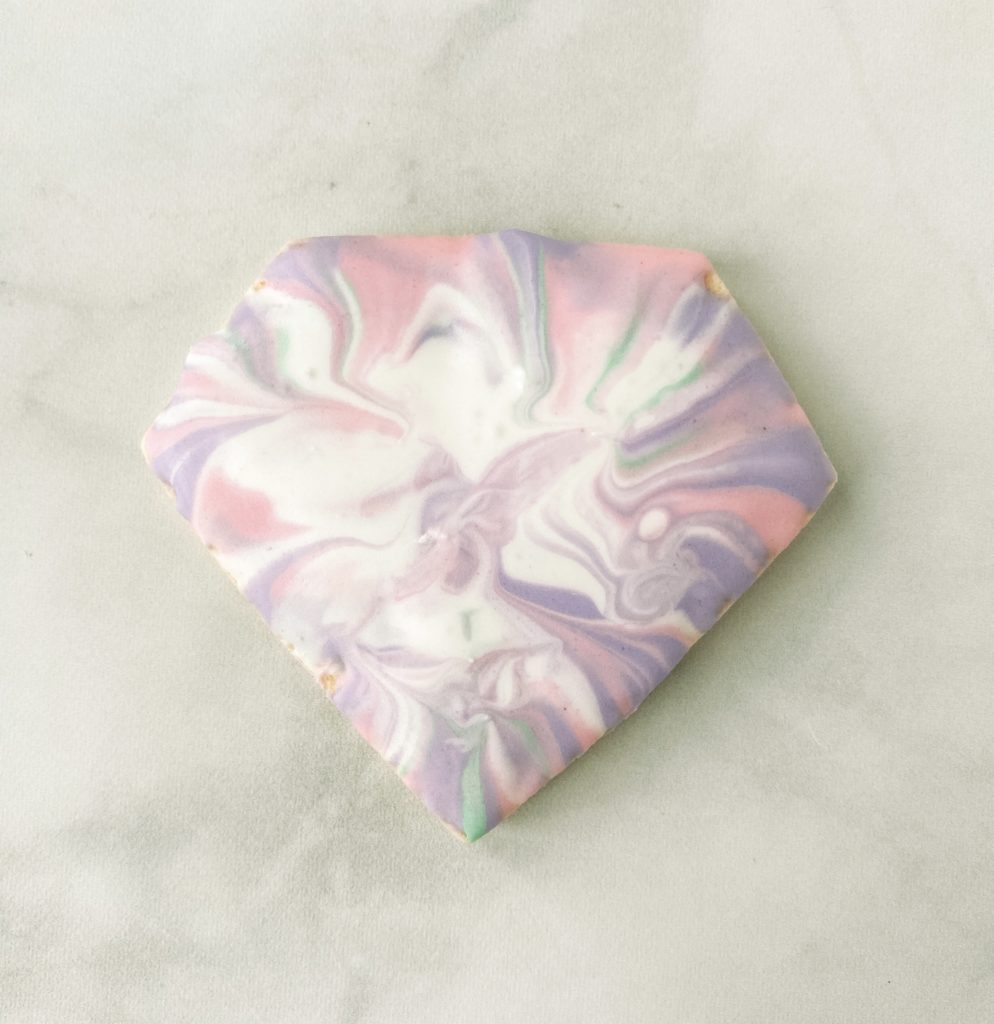
Step 1: Prep your bowl with white flood icing. Squiggle teal, pink and purples icing on top.
Step 2: Hold your cookie and turn it facing down and drop it into the bowl. Tap around each part of the cookie.
Step 3: Gently pick up the cookie and carefully shake off any dripping icing. Scrap the remaining on the edge of the bowl.
Step 4: Turn the cookie over and give it a little shake and you should be good to go. Fill in any holes with extra icing and pop any air bubbles with a scribe.
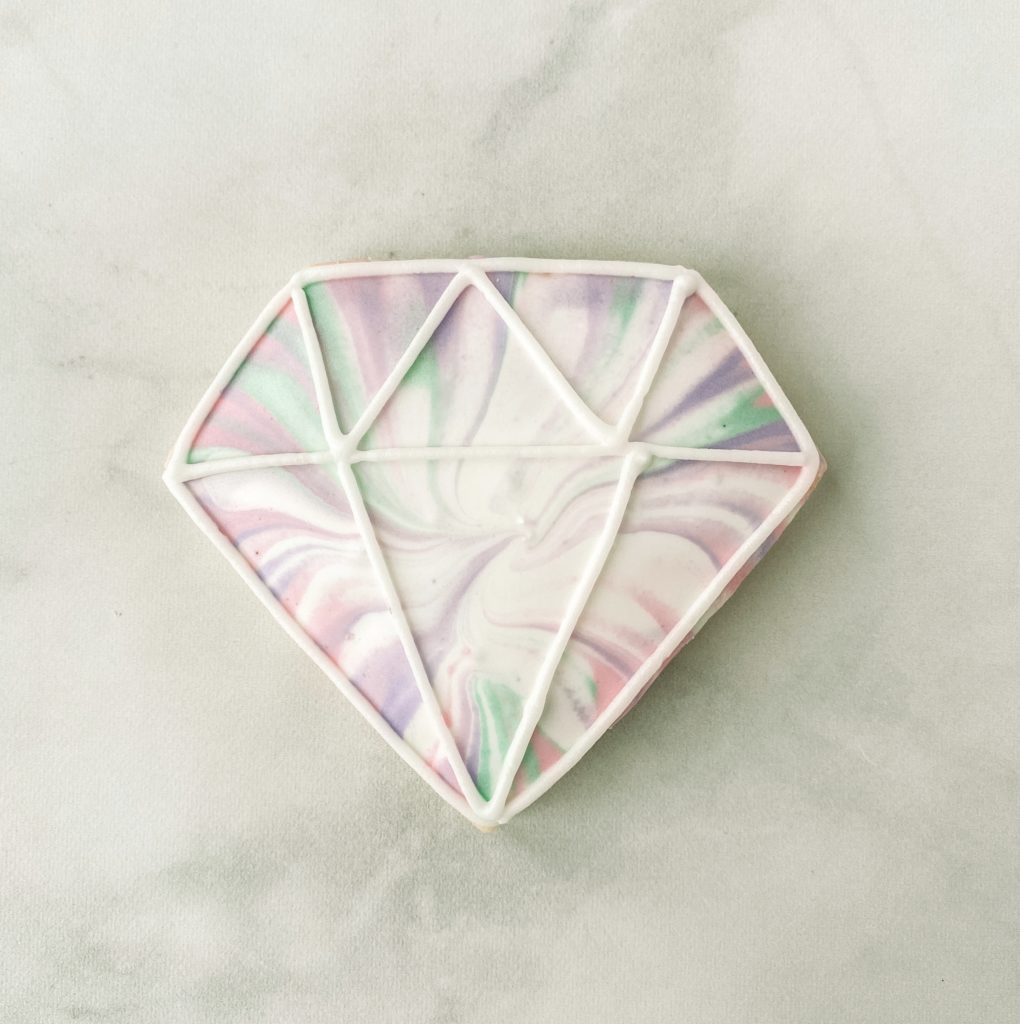
Step 5: Outline the diamond in white piping icing
UNICORN COOKIE
OUTLINE and FLOODING
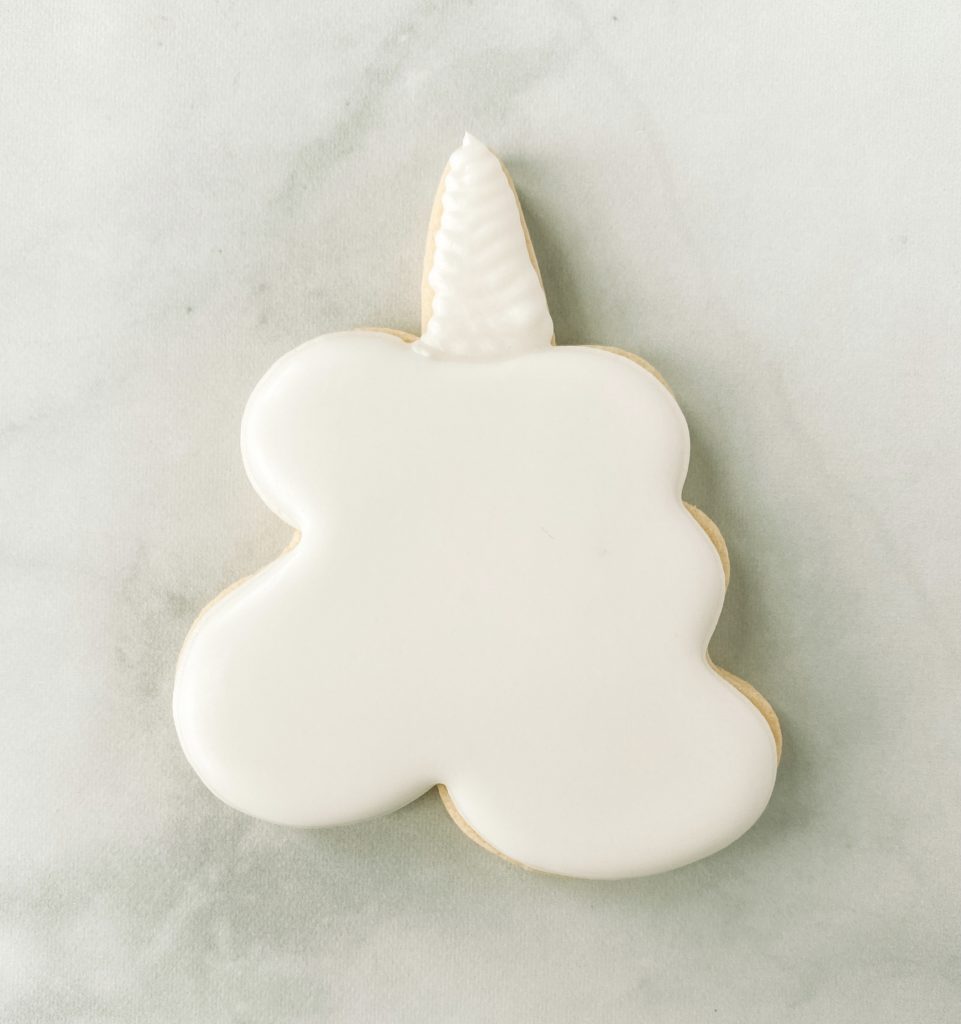
Step 1: Outline the entire unicorn in white piping icing.
Step 2: Fill in the white outline with white flood icing.
Stop and allow your cookie to dry in front of a fan for 1-2 hours before moving on to the next section
DETAILS
Step 3: Make unicorn hair taking pink, teal, and purple stiff icing and squeezing a line on cling wrap. Gently roll it up long ways and insert it into a piping bag with a Wilton 20 star tip.
Step 5: Make rainbow hair on a unicorn
Step 6: Add an eye with a black edible

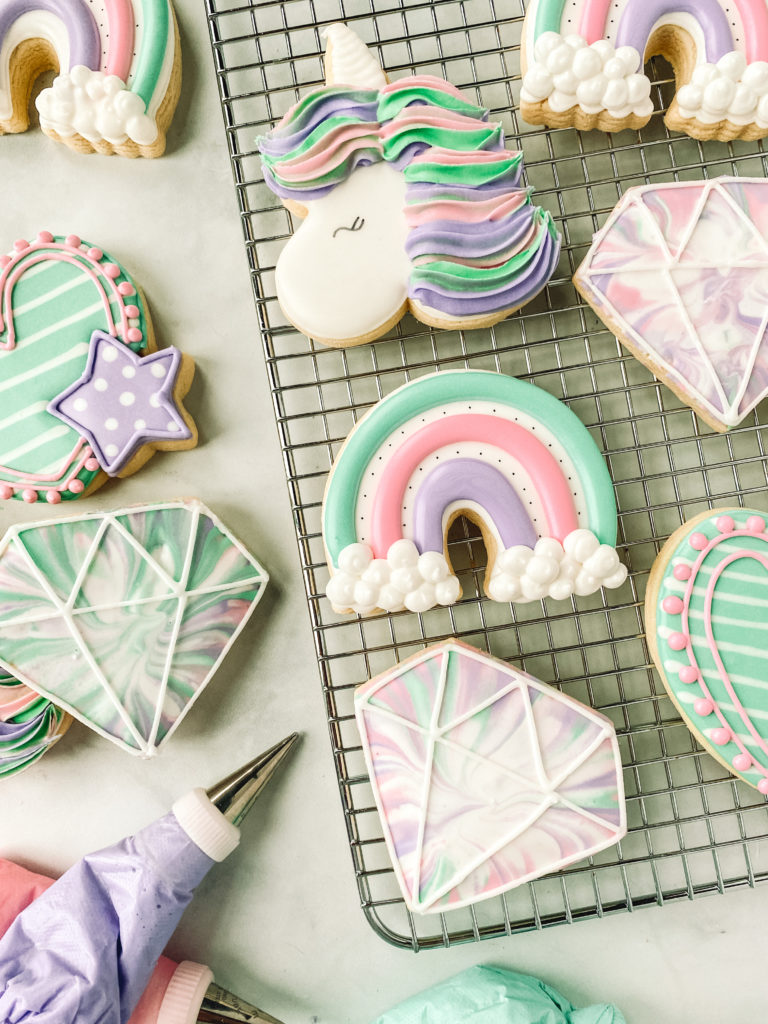

This set of sugar cookies is perfect for a birthday party, baby shower, rainy day that needs brightening, or anyone that loves unicorns and rainbows. This is a great beginner cookie decorating set, with a few different techniques mixed in for you to learn as you go you will look like a pro in no time following my detailed instructions!
Don’t forget to take some photos and post them so I can see your creativity and skill! Sharing is half the fun of decorating cookies, whether you’re sharing in person or online, everyone loves cookies!

